


In the Garden Skirt Kit Tutorial


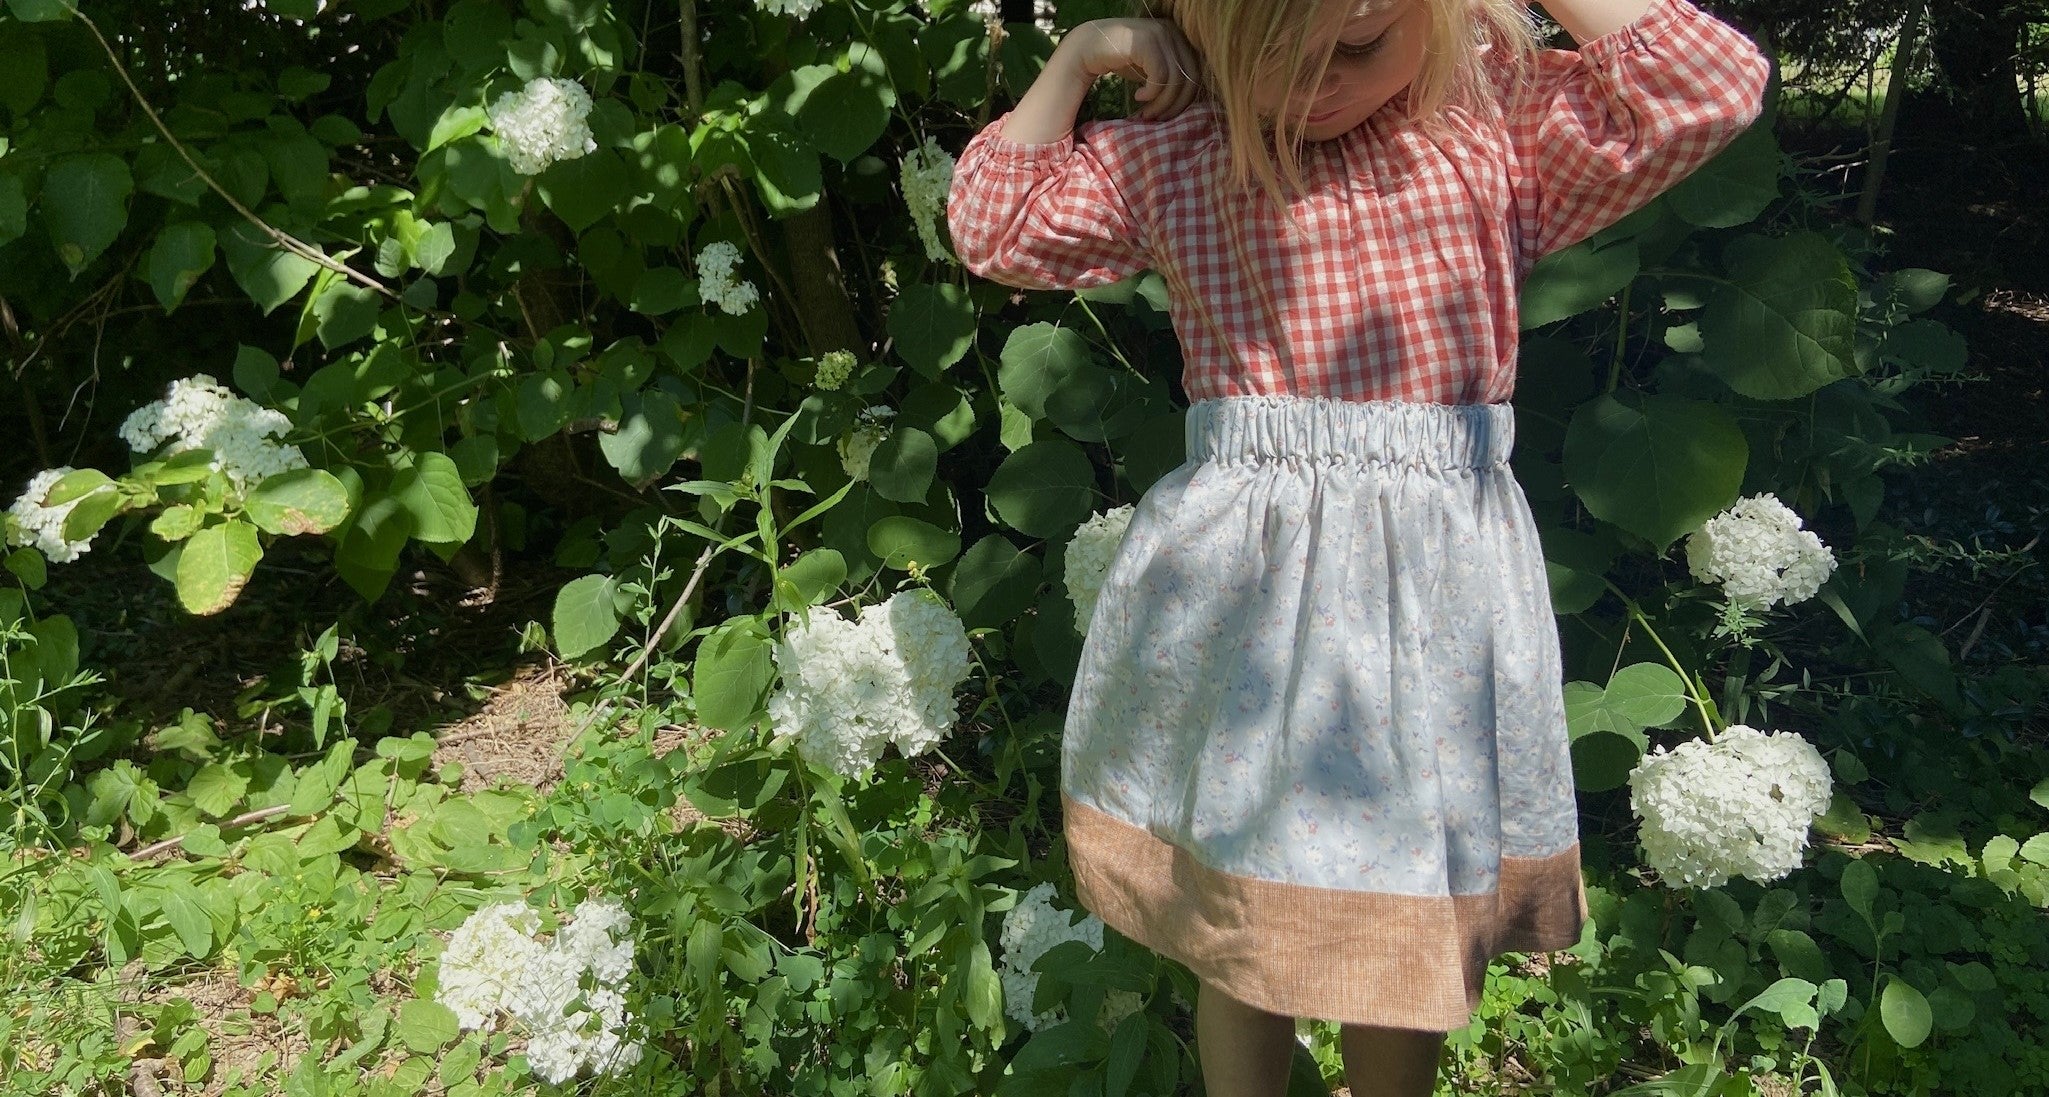
The In the Garden Skirt tutorial is a simply constructed skirt ideal for beginner and experienced sewers alike. It was designed with our littlest loves in mind and is perfect for summertime adventuring. Happy sewing!
Sizing
The fabric cuts in these directions and in our skirt kits are based on 44" wide fabrics and this means that the skirts will only fit up to a child's size 6 or 8. The width of the fabric cut will make up the circumference of the skirt. (You can, of course, cut two widths of fabric to sew together, or use a wider fabric if you want to make a larger skirt.)
What will make the skirt too small, comes down to leg movement. So, for an older child who is wearing a size 6 or 8, a shorter skirt will give them more movement. Skirts for younger children have more options for length as those little ones have shorter legs, and need less room in the skirt to move freely. If you don't have the child you are sewing for accessible for measurements, use this chart for approximate measurements to decide on the finished skirt length you would like.
| 12 mo | 2T | 3T | 4T | 5T | 6 | 7 | 8 | |
| Waist to Knee Length | 8" | 10" | 11" | 12" | 13" | 14" | 15.5" | 16.5" |

Supplies
- Child's Skirt Kit - Or:
- 5/8 yard of main body fabric (or less for shorter skirts)
- 1/3 yard of cuff fabric (or 1/4 yard for shorter cuffs)
- 3/4 yard of 1"wide non roll elastic
- Coordinating thread
- Scissors and/or rotary cutter
- Pins
- Soft Measuring Tape
Instructions
Preparing Your Fabric
Trim the selvedges from your fabrics.

Trim your skirt body and skirt cuff pieces to the same width. The width of the cuts will make up the circumference of the skirt. Consider cutting down the width for children under size 4T, but for larger sizes, it will probably be best to keep the cuts as wide as possible.

Preparing Your Skirt Cuff
Now is a great time to consider how tall you want your cuff and if there are certain placement considerations to make. For example: if you're making a skirt that has a solid fabric for the skirt cuff, all you need to consider is your desired height. However, if you are using a skirt cuff with a print, you may want to be pickier about your layout.
Cuff height considerations:
When considering height, if your finished cuff is smaller than 2.5" high, it can become difficult to pull out the skirt body in the burrito method step. For this reason, we recommend at least a 2.5" wide finished cuff. This means your cuff strip should be at least 6" high before being folded in half. We'll talk more about preparing your cuff below so don't cut just yet!
Tips for getting a nice cuff placement when using a print:
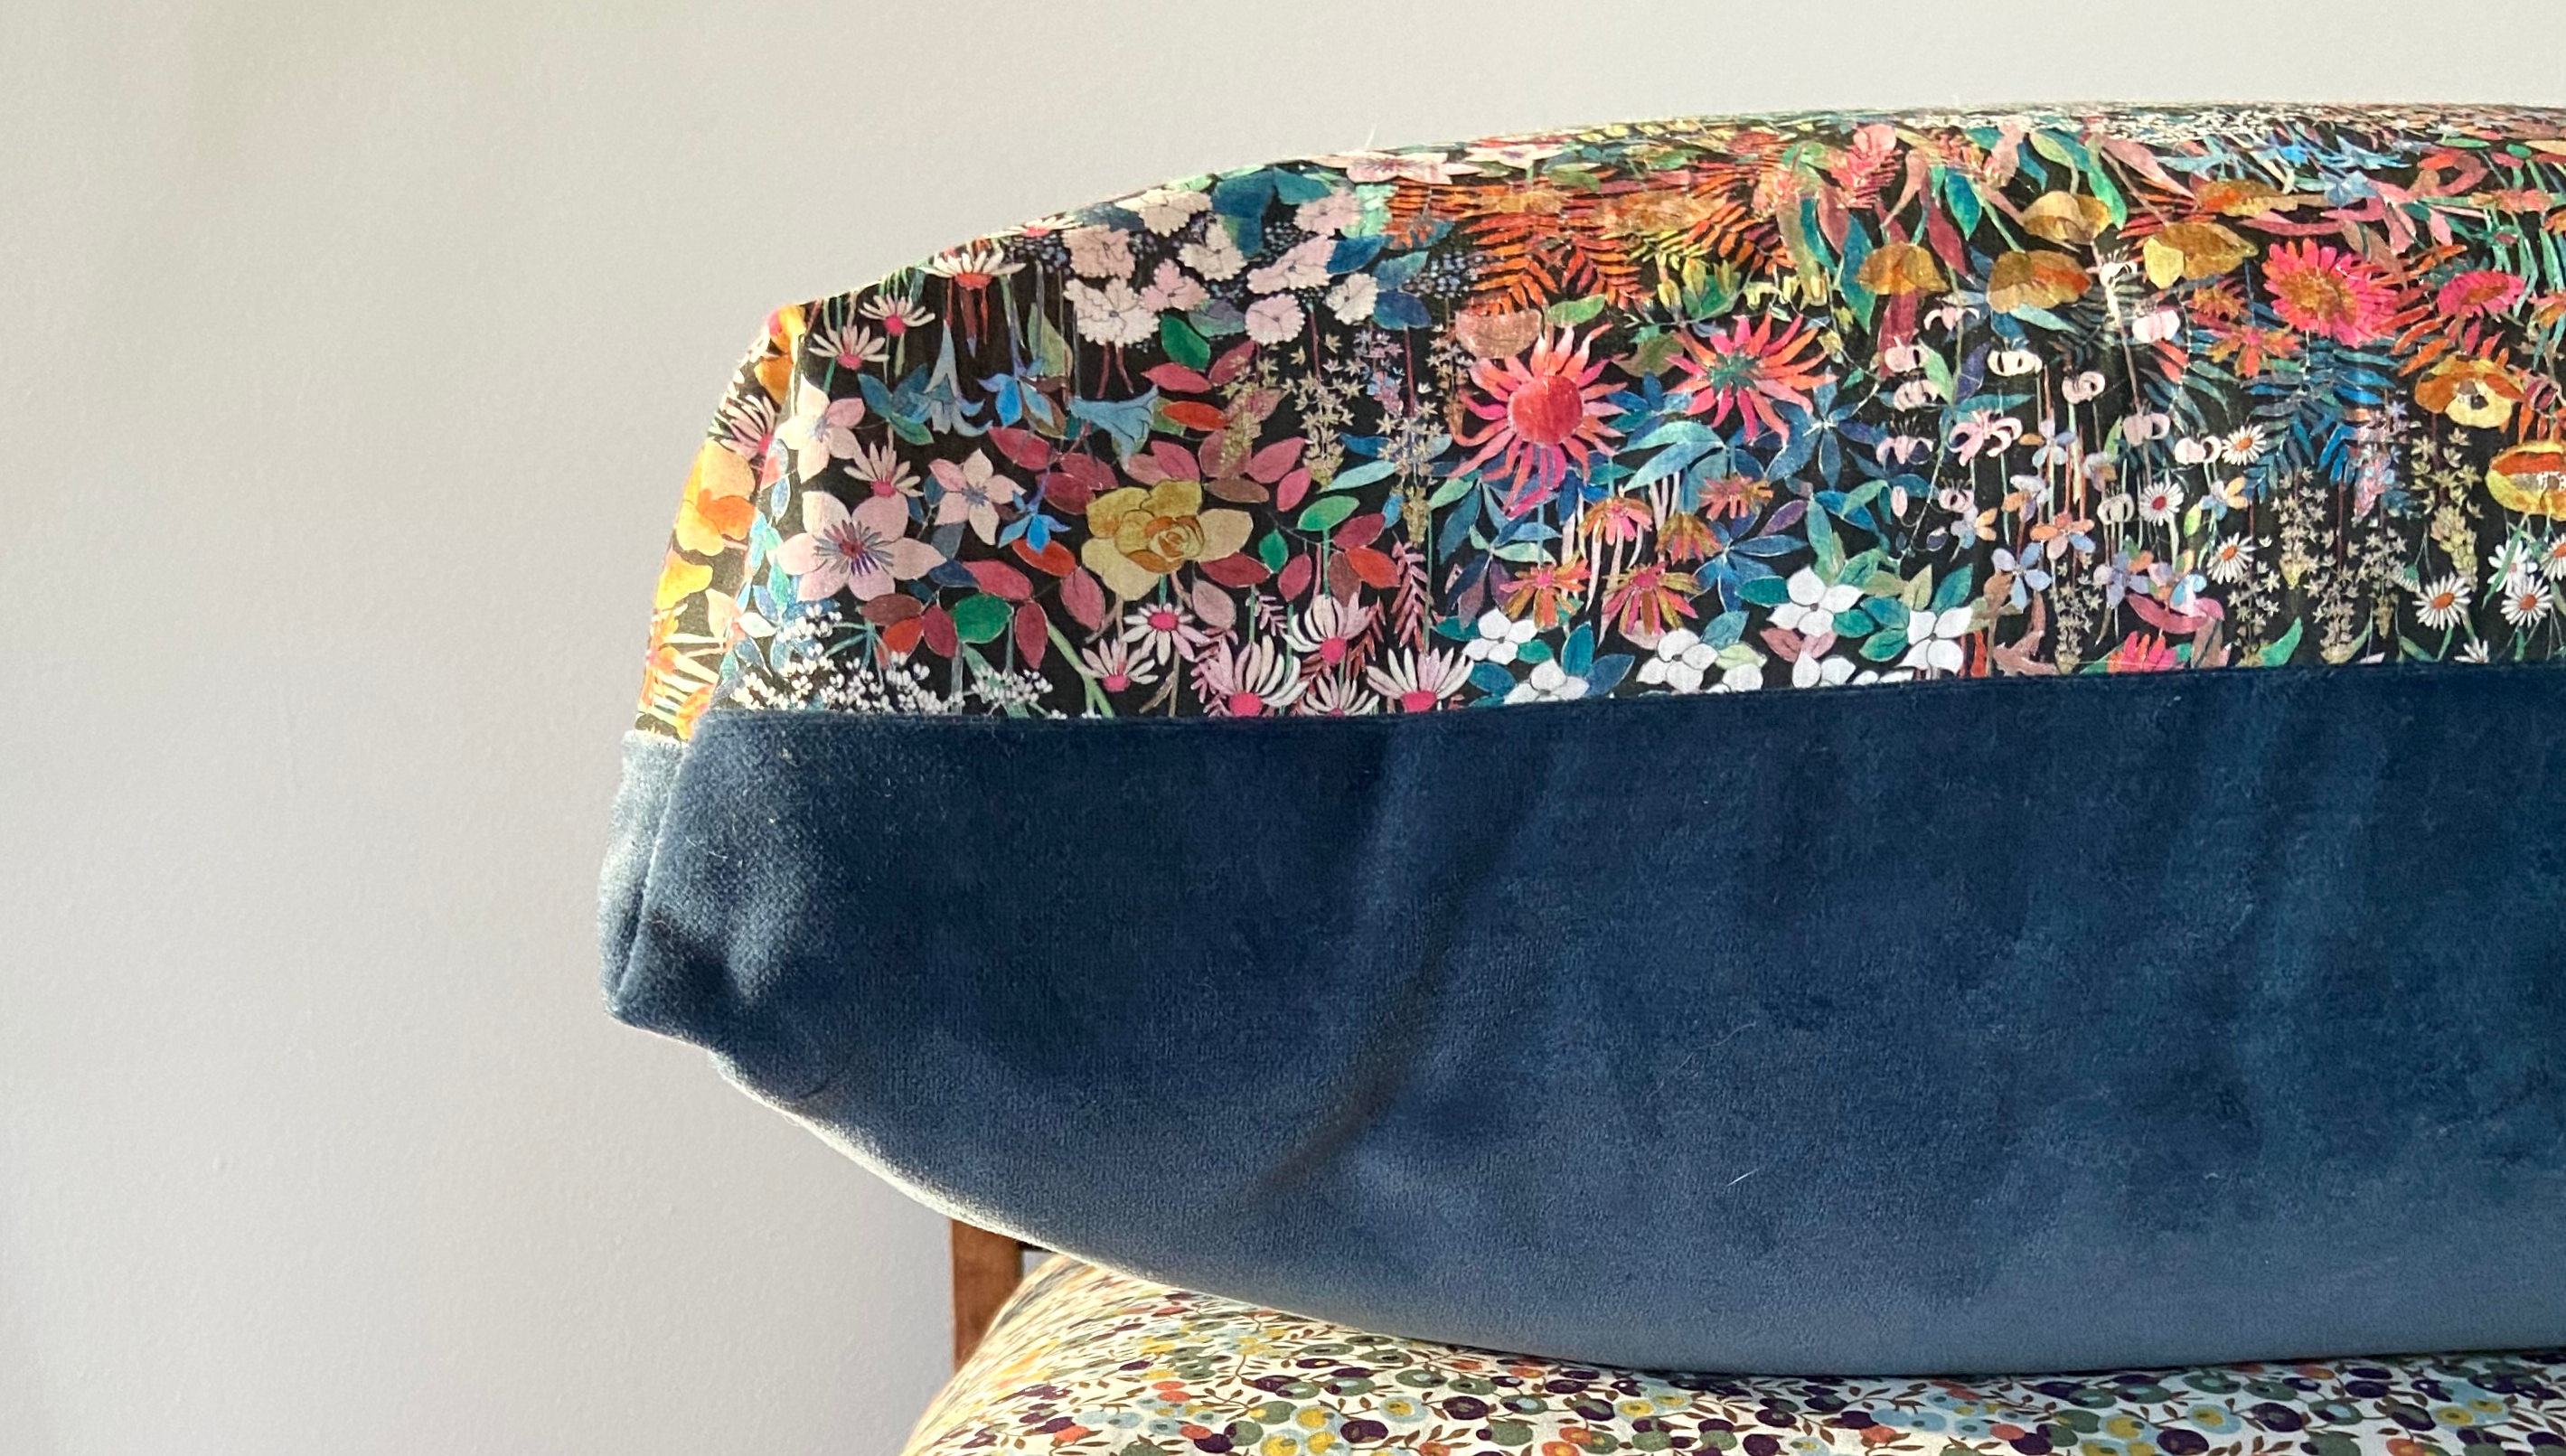
In the skirt we made for this tutorial we used the Library print from Emily Winfield Martin's "The Littlest Family's Big Day" collection for Riley Blake Designs and didn't want the top or the bottom of the cuff to run through a row of books. You can see in the picture below that the bottom folded edge of the cuff will be right below the bottom edge of the books. The cut off row books on the top edge of the cuff will be absorbed by the seam allowance. When the cuff is completed only two rows of books will be visible.

Through making this skirt a few times we have discovered an easy and effective way to get a great cuff with your prints placed exactly as you want them. Determine the desired height of your cuff, double it, and add 1" for the seam allowance. So for example if you want a 4" cuff you will need a 9" tall cuff strip to start with. Don't cut anything just yet though. With wrong sides together, find your desired placement for the folded bottom cuff edge, ensuring you have at least half of your cuff height available above the fold on both sides. In the previously mentioned example, that would be 4 1/2". Set the folded bottom cuff edge in place with your iron.
Trim your cuff to your desired height. Make sure you are cutting the long side of your cuff with the 2 raw edges. Do not cut your folded edge.
Pinning Your Skirt Cuff
Now it's time to add your skirt cuff. If your materials are directional you will want to pay extra attention during this step to ensure all of your fabrics are pointing in the right direction once sewn together. We've included pictures to make this step as clear as possible because it can sound a little tricky on the first read through, though it really isn't!
Non-directional skirt cuffs and skirt bodies: lay your skirt cuff out horizontally in front of you with the right side of the fabric up. With right sides together place your skirt body on top of your skirt cuff, matching the long edges of your skirt cuff and skirt body. Use 4-5 pins to hold things in place. Proceed to step 5.
Directional skirt cuffs and skirt bodies: lay your skirt cuff out horizontally in front of you with the right side of the fabric up and the print upside down to you. If you ironed the bottom edge of your cuff in place, make sure you unfold for this step. Place your skirt body on your cuff with right sides together, matching the long, raw edges. The print of your body fabric should be upright. In the below picture the cuff print is upside down and when the body fabric is flipped down on top of it, the body fabric print will be facing upright. Place 4-5 pins to hold things in place.


This is a great time to double check the direction of your layout. With pins still in place, flip your skirt body and skirt cuff over and pull down the cuff. Are both of your prints upright? Do you like the way things are lining up? If so, proceed to the next step. If not, fuss around a little more until you're happy.
Note: Remember that only 1 of your raw long cuff edges should be pinned to your skirt body at this point.

Sewing Your Skirt Cuff in Place
Begin rolling the unpinned long edge of your skirt body toward the pinned edge. Keep your roll as tight and uniform as you can to make the next steps as easy as possible.
Continue to roll past the unpinned edge of your skirt cuff.

Now take the unpinned edge of your skirt cuff and line it up with the pinned skirt cuff and skirt body edges. In doing this you will enclose your rolled up skirt body inside the skirt cuff. Now you have yourself a little burrito! This is where the burrito method gets its name.

Pin liberally, ensuring that the rolled up skirt body doesn't rest inside the seam allowance. Sew a 1/2" seam allowance down the long pinned edge of your skirt cuff and skirt body.

Turning Out and Finishing Your Cuffed Skirt

Begin gently working the rolled skirt body out of the cuff that is now sewn around your skirt body. Once you begin pulling the skirt body out, the cuff will begin turning right side out as well. Keep gently working the skirt body and cuff to their right side out position.

Iron the cuff down into place.
Optional: edge stitch the top of the cuff for a more finished look.

Determine the Length of Your Skirt
Determine the desired length of your skirt. There are a few ways to accomplish this. You can measure from the child's natural waist to the desired length, or you can take a measurement of another skirt with a fit you like. *Before you cut your skirt length* add a scant 3" to your skirt's total length. This will be used to create the elastic casing for your skirt's waistband.
Trim your skirt across the long top un-cuffed edge to your desired length.

Finish Your Skirt's Back Seam
Now we'll use a french seam to finish the back seam of your skirt. With wrong sides facing, line the short vertical edges of your skirt up making sure to match your cuff seams and your top and bottom edges. Sew your skirt together at the back seam using a 1/4" seam allowance. Trim to 1/8" and press open.

Flip your skirt inside out so that right sides are facing one another. Press your seam flat.

Enclose your raw edges by sewing with a generous 1/4" seam allowance. Press your finished seam to the side.

Creating Your Skirt's Waistband
Fold the top raw edge of your skirt down a scant 1.5". Press in place and repeat. You have now turned down the top edge of your skirt by a scant 1.5" twice. Carefully edge stitch the bottom edge of the waistband casing you just folded and pressed in place, leaving a 4" opening to insert your skirt's elastic. Carefully edge stitch the entire top edge of your waistband casing.

Fitting and Finishing Your Elastic Waistband
You can fit your elastic waistband one of two ways. If you're able to measure your child's waist, do so and subtract 2" to determine your cut elastic length. So for example if your child's waist measures 20", your cut elastic piece should be 18". If you are unable to measure the child's waist, you can use the chart below - choose based on the size the child is wearing, not their age.
| 12 mo | 2T | 3T | 4T | 5T | 6 | 7 | 8 | |
| Waist to Knee Length | 8" | 10" | 11" | 12" | 13" | 14" | 15.5" | 16.5" |
| Waist Measurement | 16.5" | 18" | 19" | 20" | 21" | 22" | 22.5" | 23" |
| Cut Elastic Length | 14.5" | 16" | 17" | 18" | 19" | 20" | 20.5" | 21" |

Pin a safety pin to one end of your elastic and feed it through your waistband casing, being careful to stop the other end of your elastic from pulling through the waistband casing. Once you have fed your cut elastic length through the waistband casing, remove your safety pin and overlap your elastic ends with one another by 1". Pin in place (with your regular sewing pins). Look at your overlapping elastic ends and imagine a square formed by the edges. Using a zig zag stitch, stitch along the lines of this square, pivoting at the corners. Once you complete your square, run a line of diagonal stitches from corner to corner of the square. Backstitch and snip your threads.
Gently pull on the waistband so that the elastic lays nicely inside the waistband casing. Edgestitch the waistband casing opening closed.
Congratulations! Your skirt is done! We hope you loved this sewing project and that many adventures lay ahead for your new little skirt.

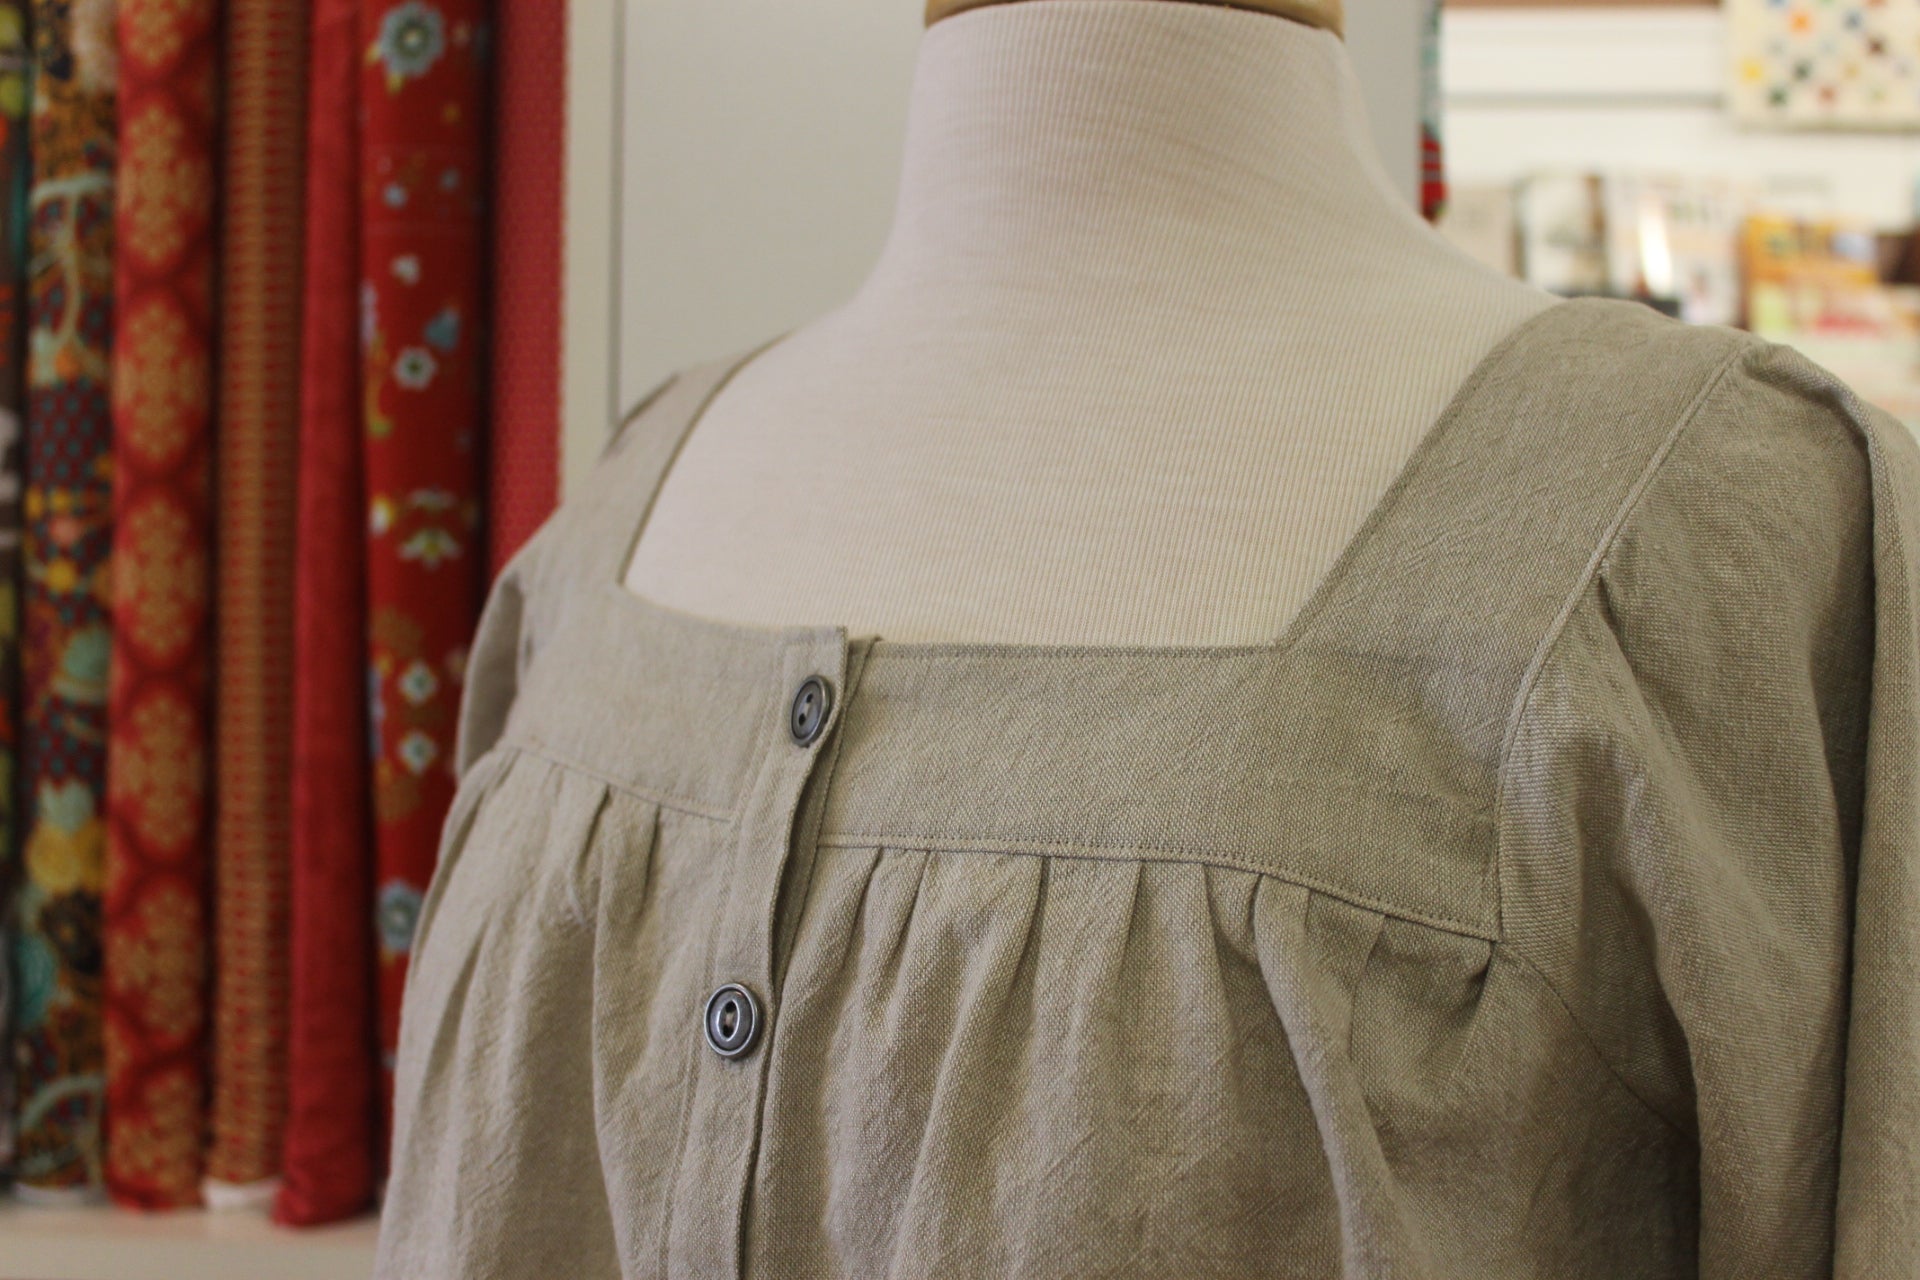
Note: Child's skirt tutorial is pictured with the Capucine shirt by Citronille.