

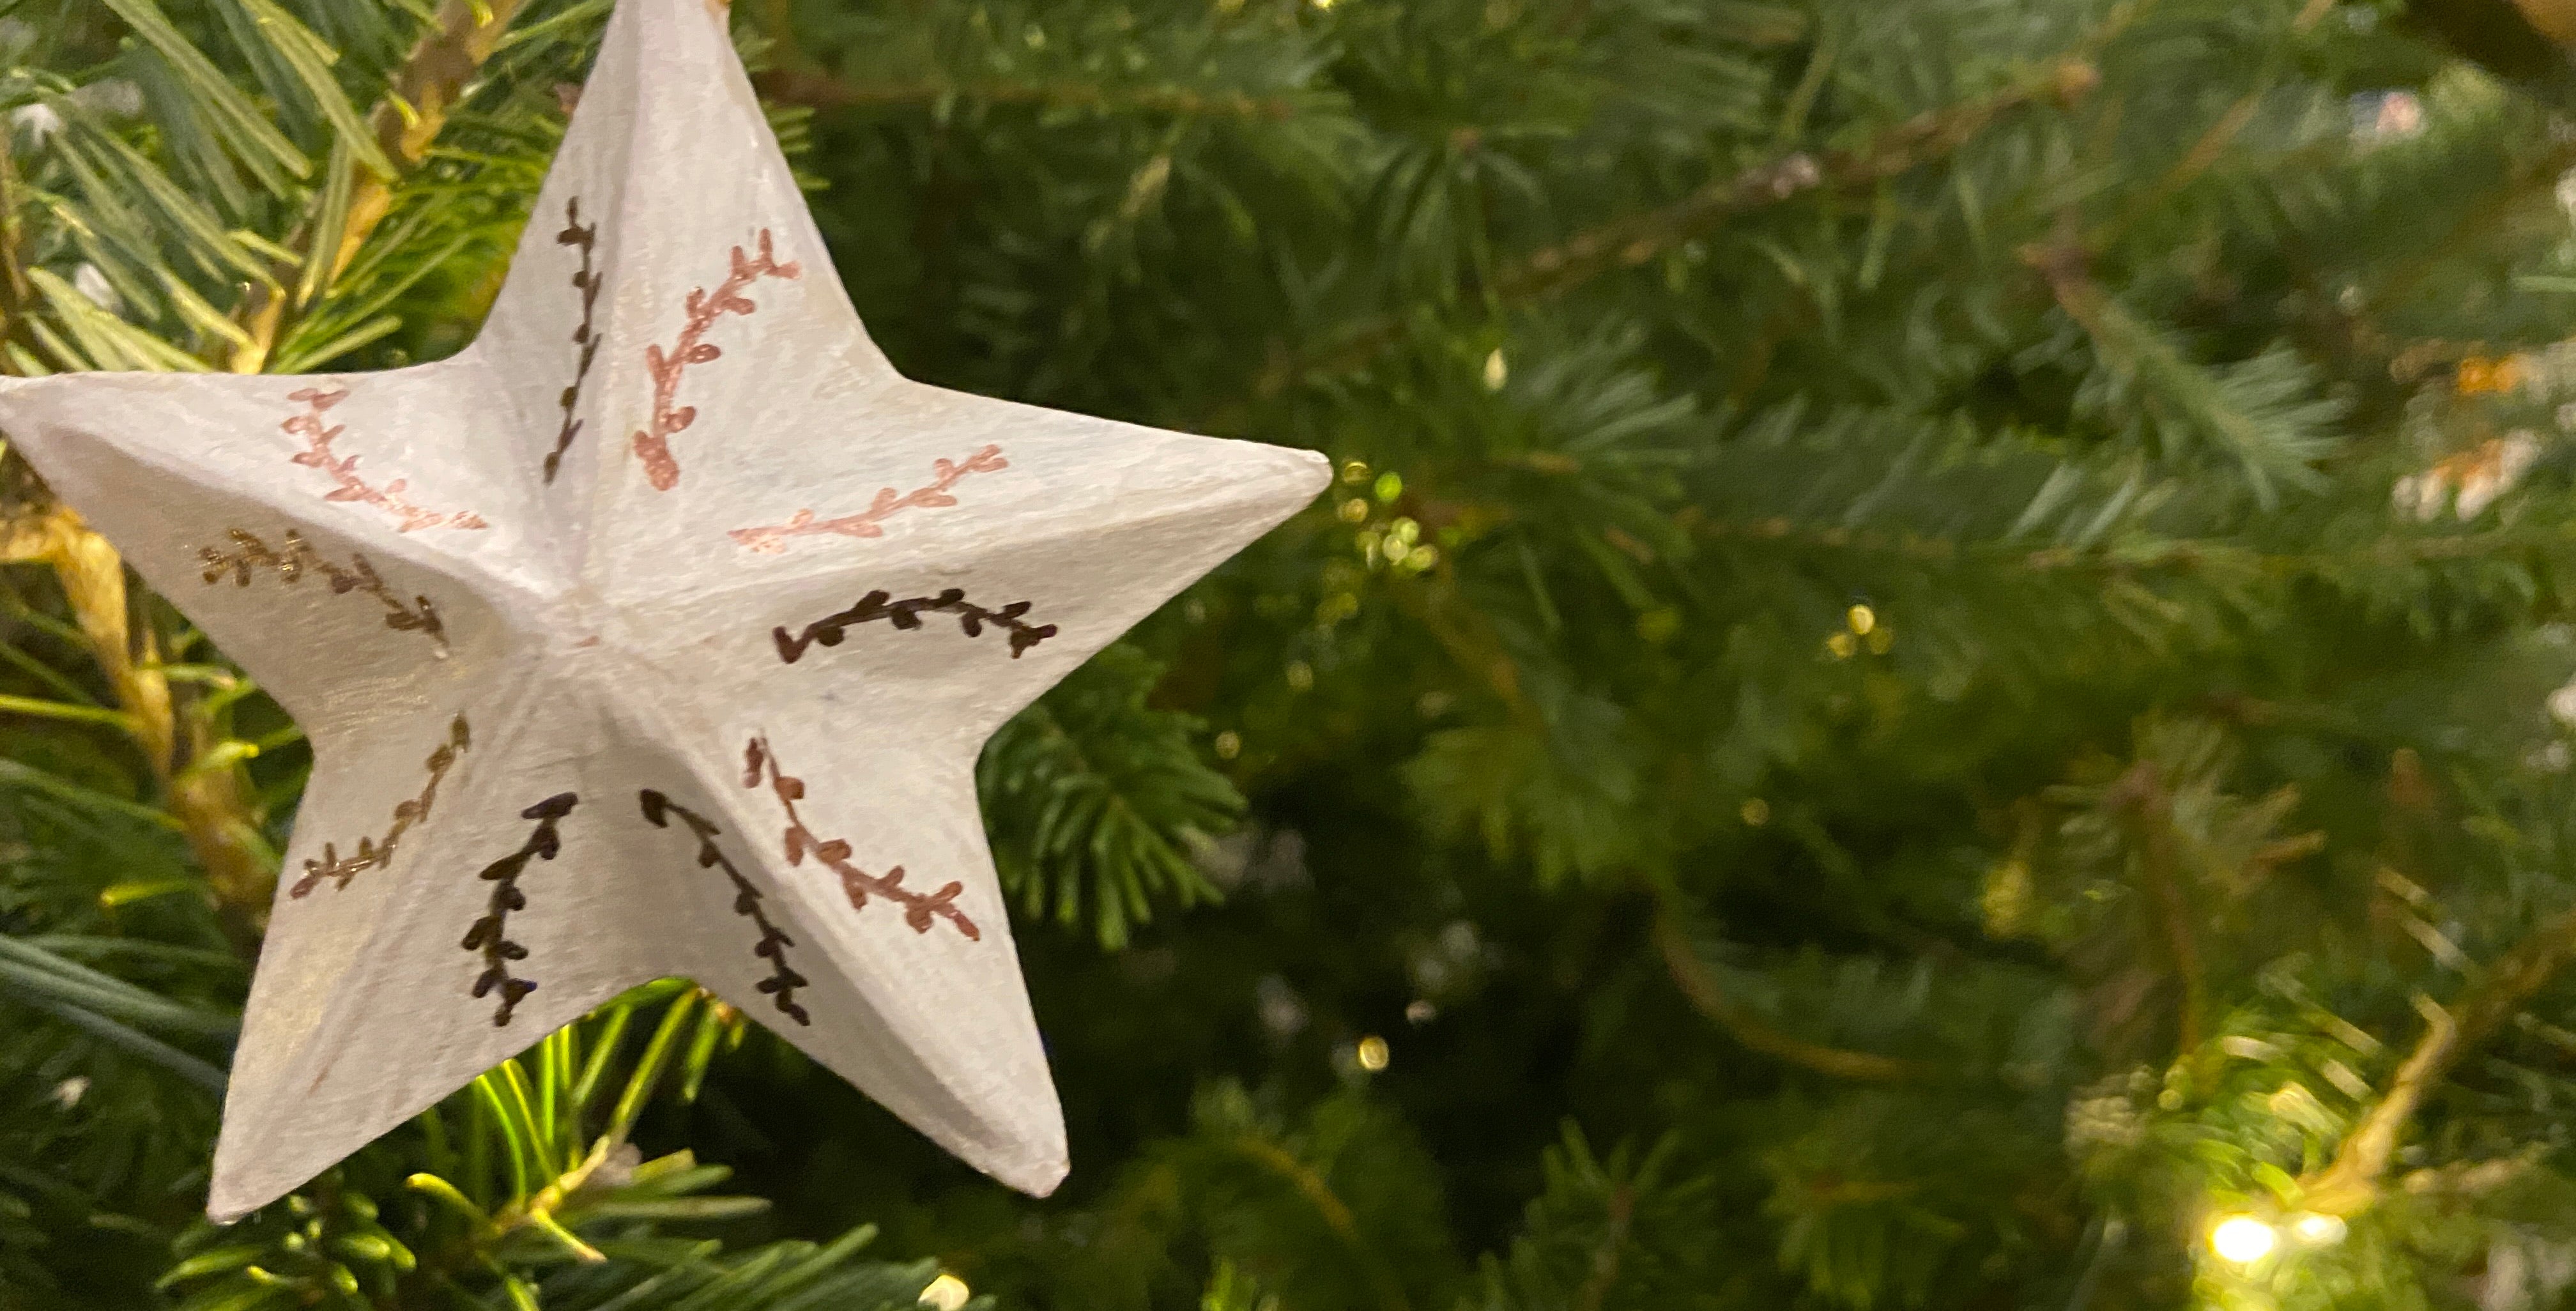


Felt Window Pane Ornament Tutorial

Supplies:
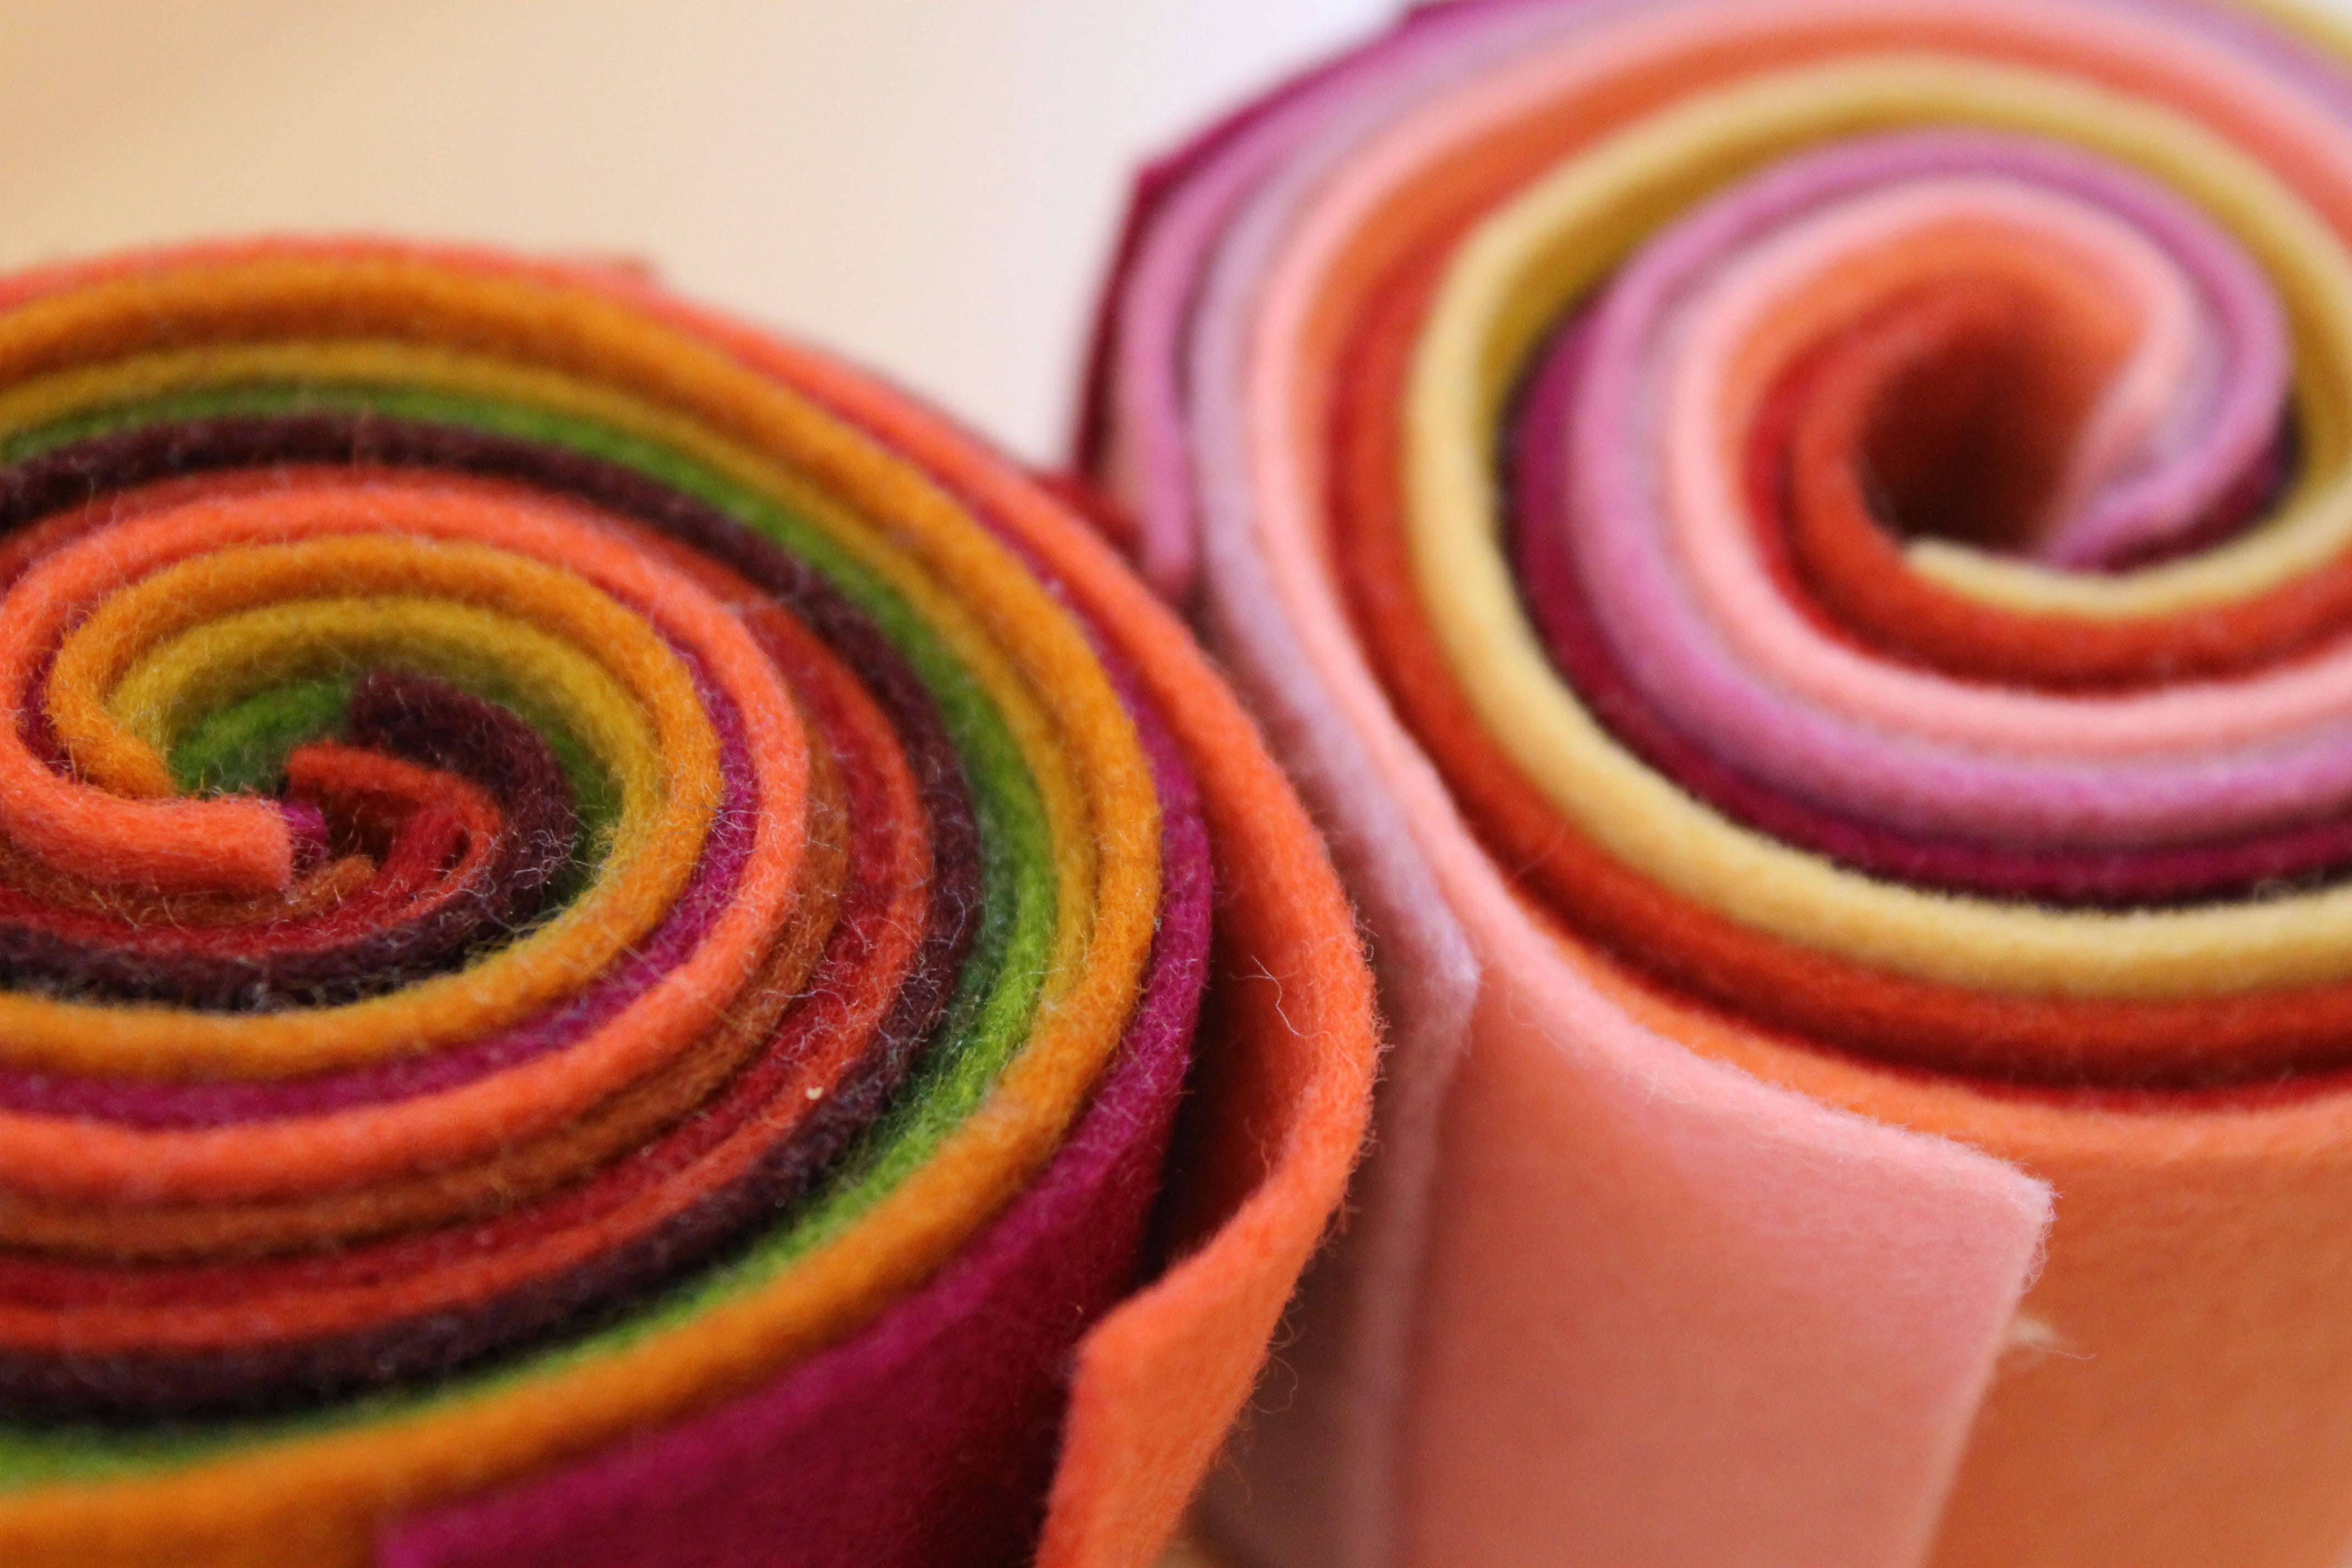
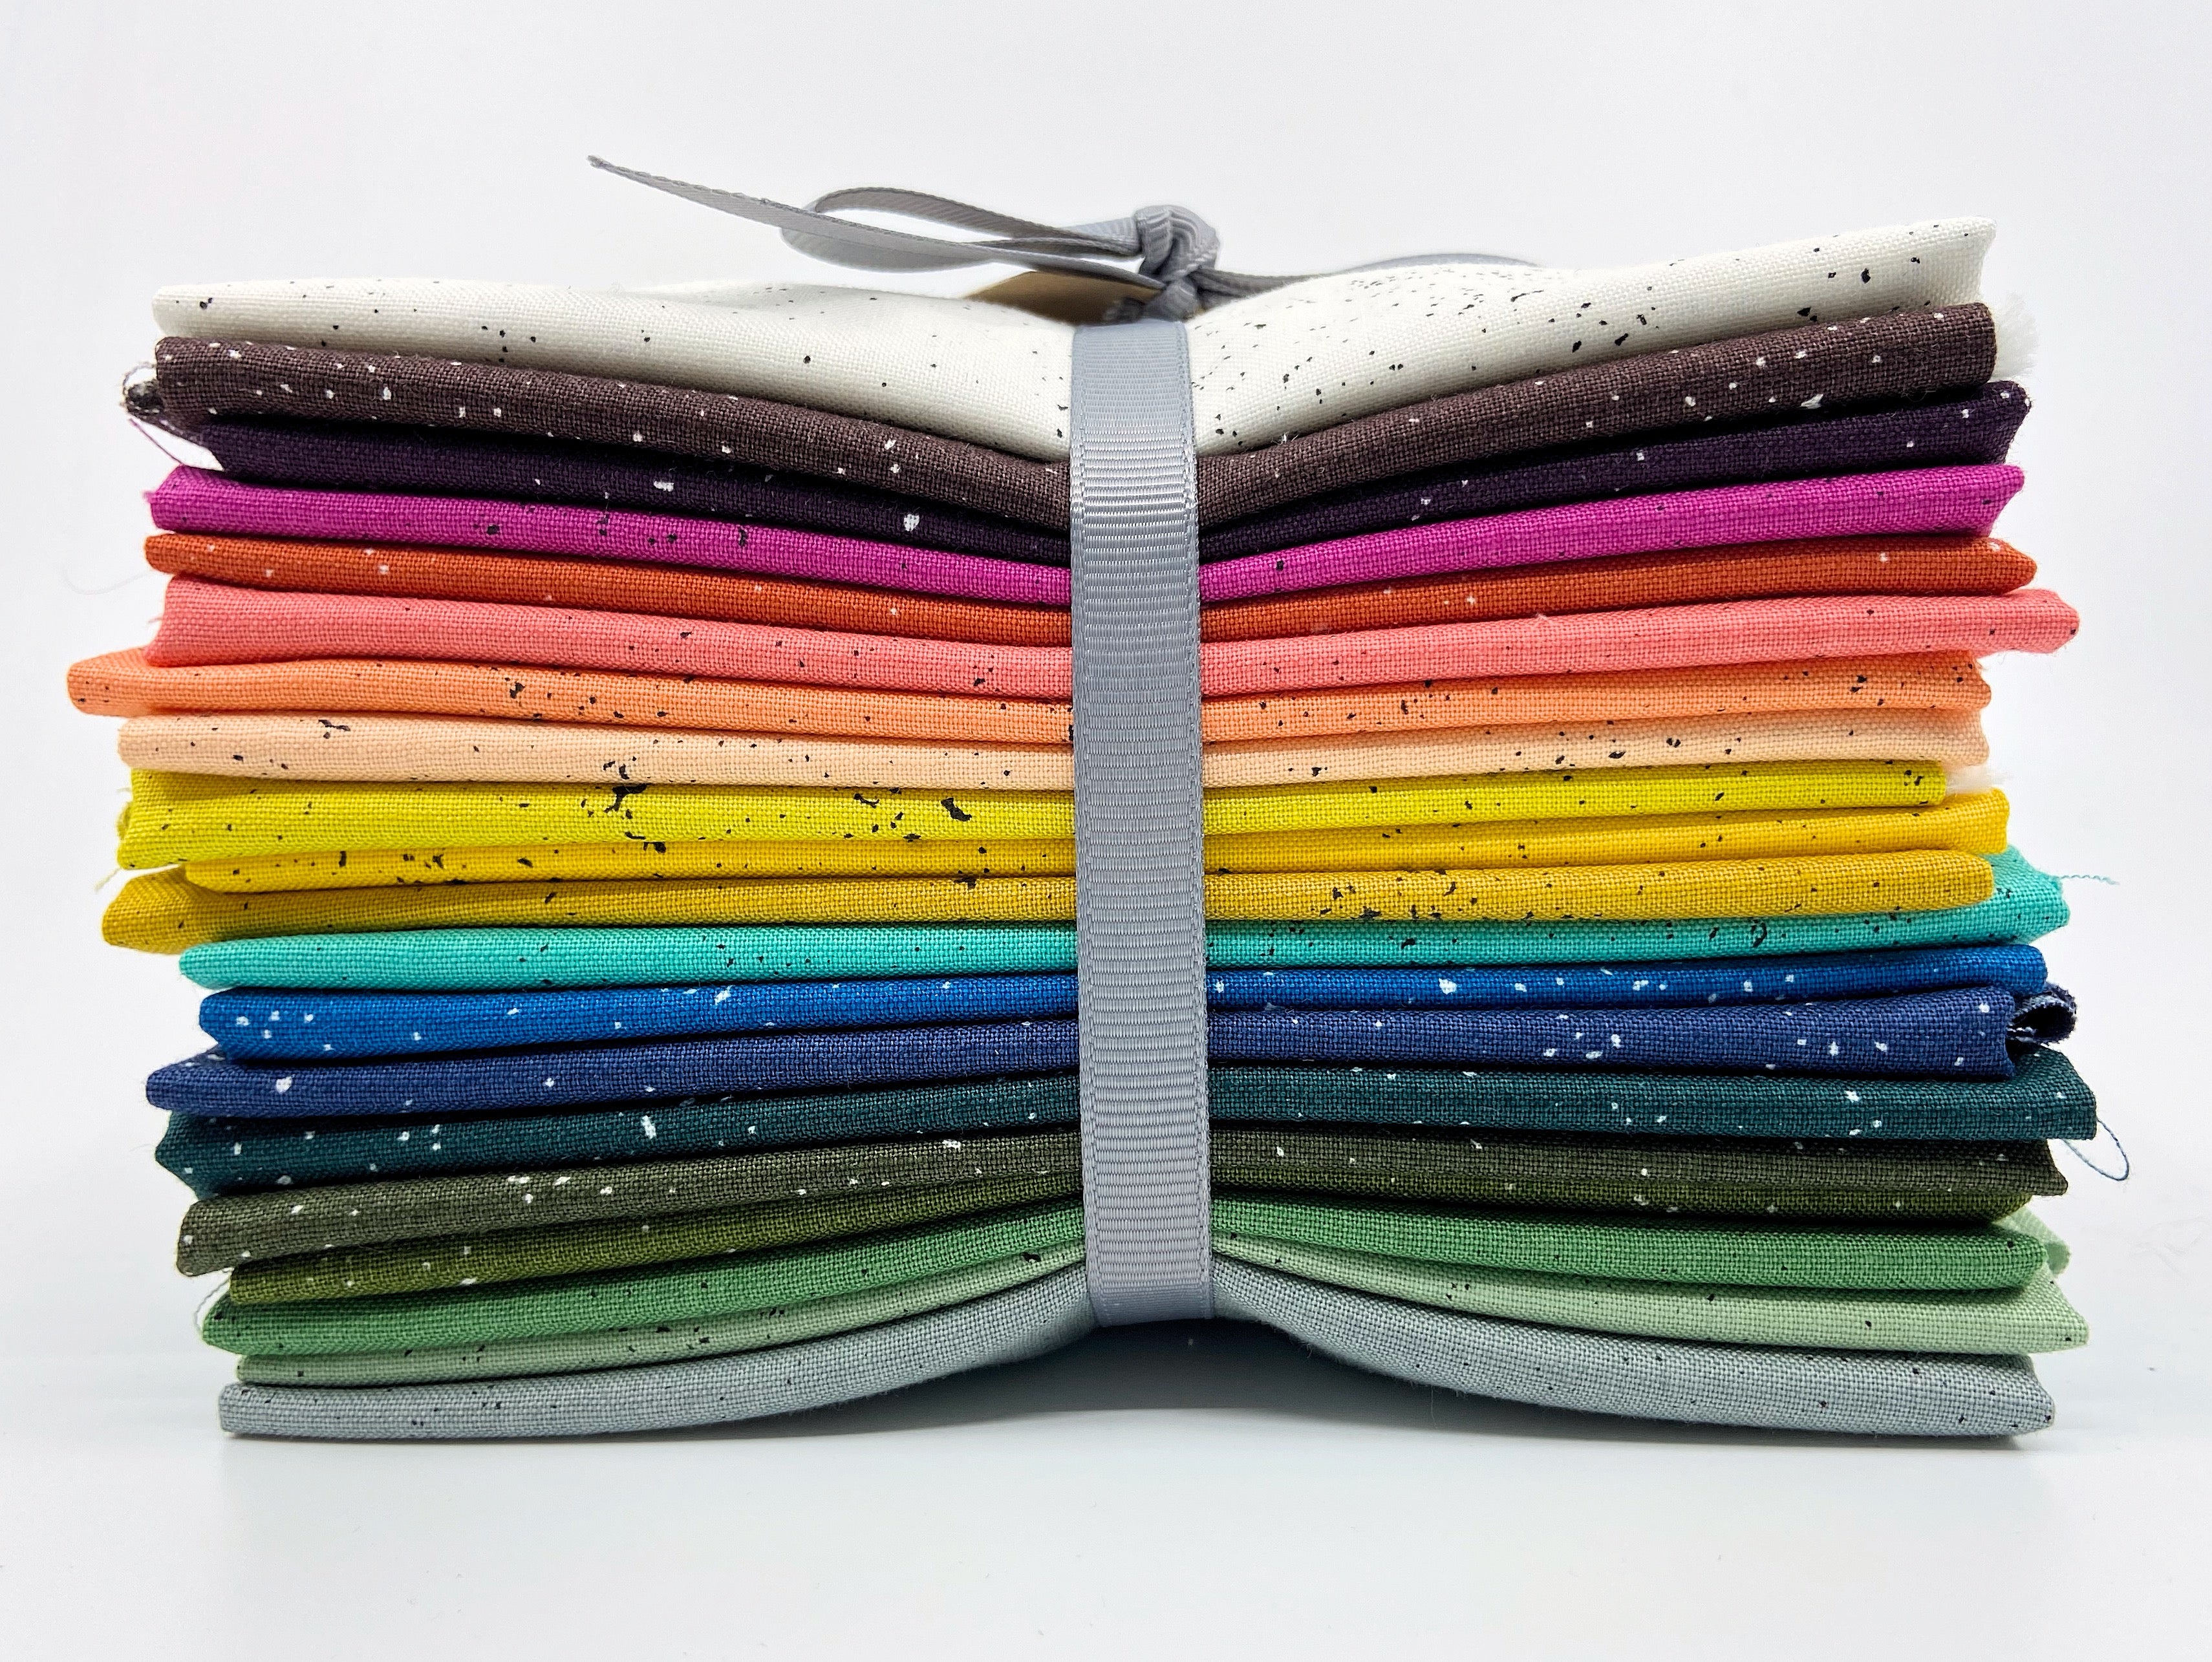
- Wool Felt - Our felt rolls can provide you with smaller pieces of 10 colors to make a variety of ornaments that will coordinate. Each of the 4x8" pieces of felt will give you room to cut 2 large ornament shapes.
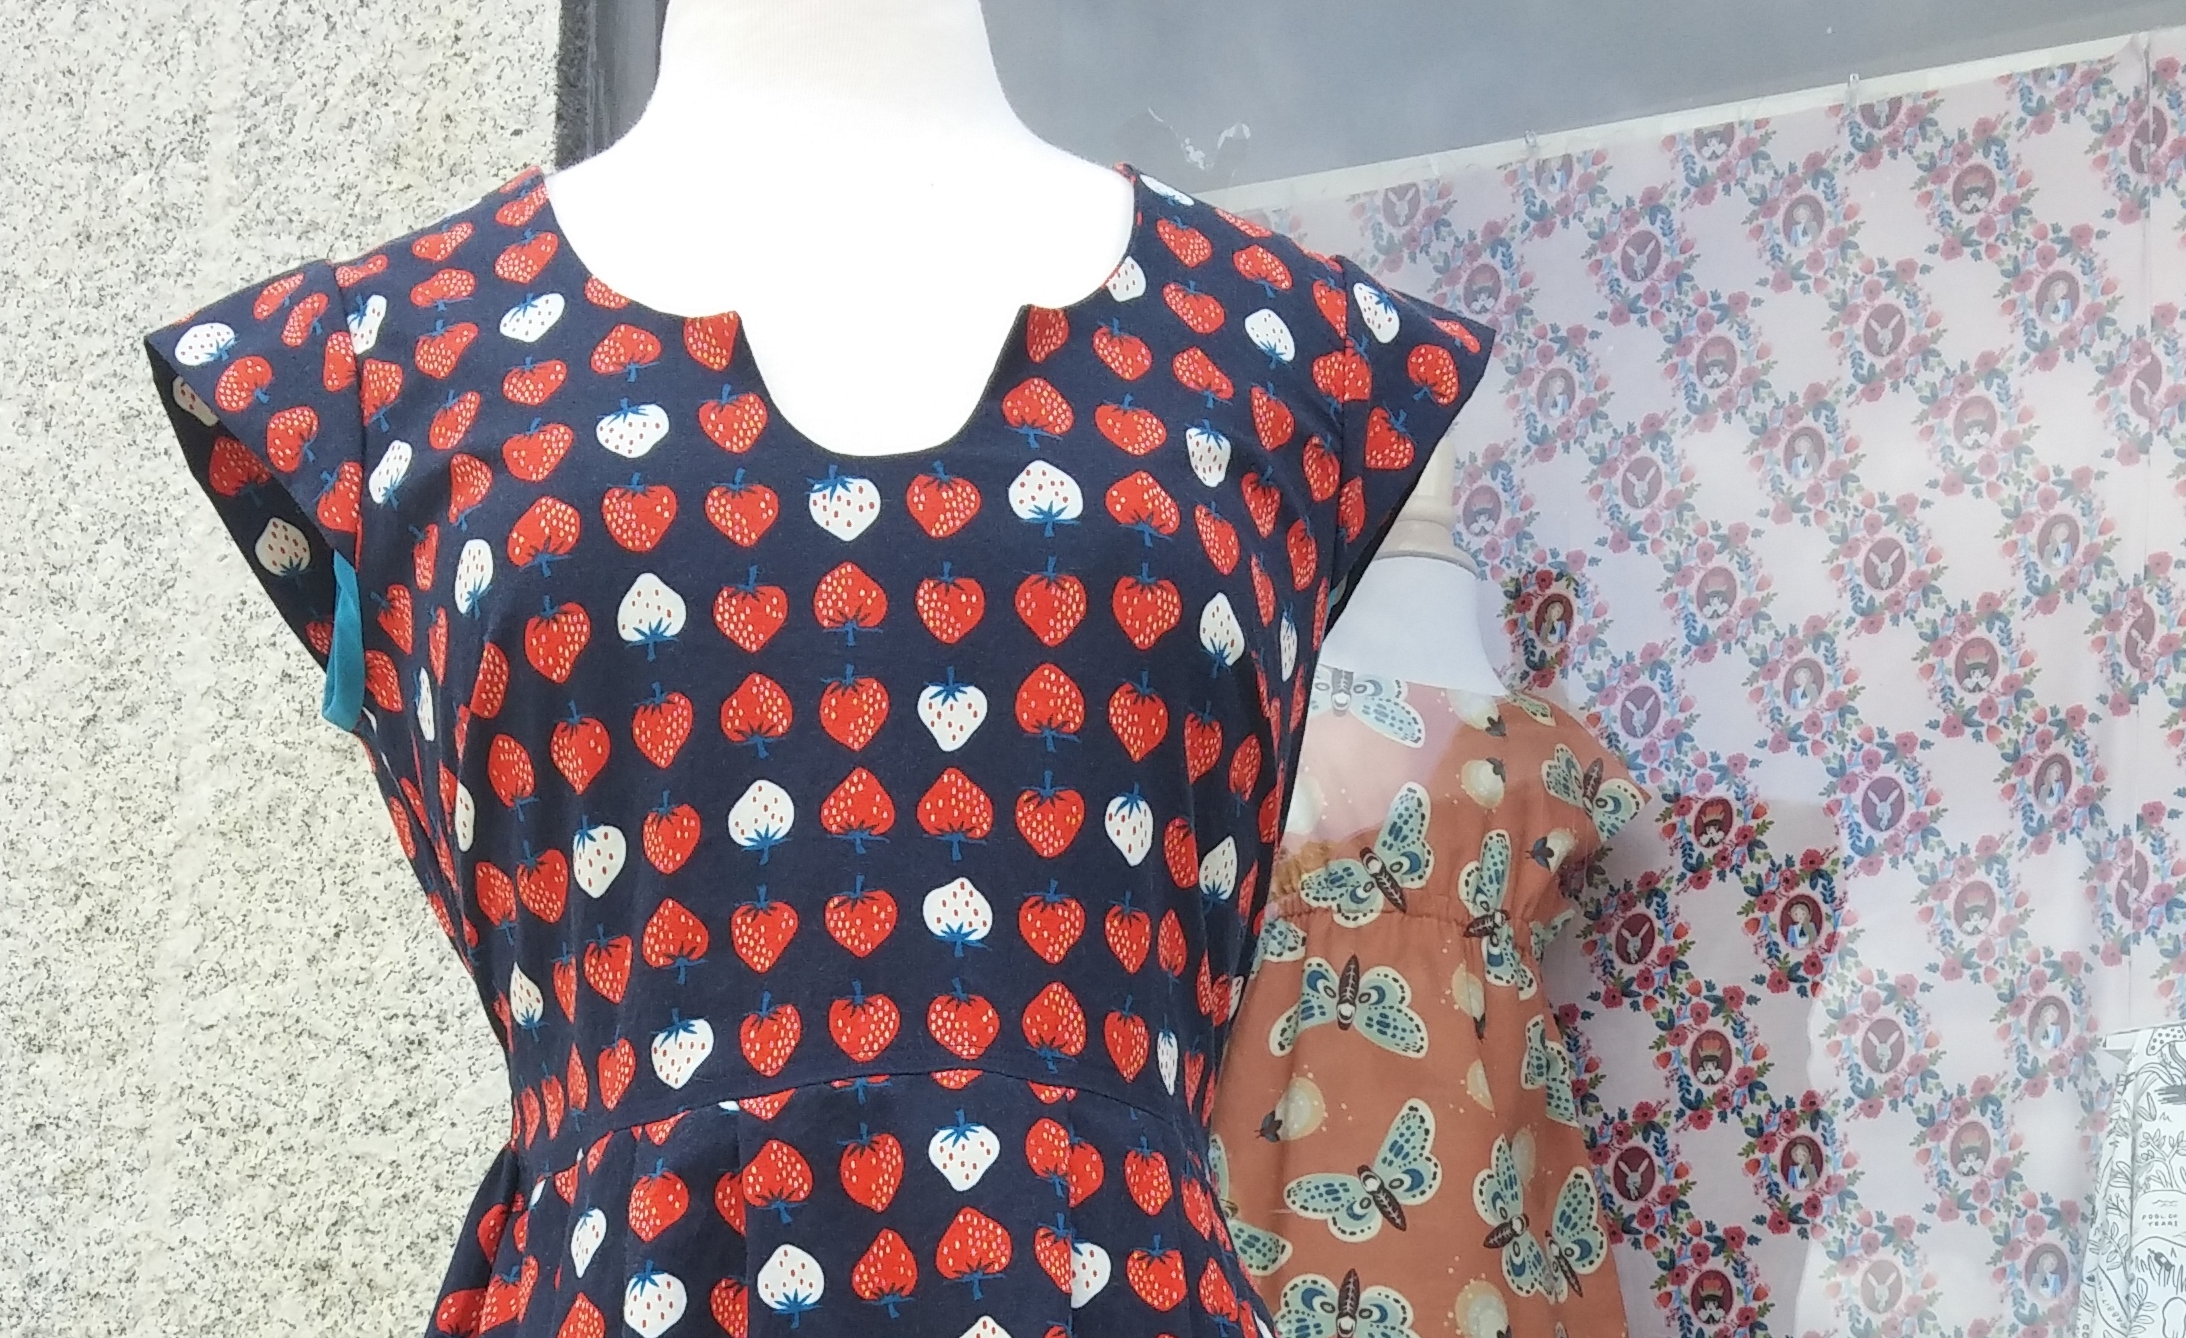
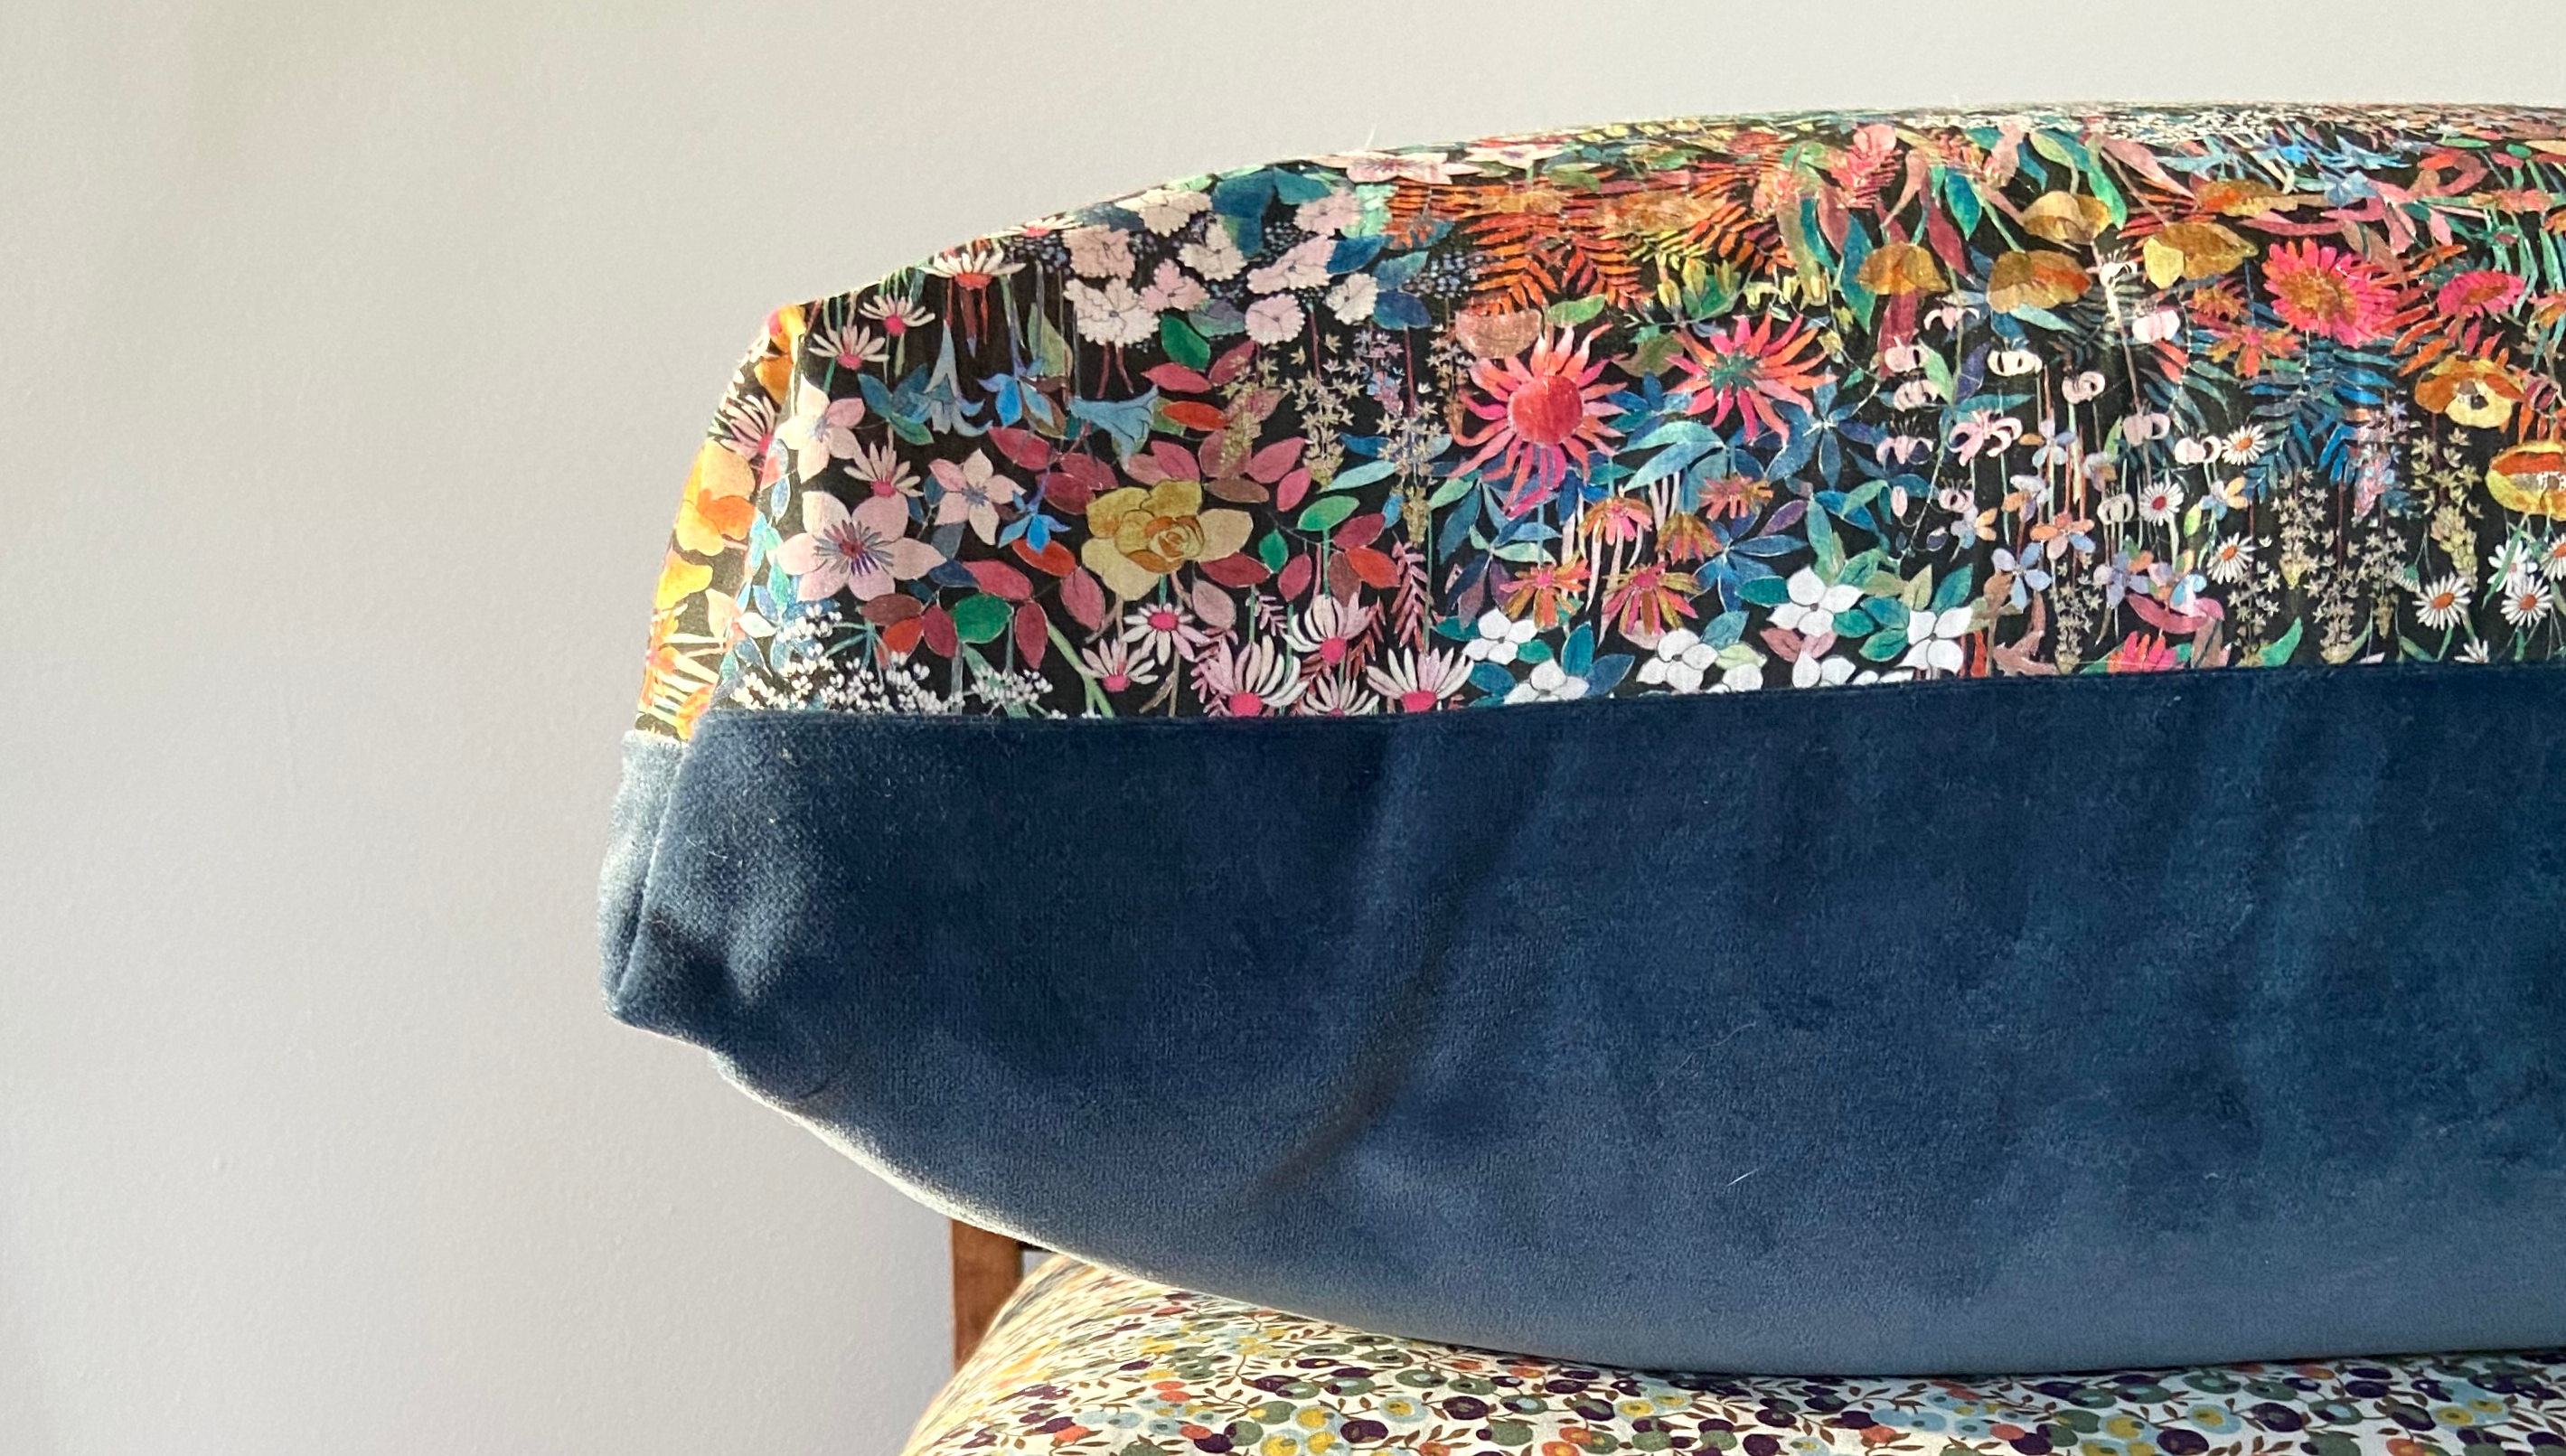
- Fabric scraps with patterns you want to feature
- Embroidery floss and needles
- Cording for the top of ornament
- Glass glitter
- Scissors
- Diamond glaze
- Fabric glue
- Hot glue gun and sticks
- Printed out Ornament Template PDF
First... A bit about using glue in this project...
The glue is really helpful in keeping all of the layers together while stitching the layers together. You can do this with pins, and could even attach the cording with needle and thread too, but pins only do so much, and the layers can shift a bit. The glue definitely helps to make the construction much easier, but - if you want a glue free project, try it out!
Hot glue is our favorite, but has one limitation - you have to work very quickly. It cools very quickly, and if you don't get the layers pressed together right away, the glue won't work into the fibers enough for it to feel smooth, and the ridges can be felt. Also, because of the way it hardens so quickly, you don't really have any time to adjust your placement of the pieces.
Fabric glue is another option, especially for setting the fabric in the window. If you have a really specific placement for the fabric design in the window, using fabric glue on the frame will let you check and fix the placement as needed. But... the fabric glue will take a while to dry. Most importantly, the fabric glue is water based and soaks into the felt. This is fine in many cases, but some colors of the wool felt will bleed. Red dyes are notorious for bleeding, and the felt is no exception. We made one ornament where we set the fabric on a red background with the fabric glue, and the dye soaked into the fabric and stained it, ruining the ornament before it was even finished!
Okay! Now onto the directions!

Choose your fabric for the center focus, choose two coordinating felt colors, and a coordinating embroidery thread. Cut out a larger template shape, including the inside shape from the middle.

Use this template piece to trace and cut out one felt frame, and one whole felt piece. Use two colors that will coordinate with your fabric.

Place the template on top of your fabric until you find a design that you want to frame in the ornament. Trace around the outside of the template - NOT the inside window. Cut out the fabric, cutting inside the tracing lines so that the fabric will be just a bit smaller than the felt pieces.

Blanket stitch around the INSIDE edge of just the felt frame. This may seem a bit counter intuitive, but would be harder to do this at any other step. If you don't know how to do a blanket stitch, do a web search for a tutorial - there will be a lot to choose from!

Cut a 2.5" length from the cording and use hot glue to attach both ends to the inside top of the back piece to make a loop. This should give you the right size that is similar to the cap on actual glass ornaments. If you want this loop to be long enough to be used to hang the ornament on a branch, you should cut a longer length. We chose to just make the short loops and then use separate ornament hooks to hang the ornaments.

Using fabric glue, glue the frame to the fabric, checking the placement to be sure you are happy with how the fabric appears in the window. (Be sure to put the glue closer to the inside of the frame, and the stitches you already made, so that the final round of blanket stitching won't have to go through any glue.)
You could also use hot glue for this step, but you should use substantially less hot glue than the fabric glue that is show in the image.

Use a very light amount of hot glue to attach the frame and fabric piece onto the back piece. Again, make sure not to put the glue too close to the outside edge.


Check your outside edges to make sure that the layers of felt are even with each other. Trim them up a bit if needed.

Blanket stitch all the way around the outside, running up to the cap of the ornament, but not necessarily all the way up as the glitter will cover the top.

Use the diamond glaze to attach the glass glitter to the ornament. Squeeze out the glue, and use the tip of the glue bottle to get the diamond glaze everywhere you wan the glitter. Make sure that the whole area is covered with the diamond glaze, and that it covers the sides as well.

Working over a sheet of paper, pour glitter from the bottle. Don't worry about pouring too much out, just make sure that it covers the entire area where you put the diamond glaze. Once you are finished, shake your ornament over the paper to make the loose glitter fall off. Wait for a bit to let the diamond glaze dry, and then repeat on the back. All of the loose glitter on your sheet of paper can be easily poured back into the bottle.
Enjoy your new ornament!
Ideas to change this pattern up a bit...
- Add a little bit of stuffing between the back felt piece and the felt frame/ fabric layer to add some extra dimension to your ornament
- Use a running stitch around the edges of the frame instead of a blanket stitch
- Embellish the frame with extra embroidery stitches, sequins, glitter glue....
- Embroider words, dates, or even a little picture onto the back felt piece
- Make a felt frame for both sides (In this case we would suggest having a full felt piece in the middle between the two frames to give structure to the ornament.)
- Instead of using fabric for the area inside the frame, cut out an extra whole piece of the felt and needle felt or embroider in the center
- Make this whole project with decorative paper instead of felt