


Sew a Simple Double Layer Blanket
There are lots of ways to make a blanket, and here we outline one of the simplest methods - It is a great project for brand new stitchers, or would make a quick project for any stitcher to make a beautiful gift for someone with optional decorative finishes.
We have used this pattern mostly as a way to make baby blankets, and often have kits available to make fabric selection even easier This pattern is also adaptable to whatever size you would like to make, but as the blanket gets bigger, more quilting stitches will be needed to keep the two layers together, so the project will get a bit more difficult and wouldn't be suited to a brand new stitcher at that point. Please see the section at the very end of this tutorial for some considerations if you are making a much larger quilt than we describe here.

A Bit About Fabric Selection:
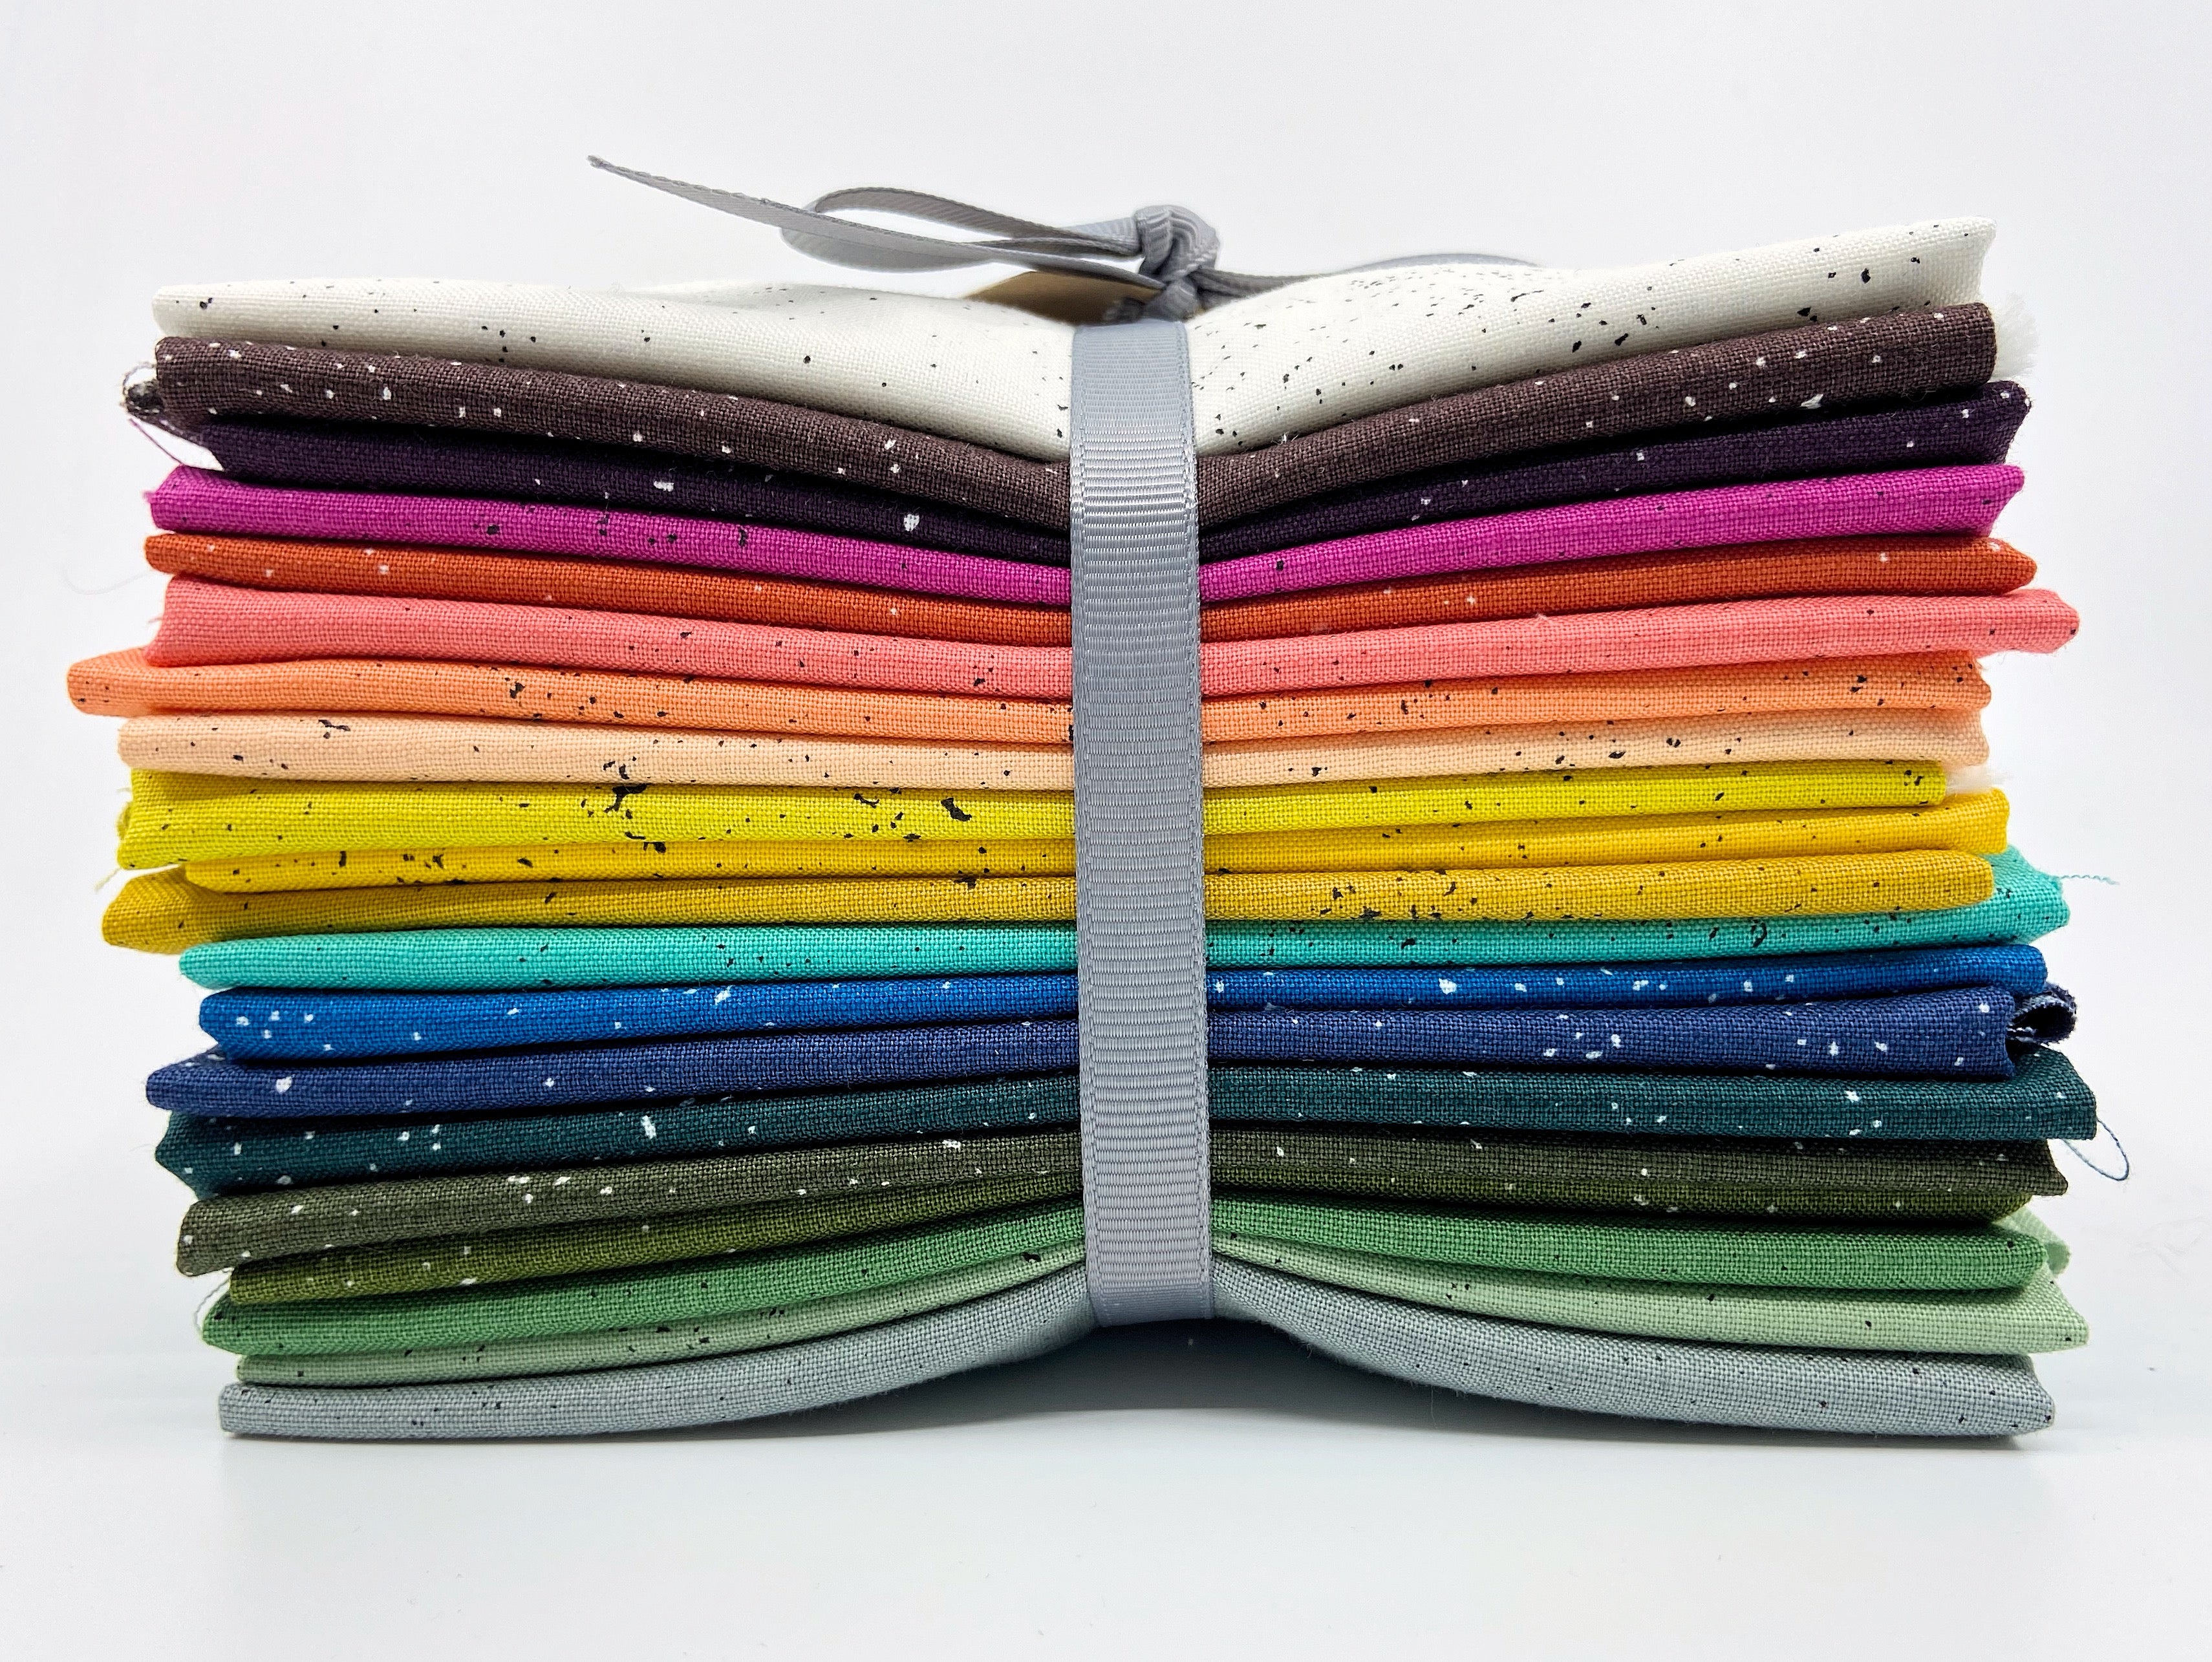
This pattern is for a blanket with just two layers of fabric and no batting in between, so the fabric selection really makes a difference in the finished project. Double gauze makes a beautifully soft blanket with loft. The photos in this tutorial show two double gauze fabrics - a print from nani IRO and a coordinating solid from Robert Kaufman. Flannel is also a great selection for baby blankets. A flannel blanket will have much more body and thickness to it, and will also be quite durable. Flannel blankets are great options to throw in a diaper bag when heading out - they can be easily washed over and over, so are a great choice for throwing on the ground to sit on, or for changing babies on. Another option would be to chose a quilting print and a coordinating flannel for the other side. With such a wide selection of quilting fabrics this will give you so many options, while at the same time keep some of the volume and softness that flannel offers.
Of course, many other fabrics will work too, depending on what qualities you are looking for in the finished project. Have fun dreaming up possibilities!
Materials to make an approximately 40" square blanket:
- 1.25 yards each of two coordinating fabrics
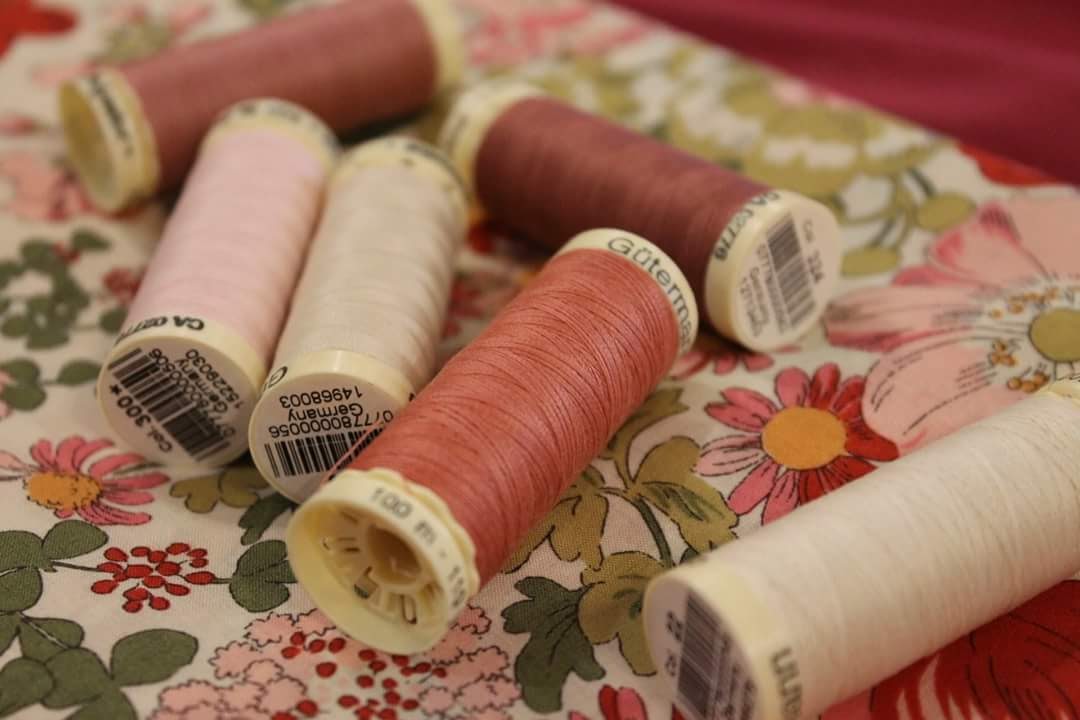
- Thread to match or coordinate with your fabric
- Your sewing machine and other basic sewing tools

Pre-wash the fabrics:
Most natural fiber fabrics will shrink at least a little bit when first washed, and some more than others. For this reason, it is very important to pre-wash your fabrics for this project. If one of the fabrics in the blanket shrinks substantially after it is made, and the other one doesn't, the blanket will not lie flat - one side will get bunched up when the other is tight. So.... Pre-Wash your fabric!!! at least once!!!
Cutting the Fabric:
Before cutting the fabrics you will need to press them.
You will need to figure out what size blanket you want to make. We often make a square blanket for babies, but you could make any size you would like. When we cut a square from 45" wide fabrics (cut to 1.25 yards as that is also 45") that have been pre-washed, and the selvedges have been trimmed off, we are usually left with the largest width possible being 41" or 42".
Instead of a square baby blanket, consider using just one yard. After trimming down the edges a bit, this will make a finished blanket that would measure approximately 40" wide by 32" tall.
If you have a rotary cutter system, use that to cut both of your fabrics to size. If you don't have a rotary cutter system that is fine! Use a straight edge and marking pencil to mark the lines for cutting, and cut with scissors.
Our Trick for Cutting:
The fabrics can be cut to size separately, but we find it easiest to cut them together. To do this, press each fabric, then place the fabrics together, right sides facing, and press them again. Not as good as pins, of course, but pressing the fabrics together will make them stay in place a bit, at least long enough to take over to your work table.
Now use your rotary cutter or scissors to cut the fabrics to size at the same time.
After cutting the fabrics to size don't pull them apart! They are already put together with right sides facing, so just pin the two layers together right after you are finished cutting. Now just skip right to the sewing part!

Pin the two fabrics together:
Place the two layers of fabric together with right sides facing. If the fabrics both have directional prints, make sure that they are facing in the right directions!
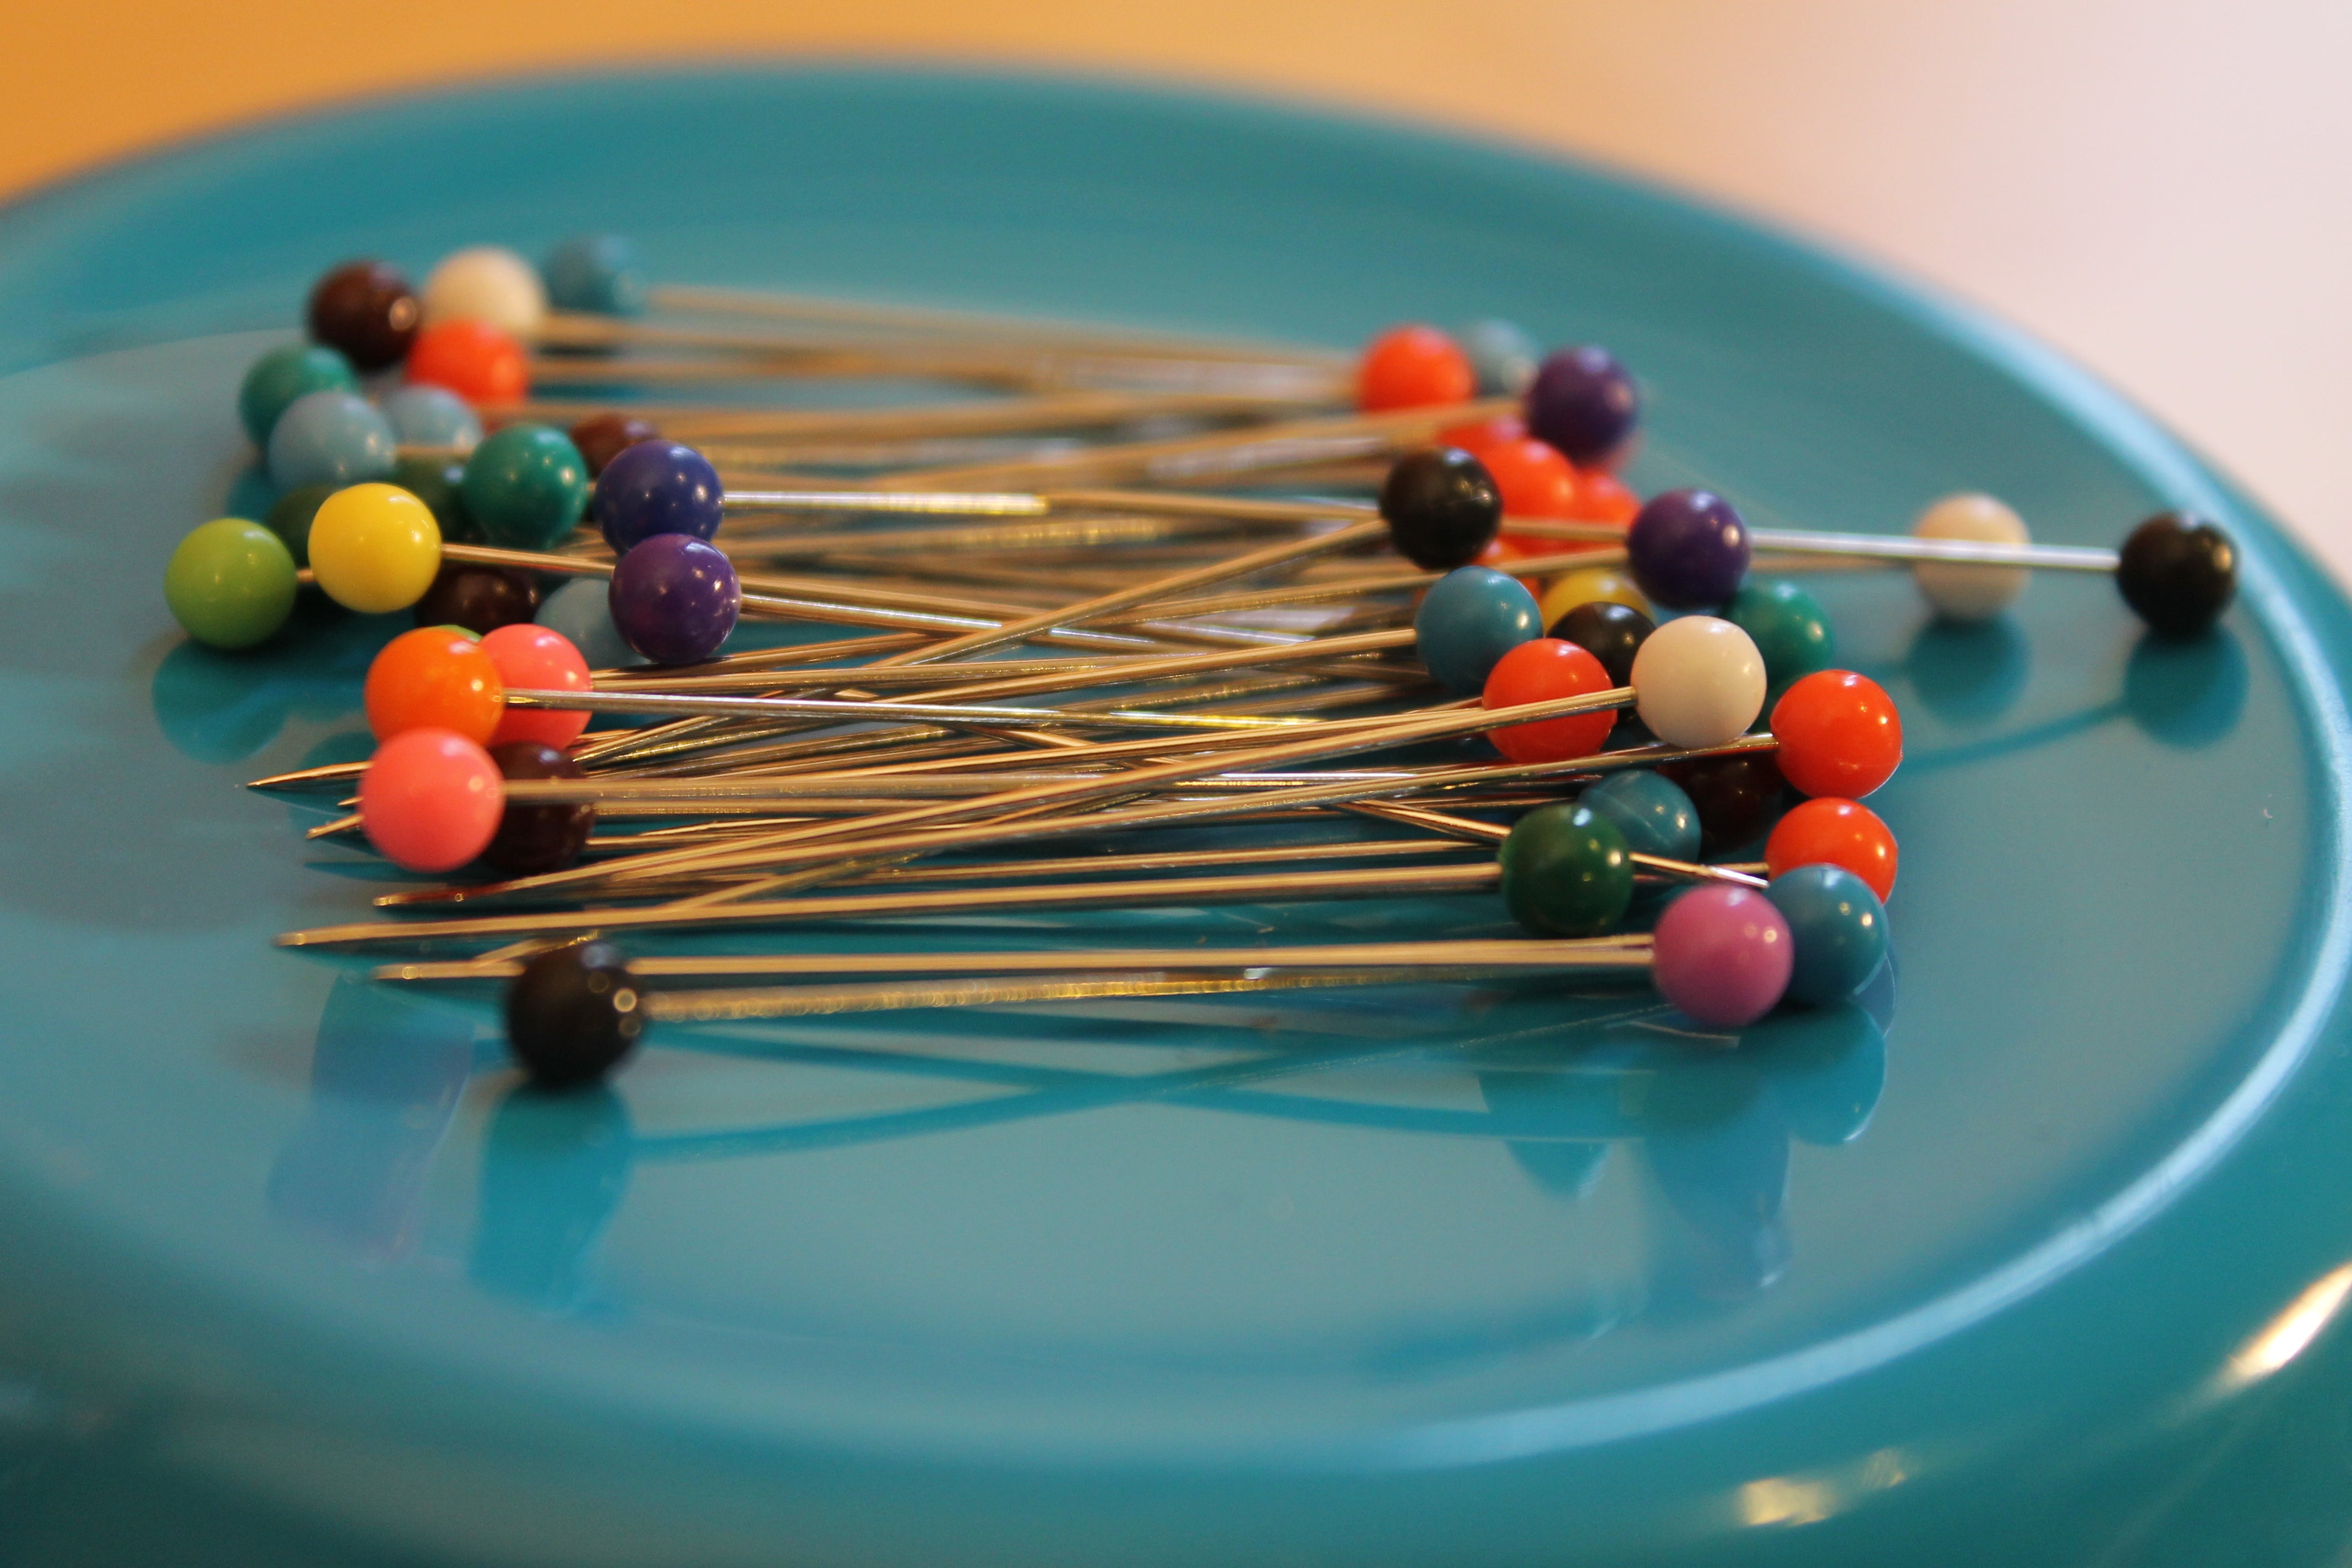
Smooth out the fabrics so that they layers lie flat against each other and pin all the way around, placing the pins about every eight inches.

Sew the Layers Together:
Starting in the middle of one of the sides, using a 1/2" seam allowance, backstitch and then start sewing down the side, removing the pins as you get close to them.
When you come to a corner, stop 1/2" from the edge with your needle down. Lift up your presser foot and pivot, lower your presser foot, then sew to the next corner.
Repeat this until you are back to the side that you started sewing on, and stop sewing about 8" before you get to where you started, leaving an opening. Backstitch and cut your threads.

Trim Your Corners:
Trim off each corner at a 45 degree angle as show in the photo above. You need to get pretty close to the corner, but be sure to stay a tiny bit away from your stitches - you don't want to cut your stitches!

Turn the Blanket Right Side Out:
Reach inside the opening that you left, grab the opposite side, and pull the blanket back through the opening so that the right side is facing out. Push out the corners with your fingers if you want a more rounded corner, or use a special tool or a chop stick to push out the corners more for more of a point.

Press the Blanket:
Using your iron, press the blanket flat. When pressing along the edges, first use your fingers to pull both edges out as far as you can so that the stitching line is right at the edge of the blanket.
When you get to the opening, fold in the edges in that area so that they run straight along with the sewn edges on both sides of it, and press flat just like the rest of the edges of the blanket.

Topstitch Around the Edge:
Find a mark on the face plate of your machine and use that as a guide for the outside edge of the blanket. We usually stitch about one inch from the outside edge. Stitch all the way around the blanket the same distance from the edge the whole time, pivoting at the corners, and backstitching at the beginning and end.
Optional - make extra rounds of stitching, or use a decorative stitch if your sewing machine has them. This is a place where you can add your own finishes to your project to make it special. Alternatively, you could hand stitch around the blanket with a running stitch or an embroidery stitch.
Because this blanket we are making is relatively small, just 40" square, and does not have batting, it does not need to be stitched in the middle, but if you want to stitch into the middle, please read below in the section "Considerations When Making a Larger Blanket".

Handstitch the Opening Closed:
You will use a ladder stitch to close the opening. This stitch will provide an seam that is near invisible. It closes up the opening and blends in with the machine stitches from when you first sewed the two layers together.
- Here is our best shot at describing how to do it, but you could look up a tutorial online for this as well!
Using a hand sewing needle and your thread, tie a knot and come up through the edge of one of the pressed folds at the beginning of the opening. Just like in the photo above, take a 1/4" (or less) stitch along the fold of the opposite side, from where your thread came out, directly across.
Pull the thread through to finish the stitch and then take a stitch just like that on the first side, starting directly opposite the end of the last stitch. As you repeat this, your thread will make a kind of "ladder" as you travel back and forth from side to side. - Basically, your new stitch starts on the opposite side, right across from where your last stitch ended.
You are Finished! Enjoy Your Blanket!

Considerations When Making a Larger Blanket:
Making a larger blanket using this method can be tricky, but it can be done!
The reason it is tricky is because the layers are sewn together around the outside edge before they are attached in the middle. This works just fine for a smaller blanket, like the 40" square one we made in this tutorial, but with a much larger blanket, you will need to really pay a lot of attention to making sure that all of the edges are totally flat when putting the wrong sides together to be pinned and sewed. Your work table is probably not big enough to lay the whole blanket out flat, so working on the floor might be the best option. Or, pin the blanket in the middle as you smooth it out flat to help keep everything in place. (Just don't forget to remove the pins before you turn the blanket right side out!)
With a larger blanket, once you have turned the blanket right side out and are topstitching, you will want to sew into the middle much more than we did with this small one to help keep the layers together a bit more than is needed with a small blanket. But, there is the chance that if the layers don't lie perfectly flat, that one of the layers will get folded on itself in a few places as you topstitch, especially if you topstitch all the way around again, but further in, and especially if your topstitching lines cross.
One way to avoid this would be to stitch a pattern in a few places in the blanket, but keep these spots separate from each other. For example, you could sew a few circles in different places in the middle of the blanket, or you could stitch along patterns in one of the fabric's prints in a few places.
Another way to avoid this issue would be to construct the blanket in a totally different way than this tutorial has you do. You would put it together in the way that quilts are constructed, but without the batting. With this method, you would begin your project by putting the two fabrics together with the right sides facing out, pinning and smoothing from the inside out. Then start your topstitching (quilting stitches) from the center, working out. This method will allow you to unpin and smooth out any of your sides if the fabric becomes uneven and bunched at all. But, now you will need to use a binding method to finish off the edge of your blanket as you will not be able to turn it right side out this way.