


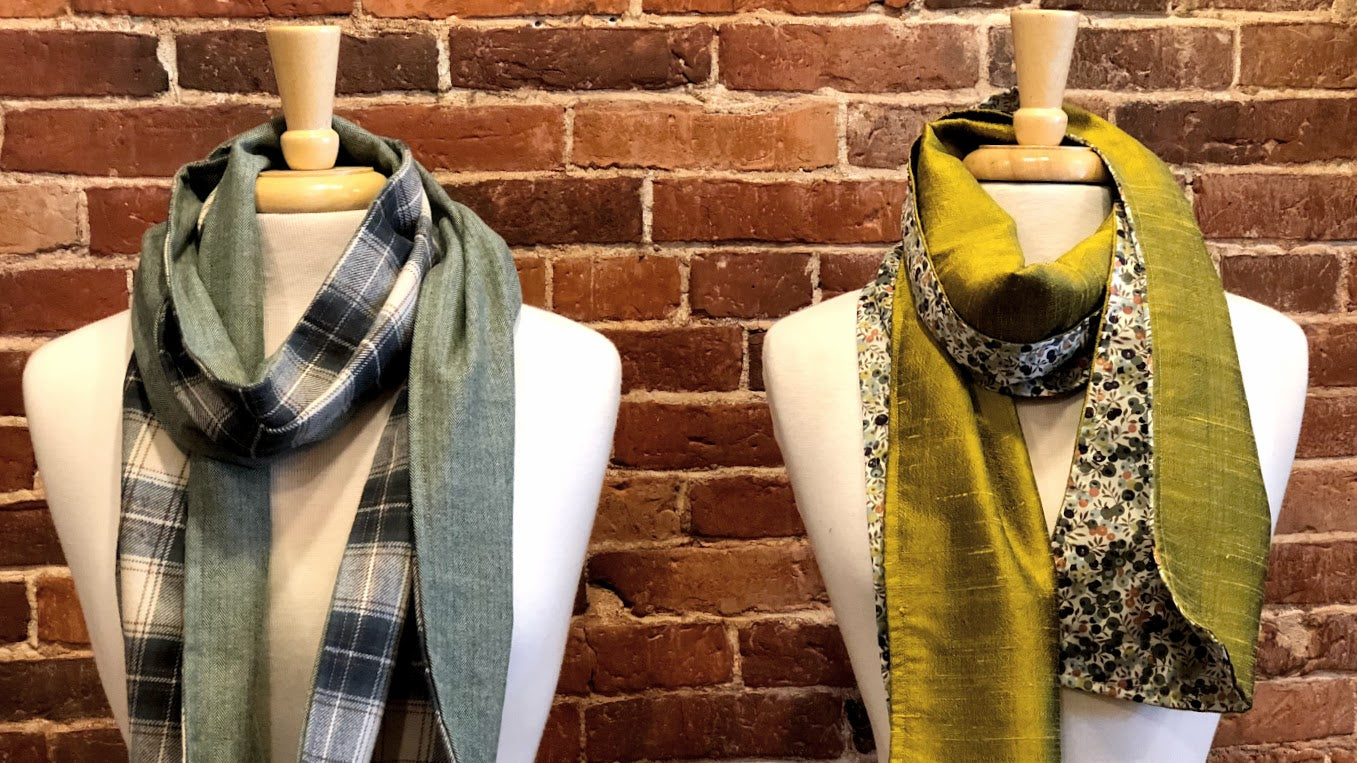


Triangle Scarf with Trim Tutorial

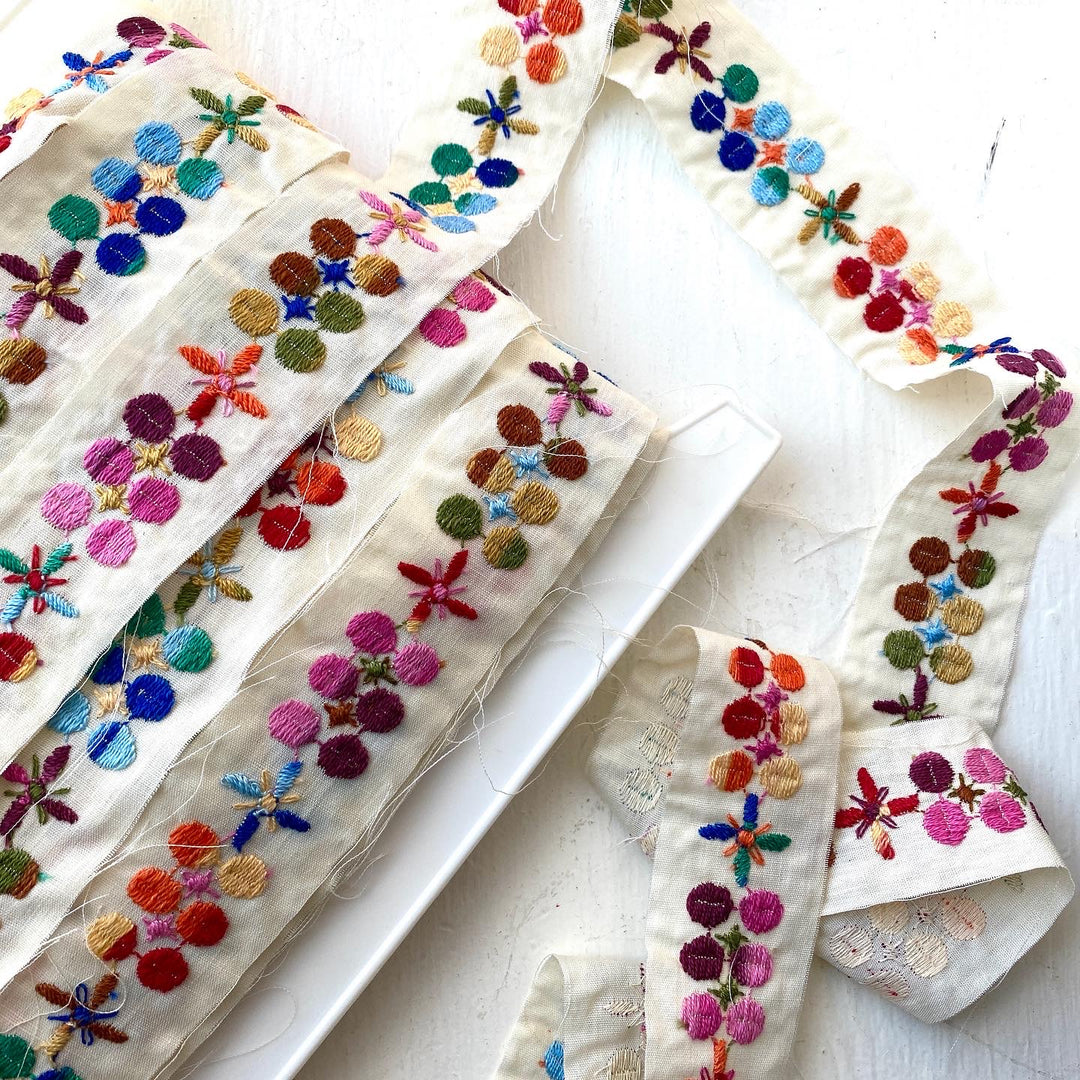
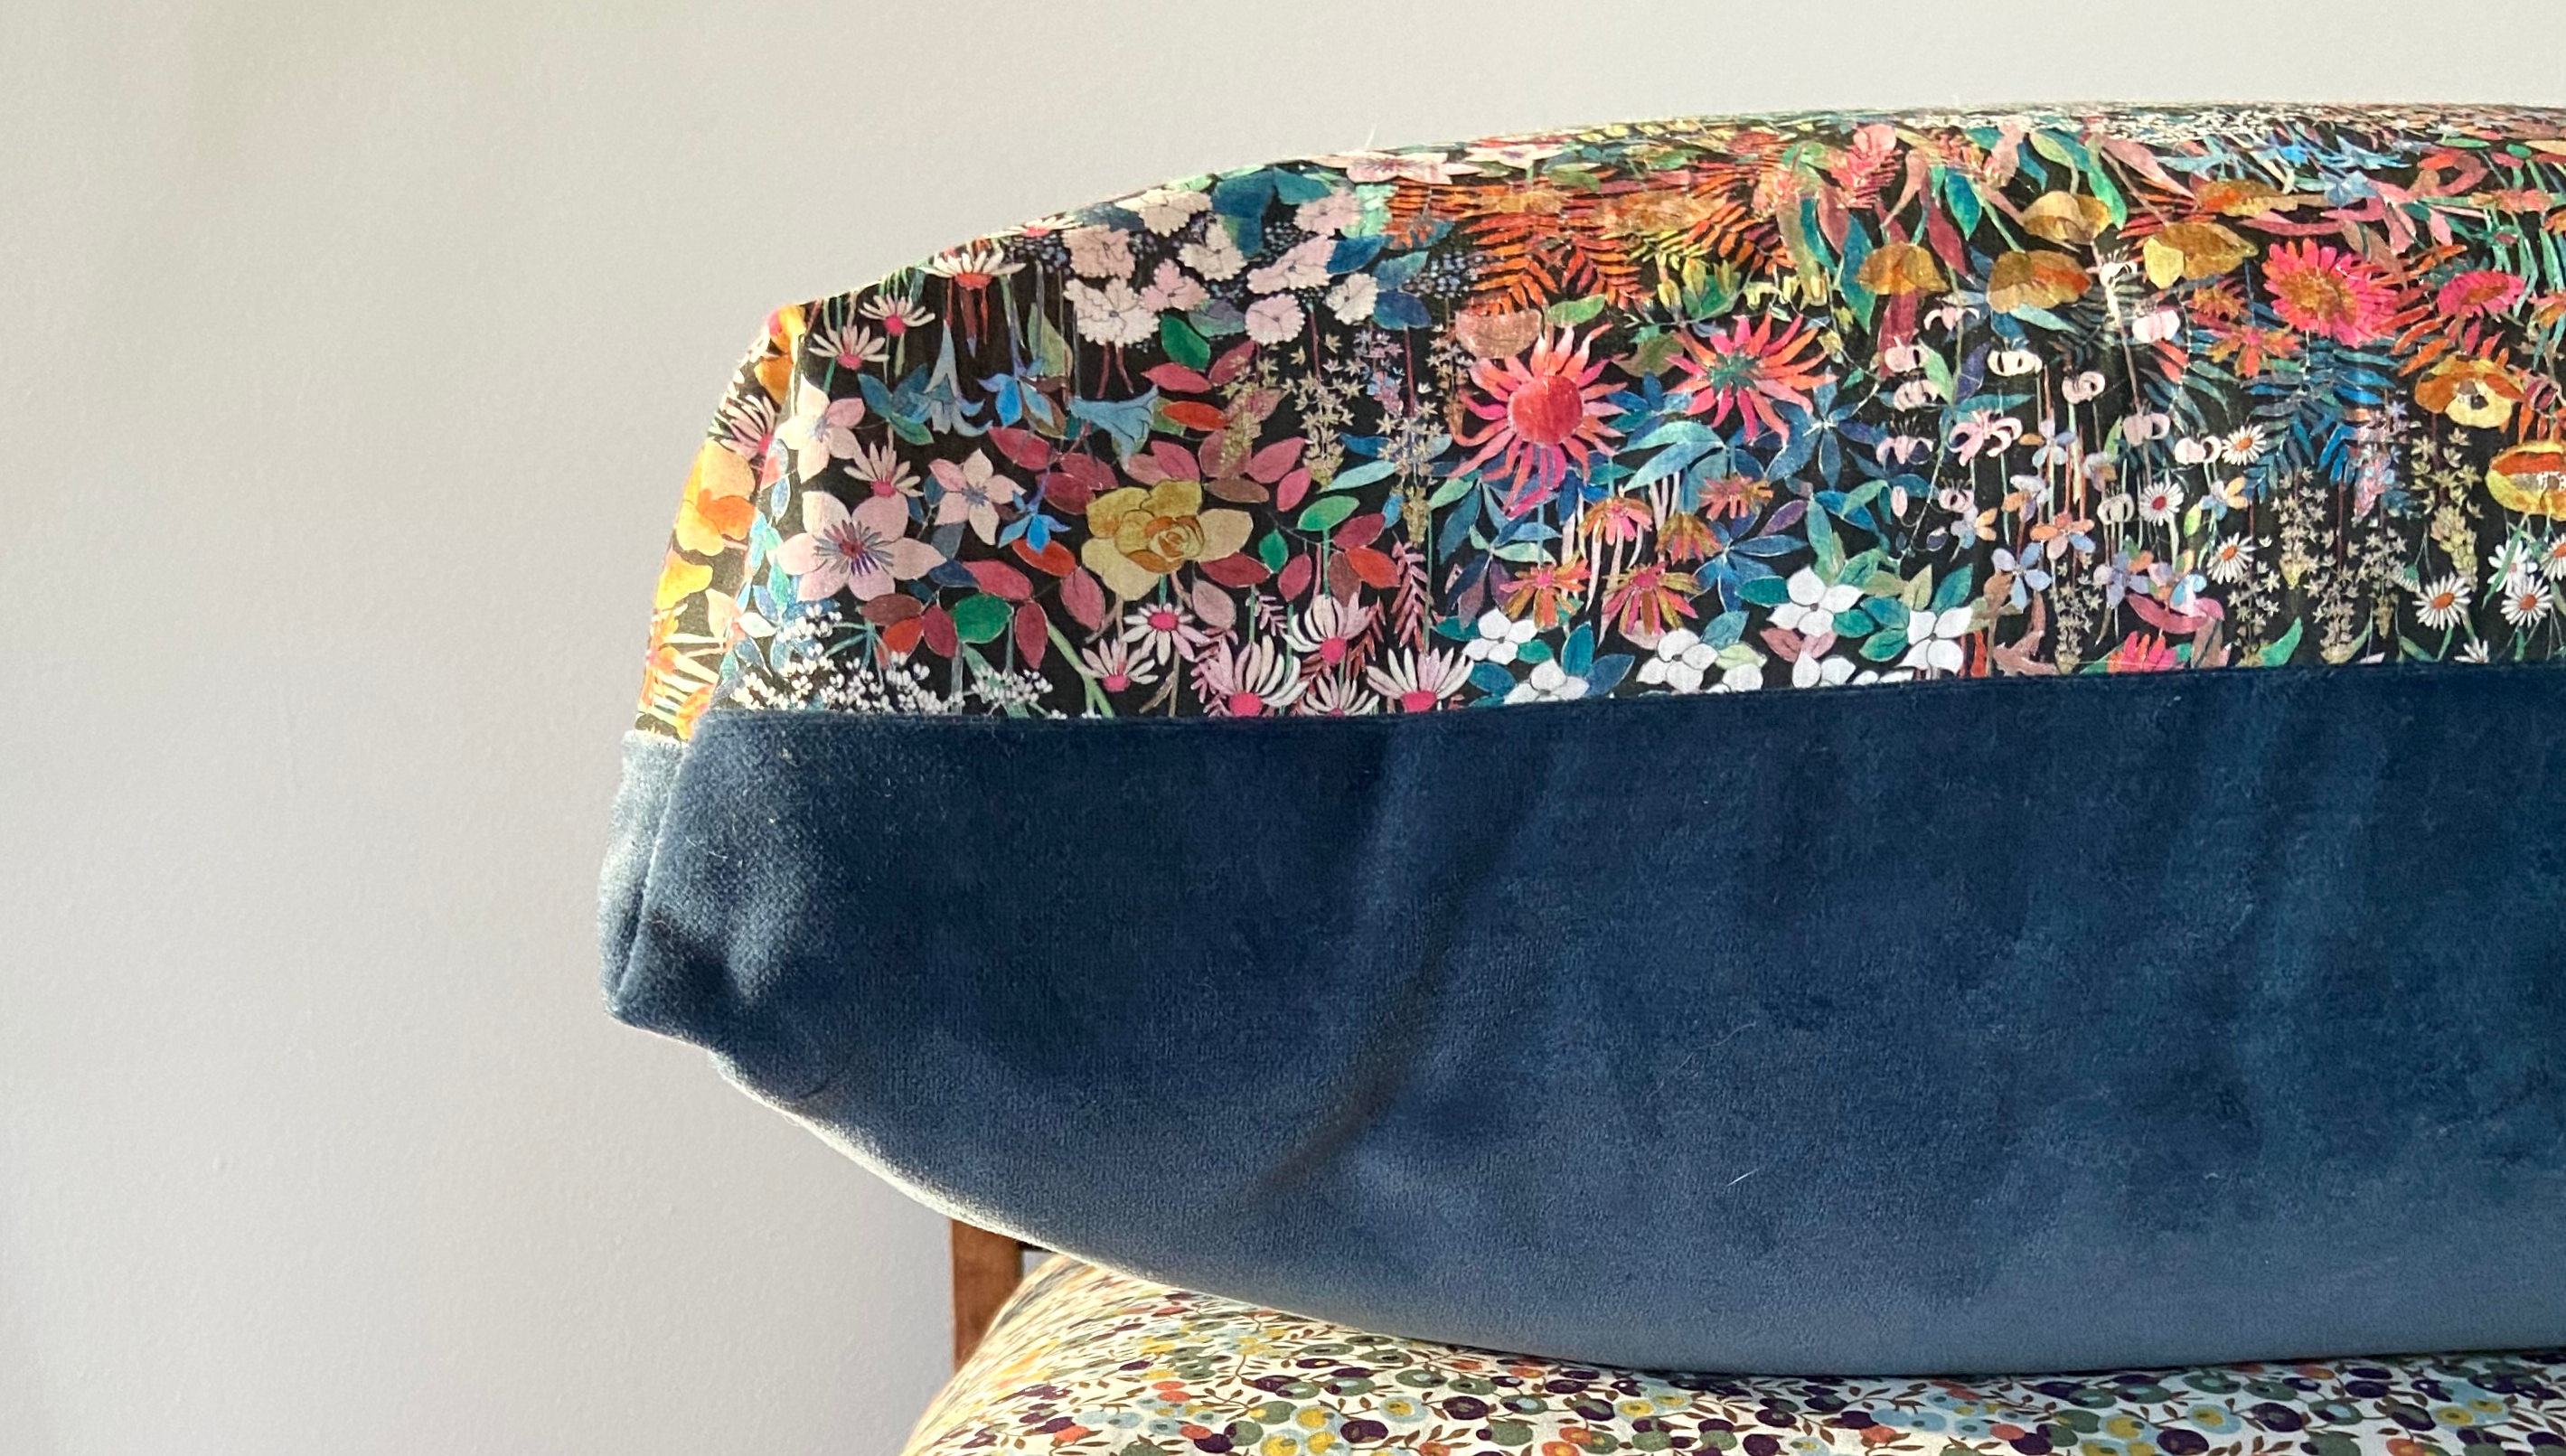
The Triangle Scarf Kit is here and we are so excited to share it with you. Designed by Fiddlehead's very own Bri Fokine, the Triangle Scarf Kit features a modern triangular shape accented with fun trim. Available in nani IRO linens, fine weave ginghams, and Liberty Tana Lawn, it's impossible to turn out a garment that's anything short of stunning. This kit's skill level is adventurous beginner. We can't wait to see your finished scarves!

Materials
Triangle Scarf Kit
Thread
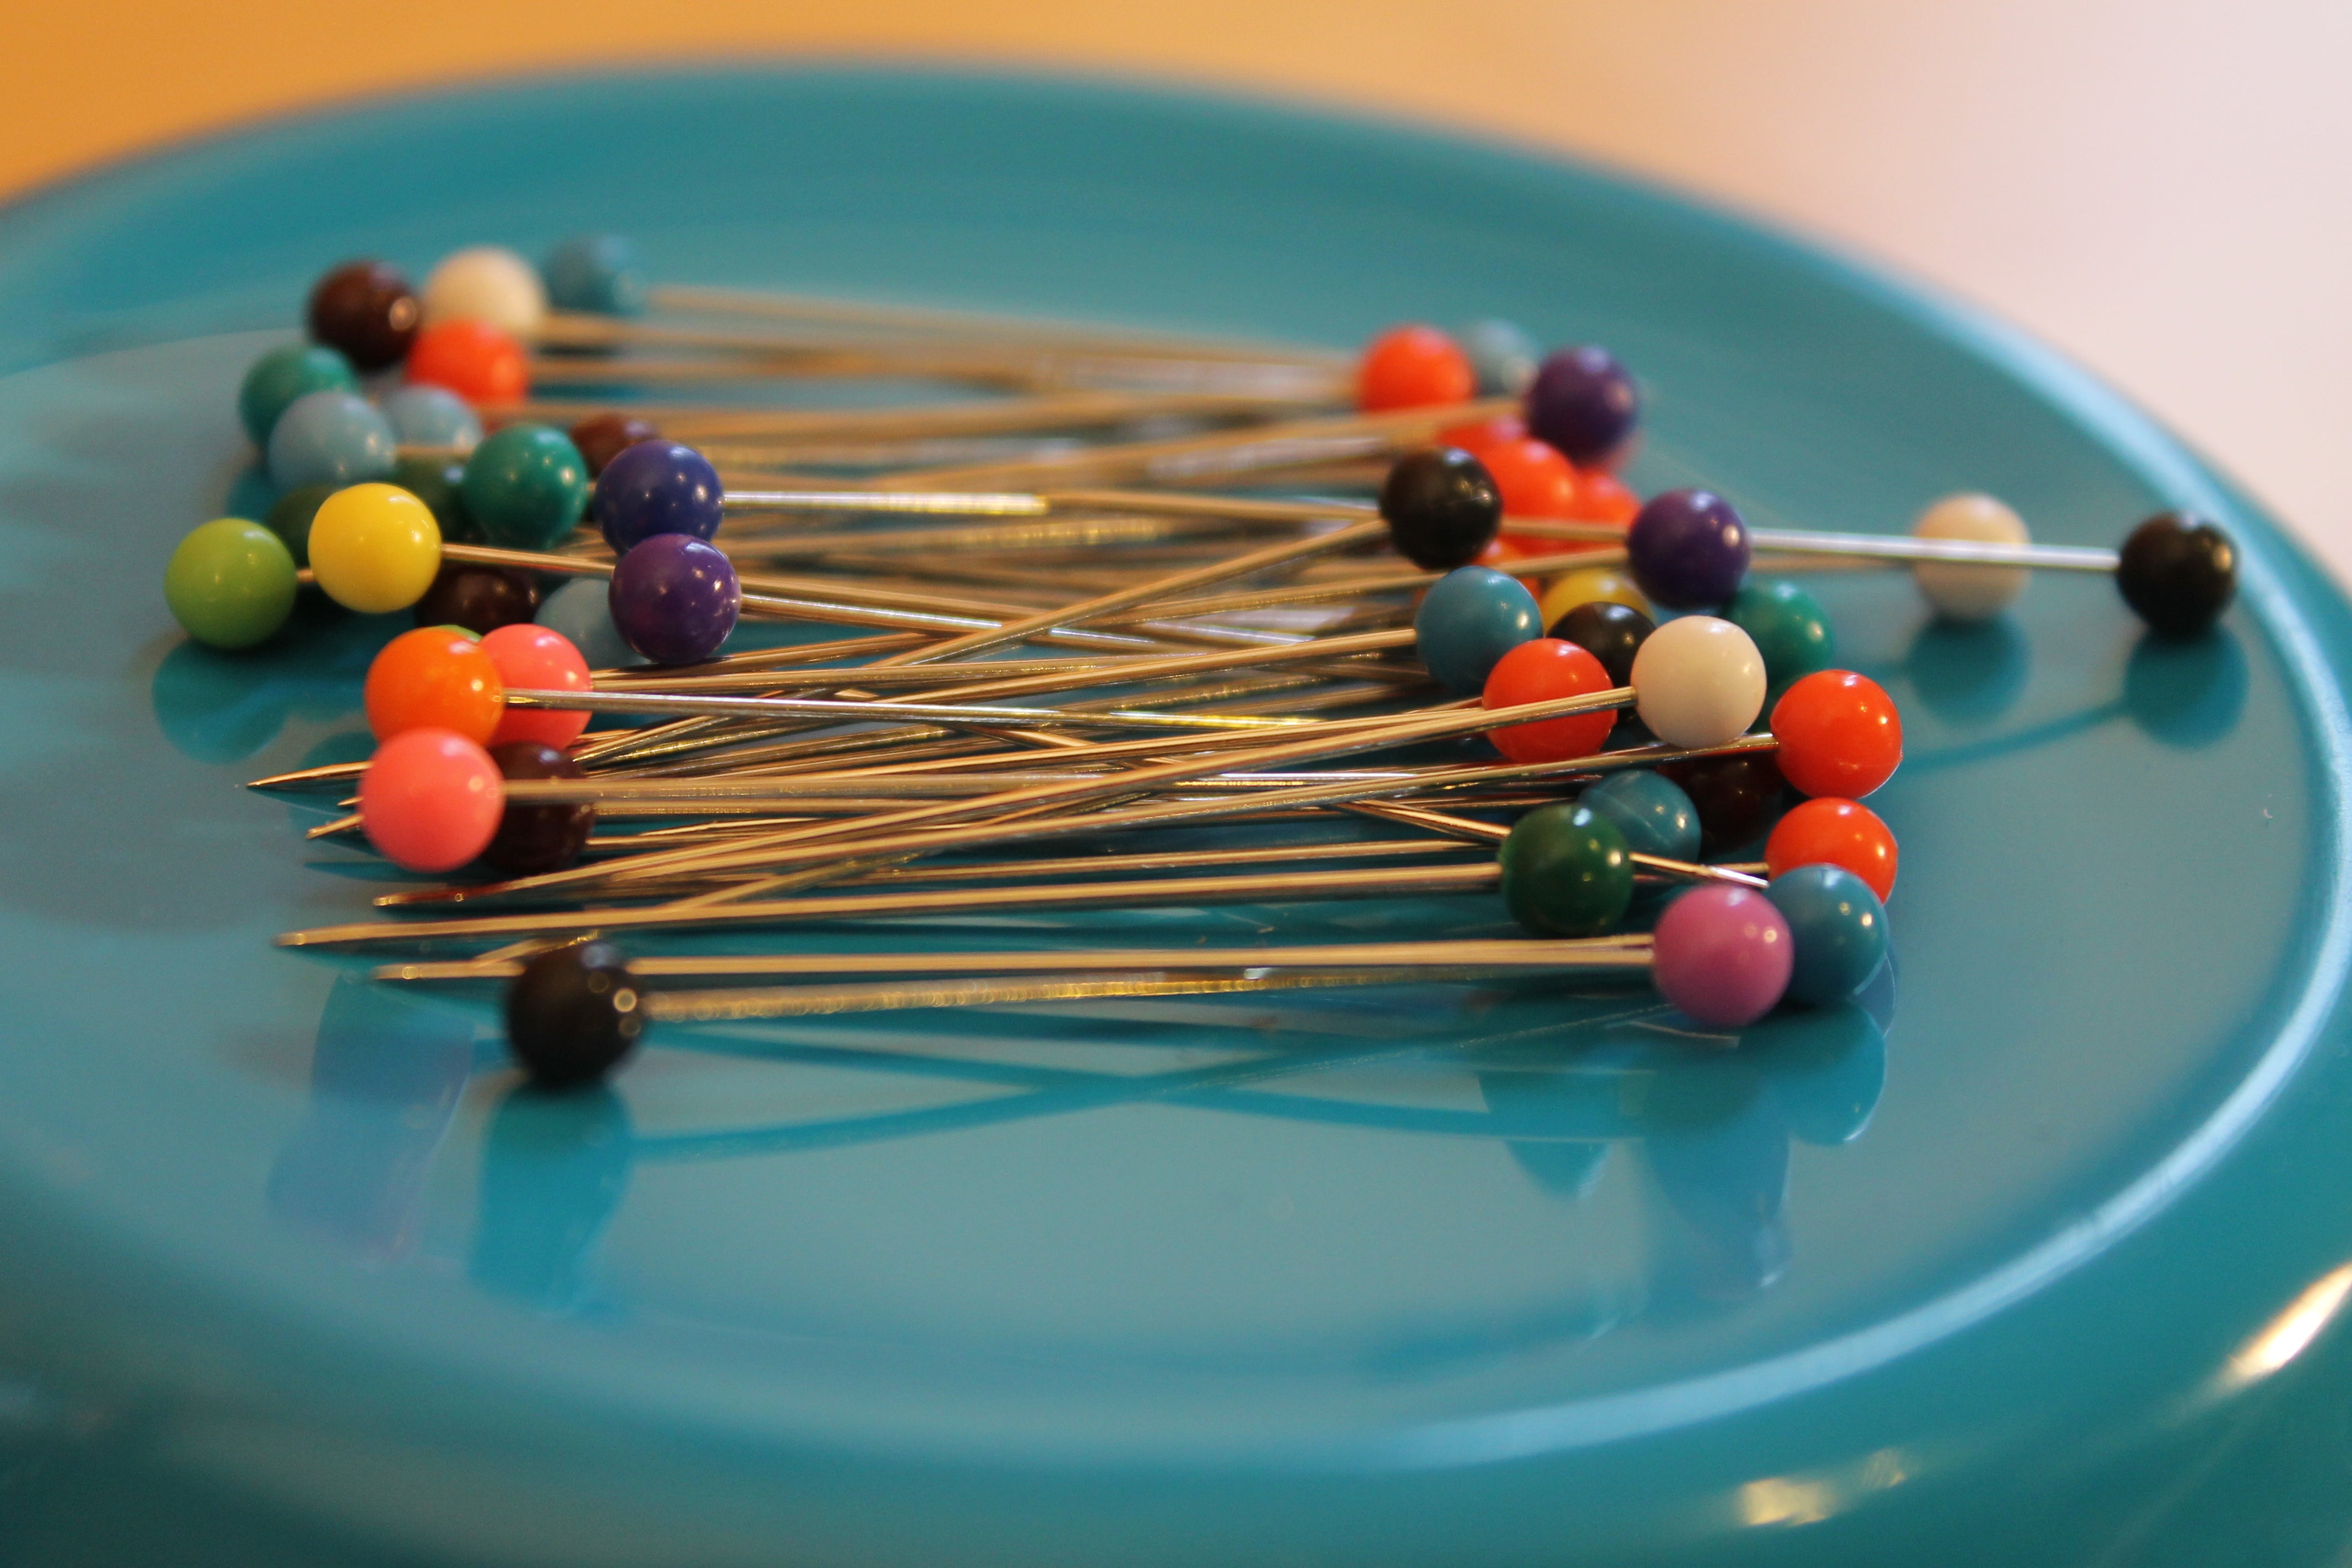
Pins
Marking pen or pencil
Straight edge ruler
Scissors
Instructions
1.Trim off selvedge. With right sides together line up the two short edges of your scarf strip and pin. Your fabric should now be folded in half.
2. Sew the short edges of your scarf strip together using a 1/4" seam. Press seam open.

3. Cut your scarf strip in half on the diagonal. To create your diagonal line, pin a length of thread running from the upper left corner of your recently seamed scarf strip to the lower right corner. Carefully mark your diagnoal line with your preferred marking tool. Please refer to pictures for this step.


4. Match your newly created triangle points with right sides together.

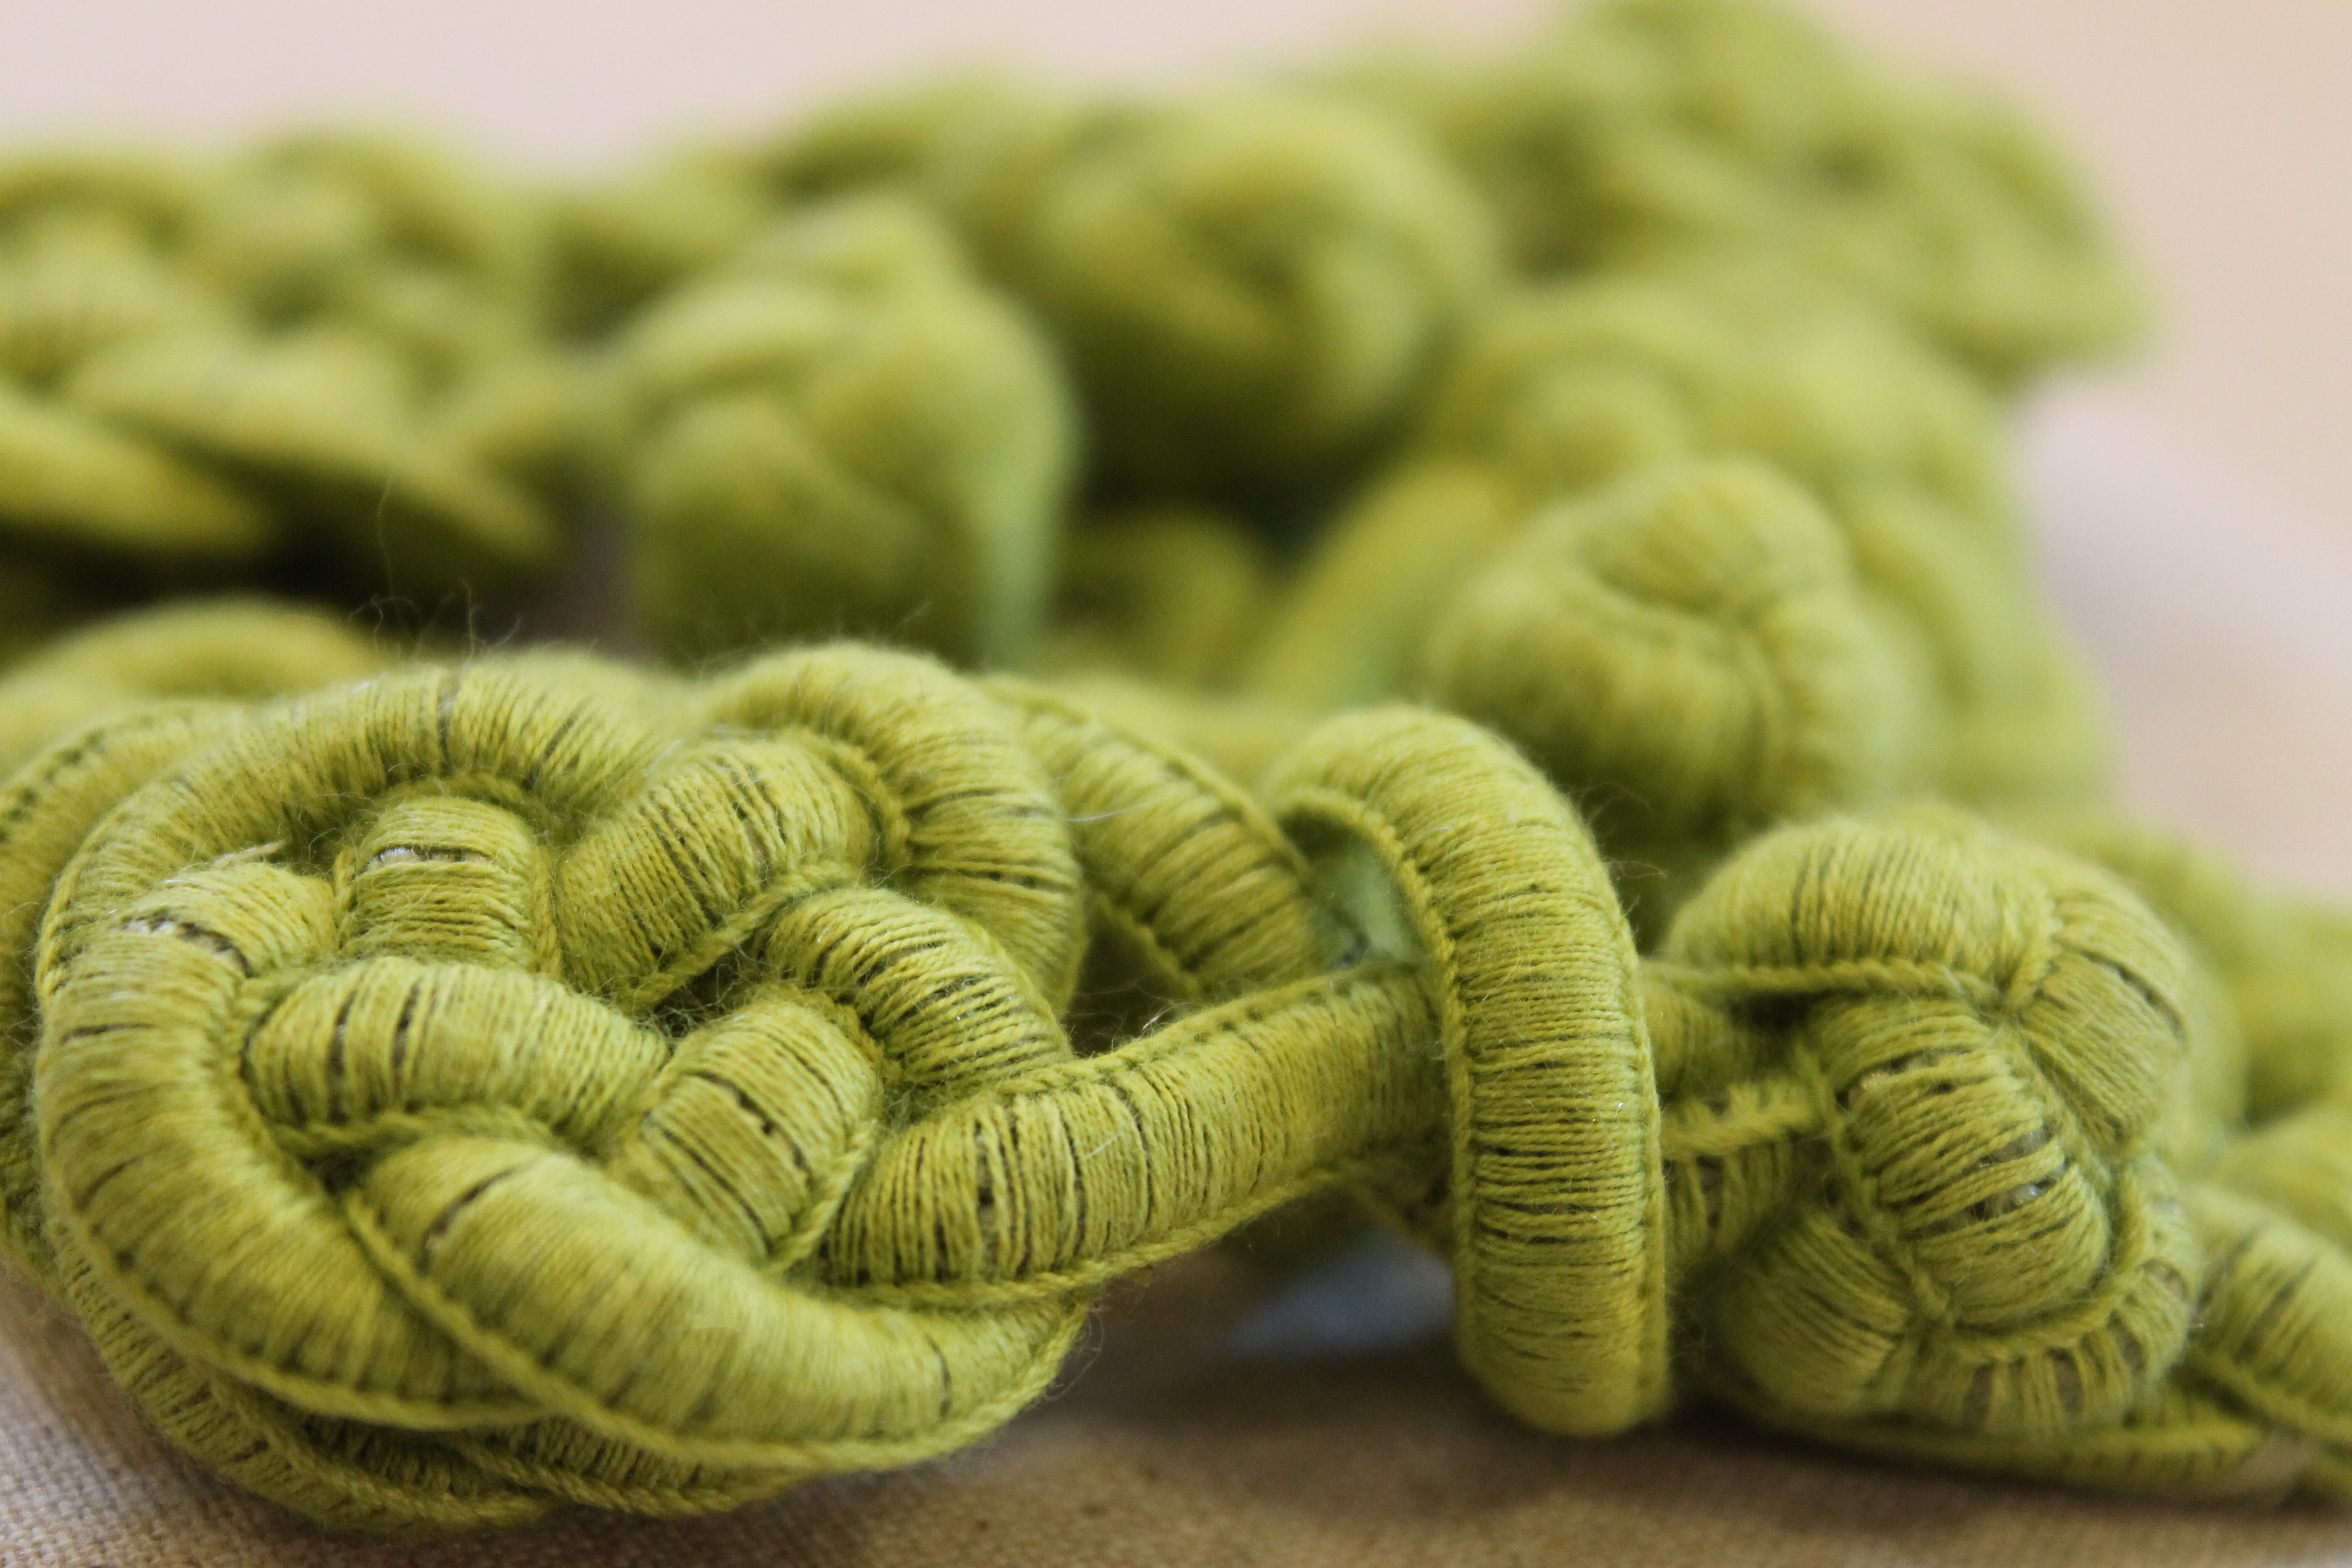
5. Starting at one of your side points begin sandwiching and pinning your trim between your two triangles, working your way down to the center point and back up to your second side point. Leave the long top edge of your triangle free of trim. The straight edge of your trim should be lined up with the cut edges of your fabric; the detailed edge of your trim should be inside your sandwiched scarf pieces. Pin liberally.


6. Begin carefully sewing from the center point out with a ¼” seam allowance.

7. An inch from the end points, sew across the width of the tip of your scarf, catching the edge of the trim and securing it in place.

8. Check your straight edge (the long edge without the trim) to see that they line up – if they do not, trim excess.
9. Continuing with right sides together, pin and sew along the straight edge using a 1/4” seam allowance. Leave a 4” opening to turn your scarf out. Place this opening away from your side points.


10. Turn right side out, gently tug on the trim to pull out points.
Press. If using pom pom trim be sure to turn down the heat on your iron.

11. Finish your scarf by turning in the 1/4" seam allowance on the raw edges of the opening you used to turn your scarf out. Machine edge stitch the opening, or for an invisible finish, hand sew the opening closed using a ladder stitch.
Congratulations! You've completed sewing your triangle scarf and it's now time to enjoy the fruits of your labor. We love to see the beautiful things our customers make so be sure to stop by the shop or share your work online with the hashtags #FAStrianglescarf #createwithfiddlehead Can't wait to see what you've created!