


Wool Felt Advent Calendar

December is quickly approaching and with it an eagerness to make all the festive things. Today we're excited to share an easy and beautiful tutorial that will guide you in making an advent calendar that we hope will become a cherished family heirloom for all the years to come.
Through simple but clever folding we'll show you how to turn a half yard of wool felt into 24 pockets that you can embellish to your own whims and delight. This wonderful holiday project has the flexibility to be as understated or ornate as you're inclined to make it. Additionally, it lends itself well to an array of crafting mediums- embroidery, needle felting, and applique! Happy crafting!
Share your progress shots and completed advent calendars on Instagram with the hashtag #FASadventcalendar and tag us @fiddleheadartisansupply. We can't wait to see what you come up with!

Supplies
1/2 yard (18" x 36") of wool felt for pockets
1/2 yard (18" x 36") of wool felt in contrast color for backing
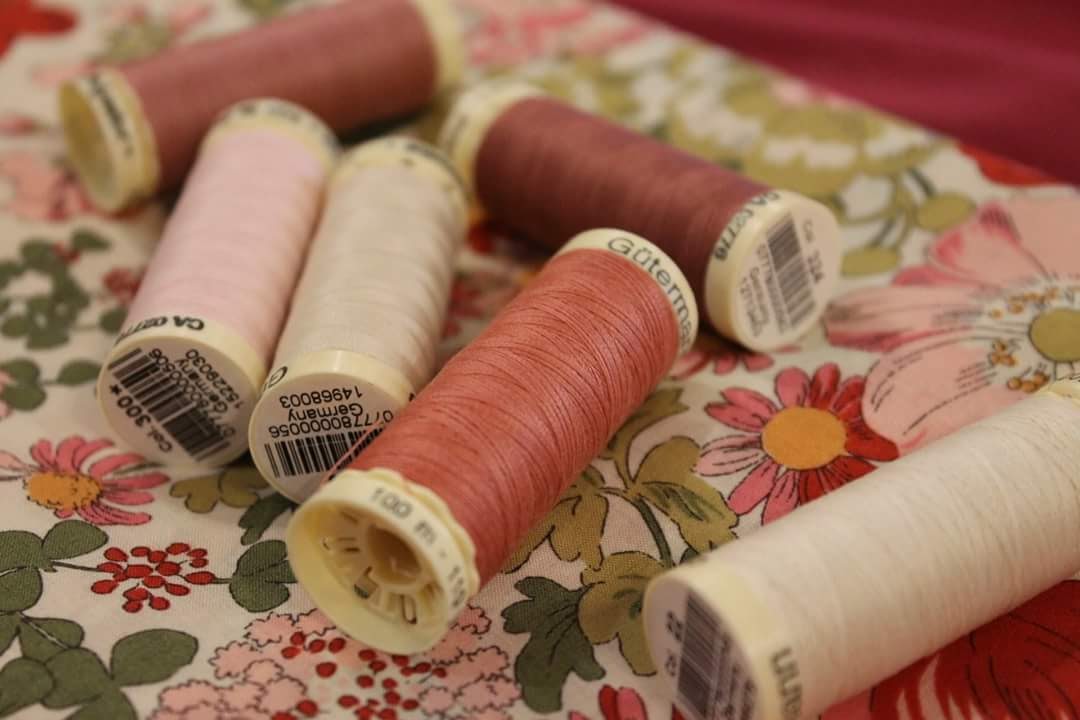
matching thread for each color of wool felt
chalk pencil
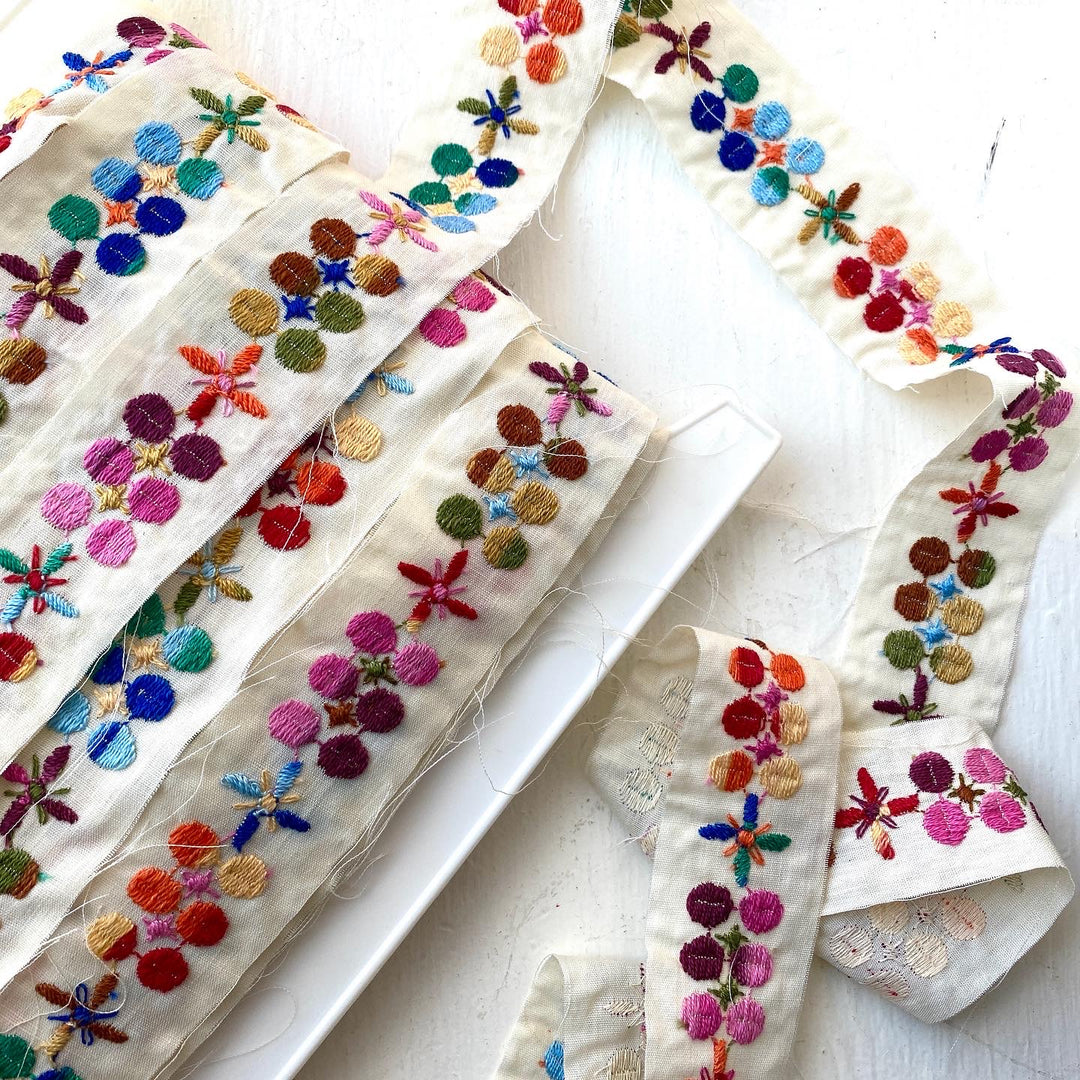
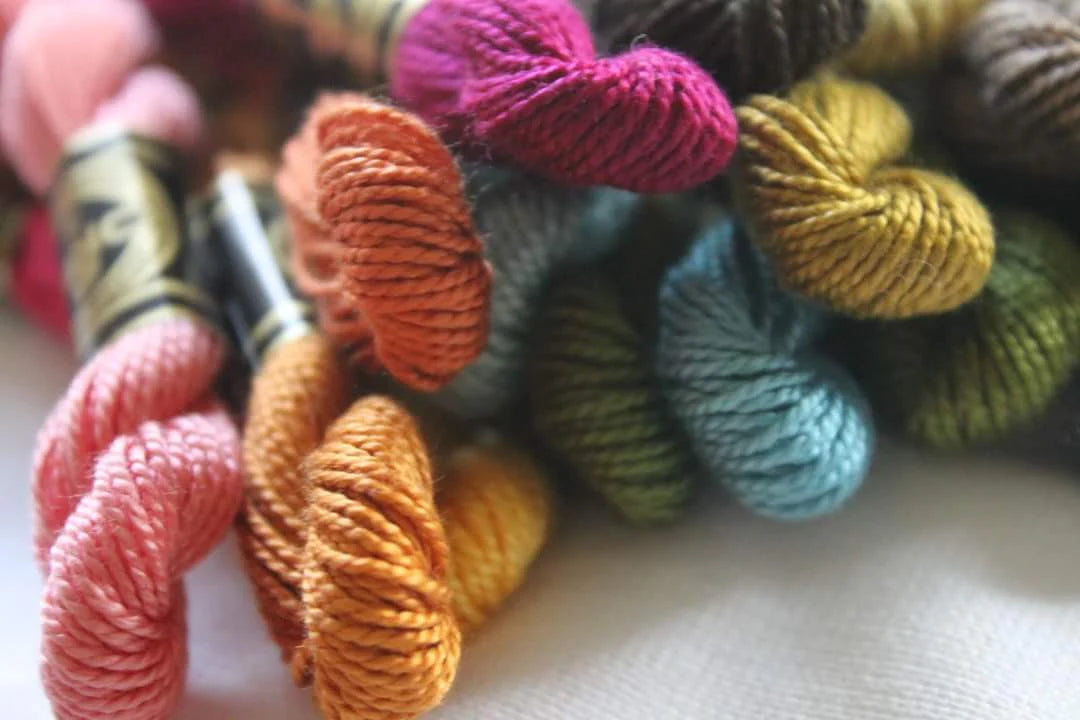
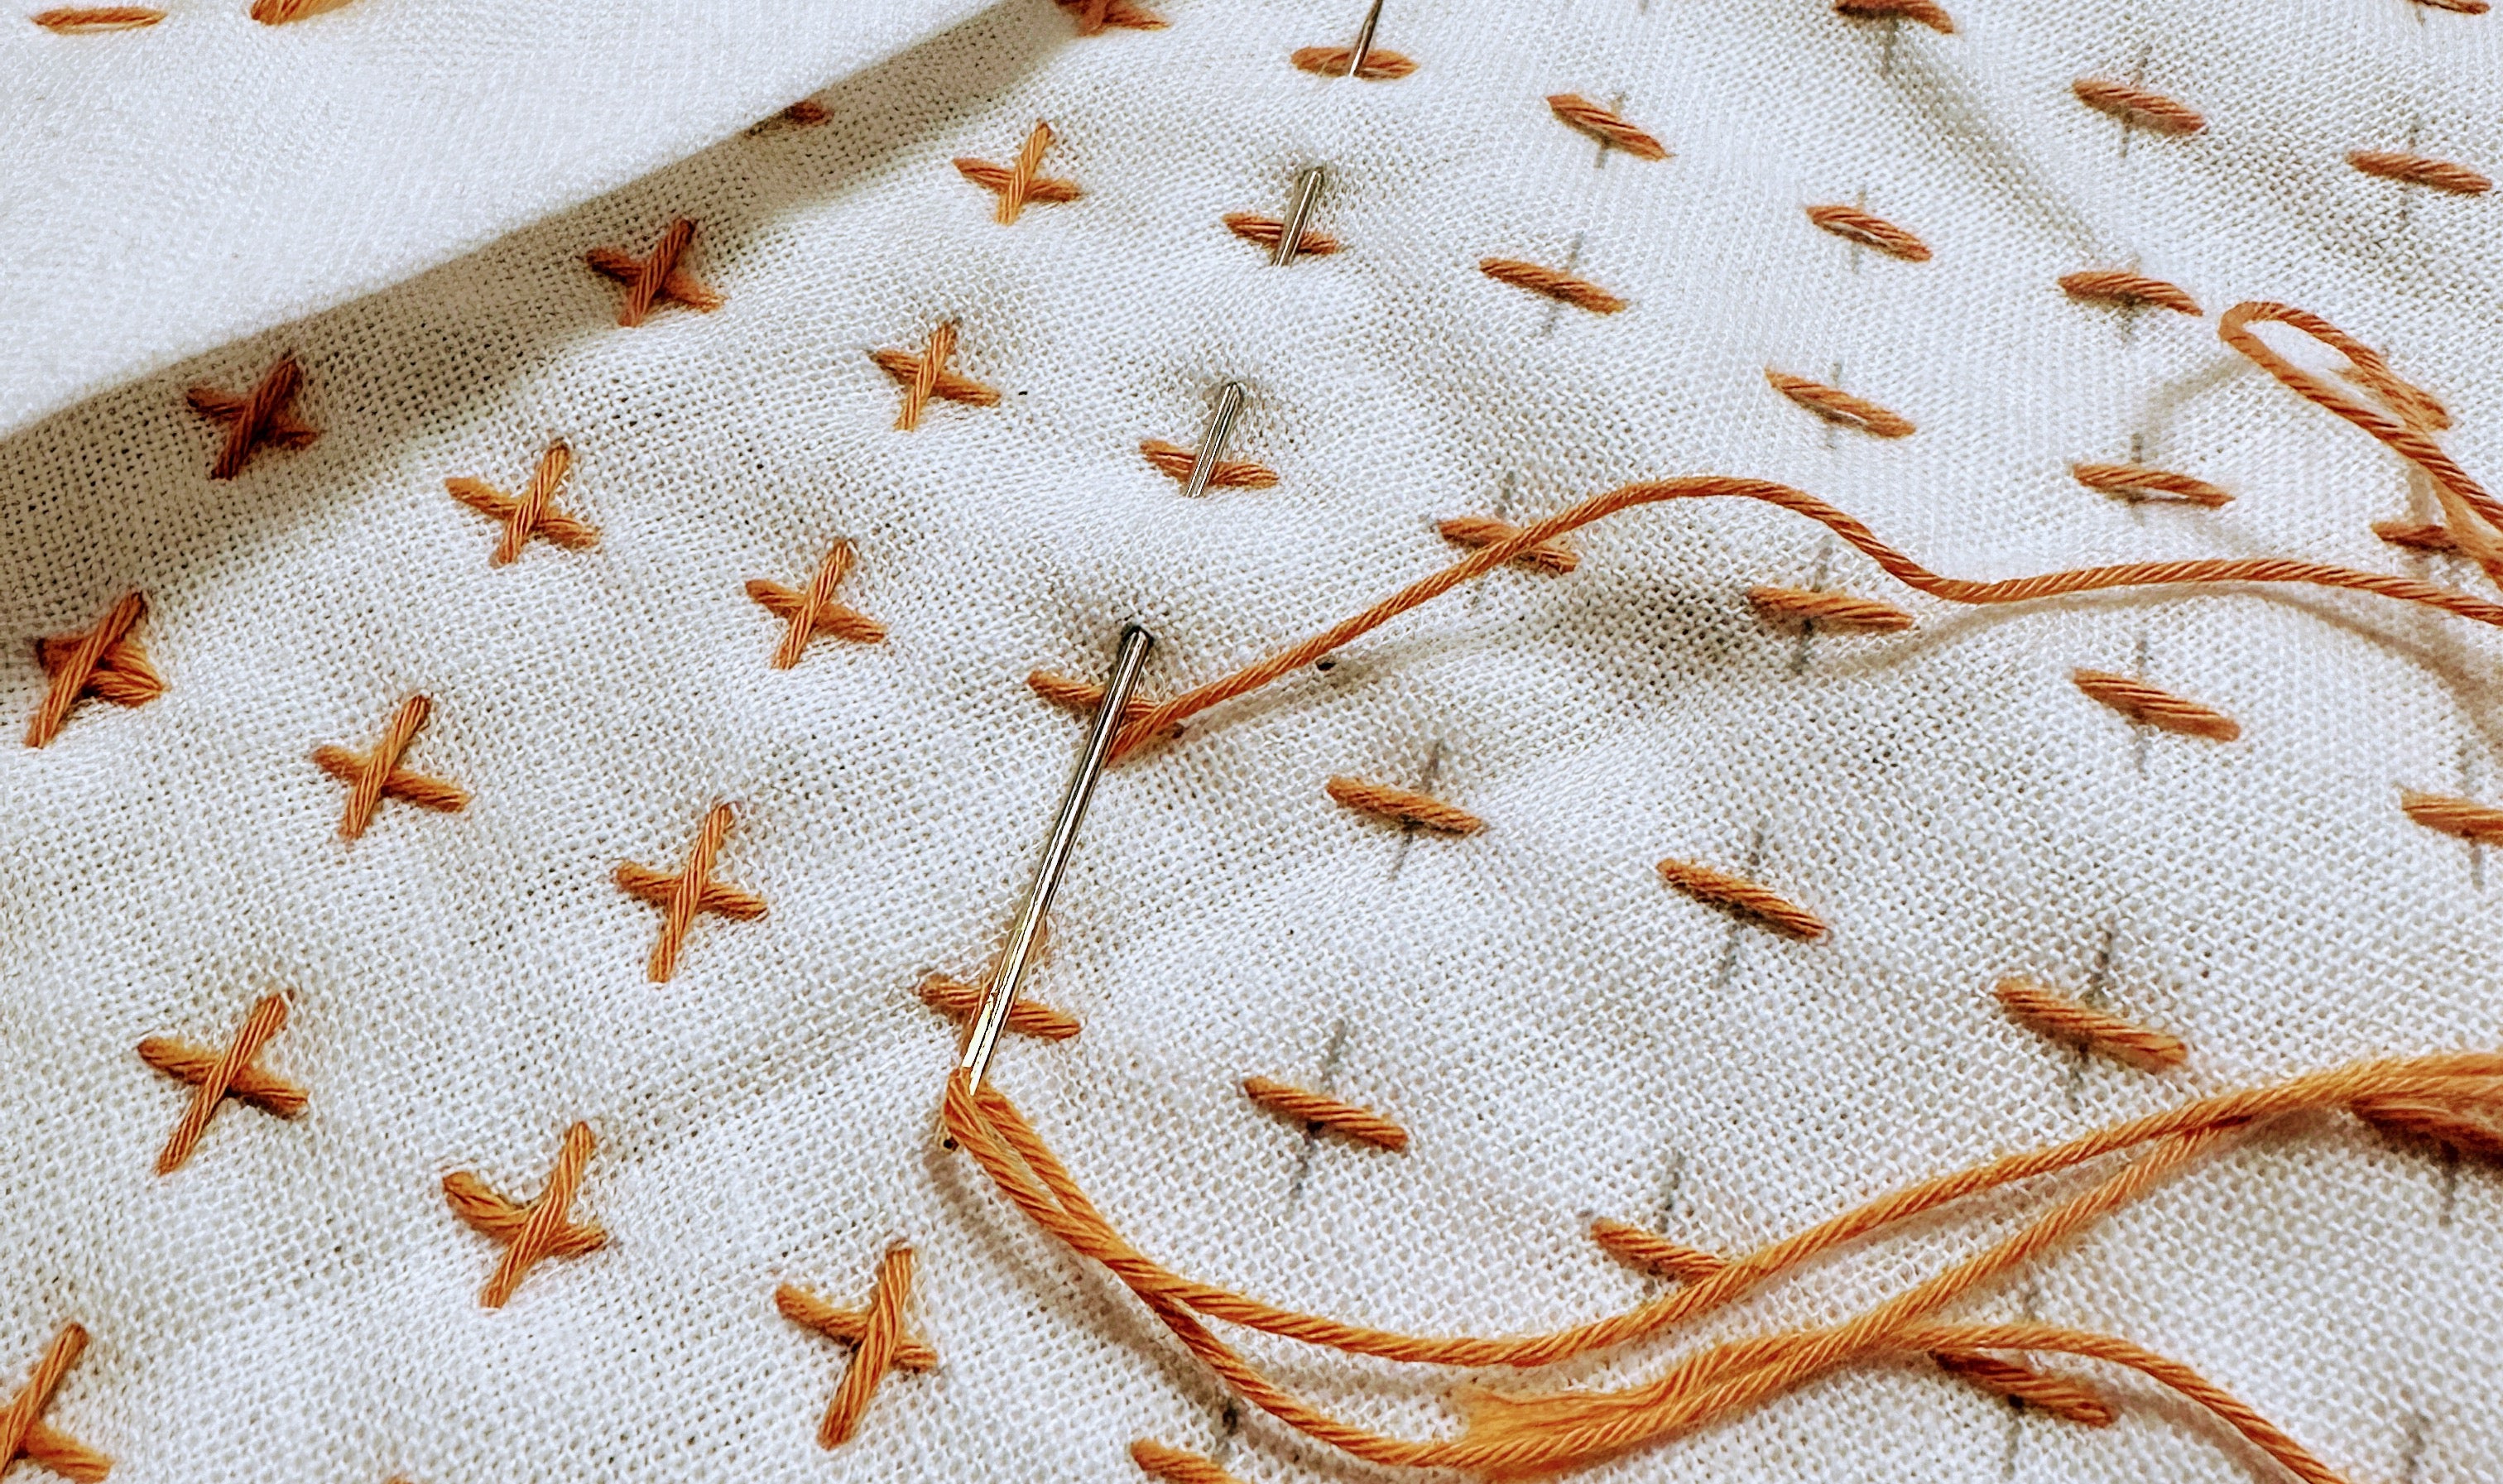
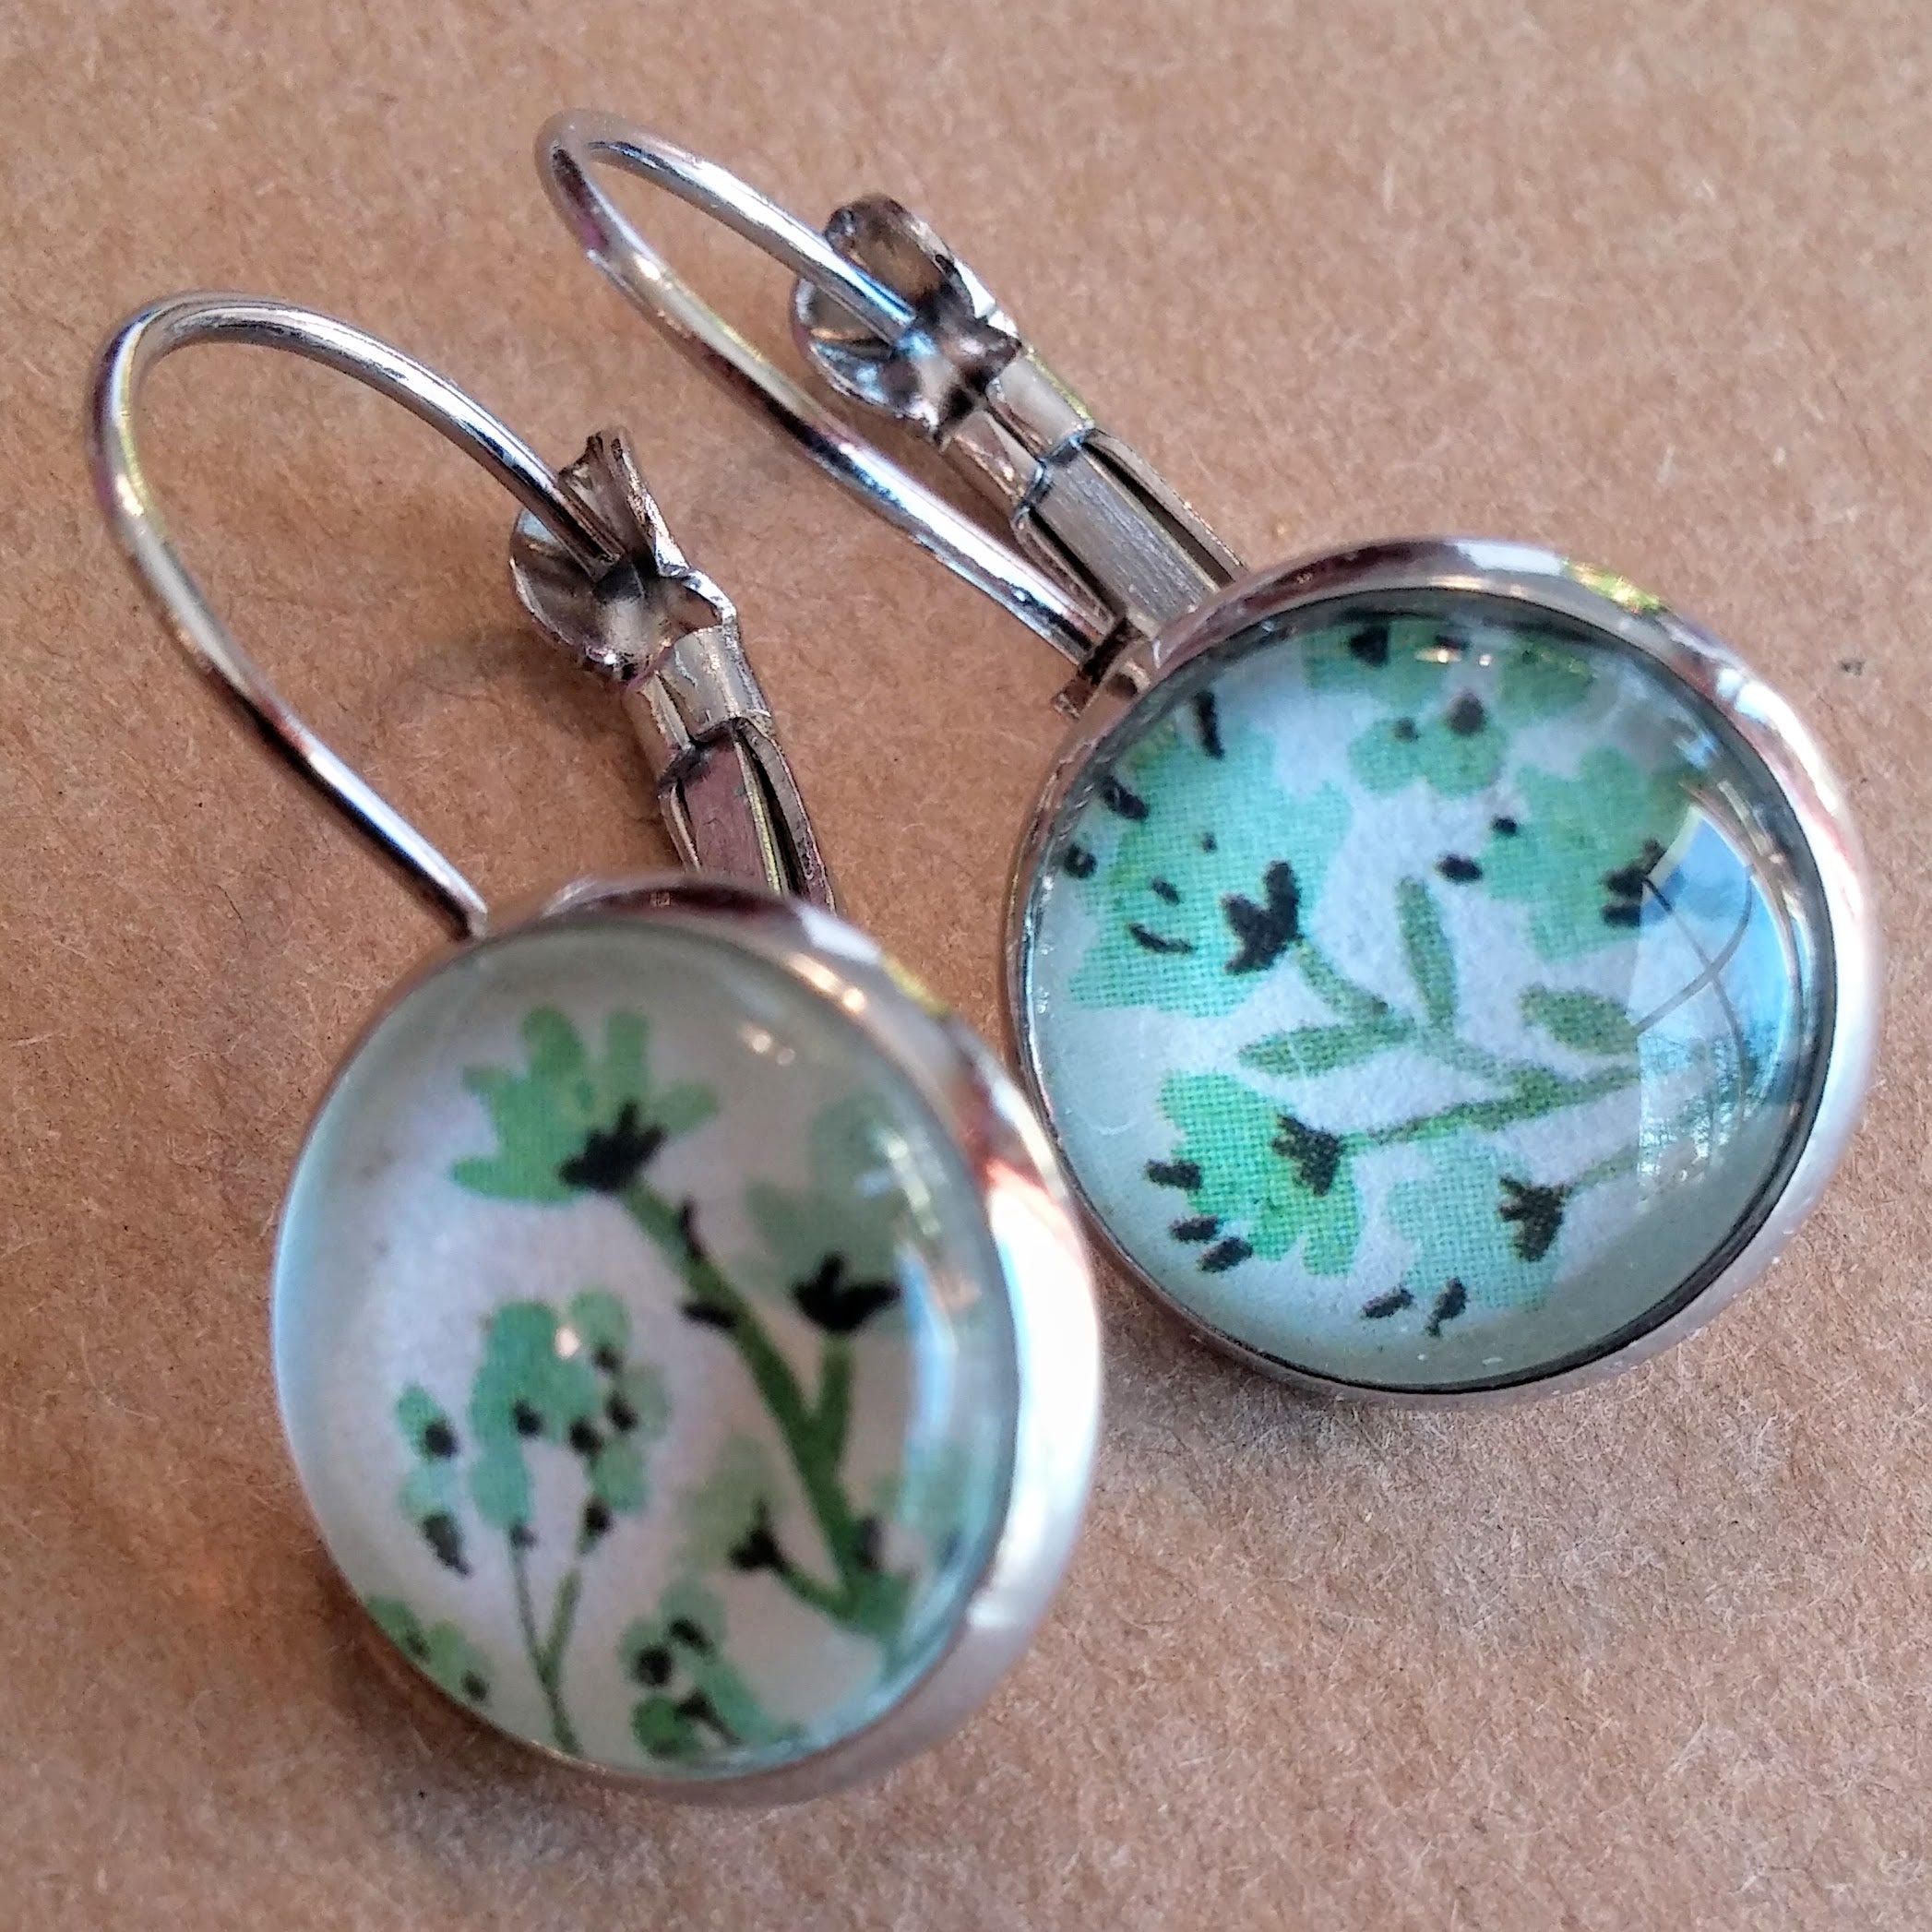
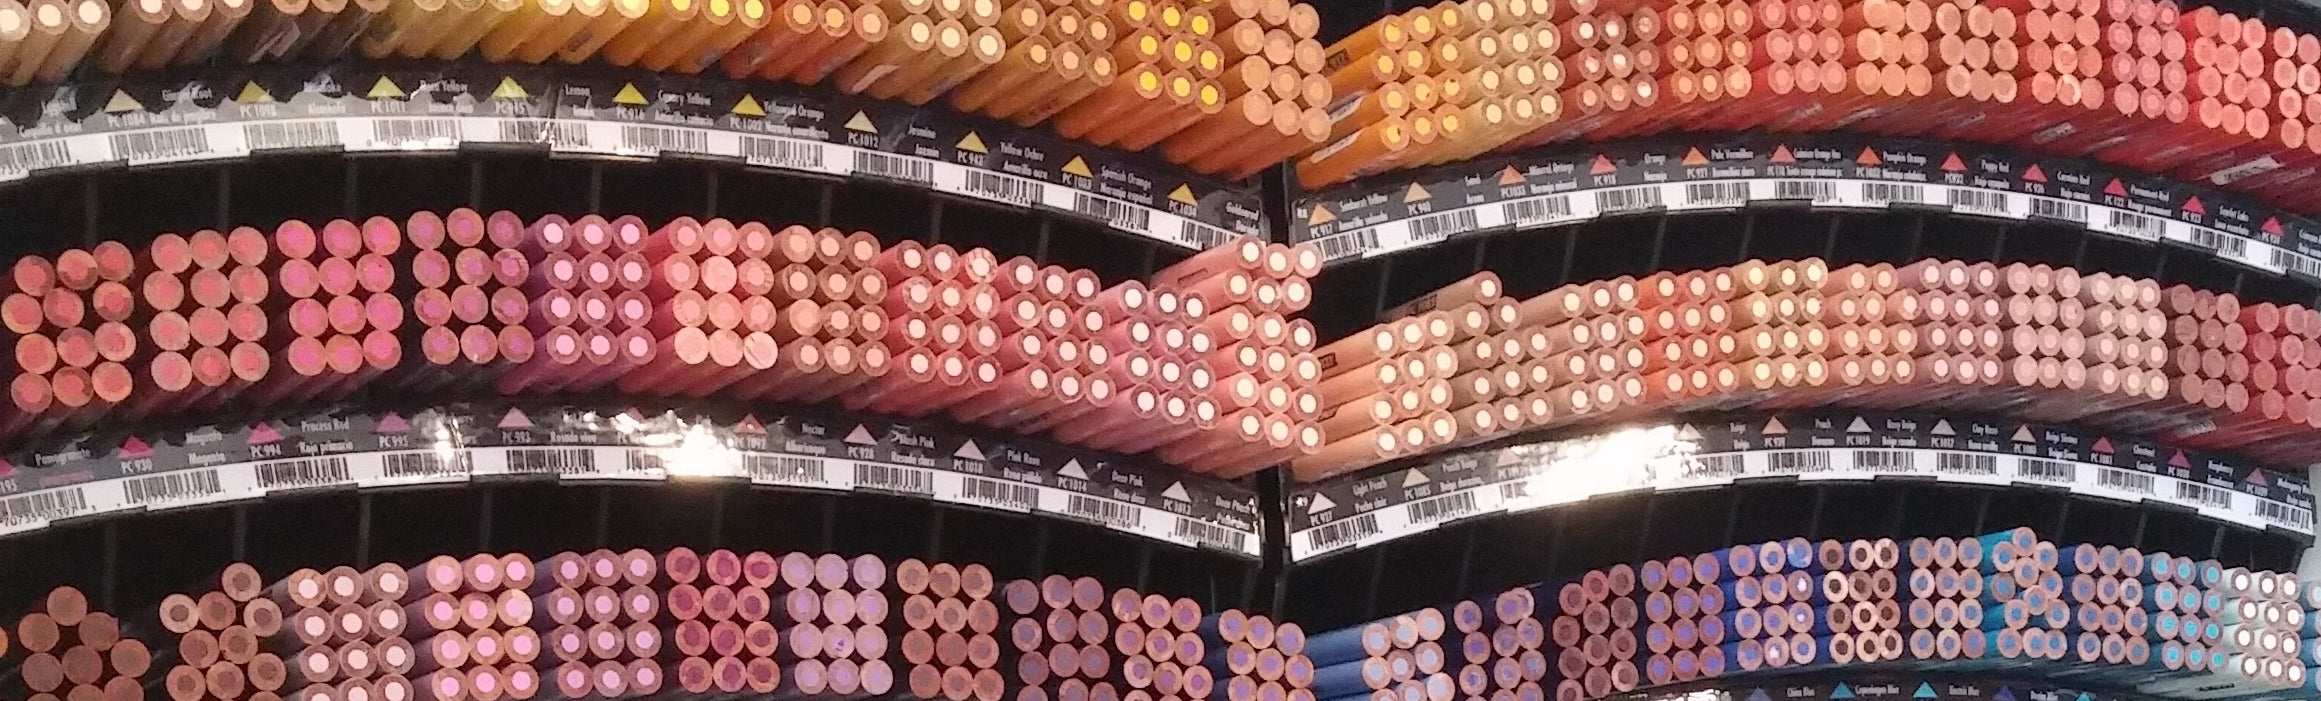
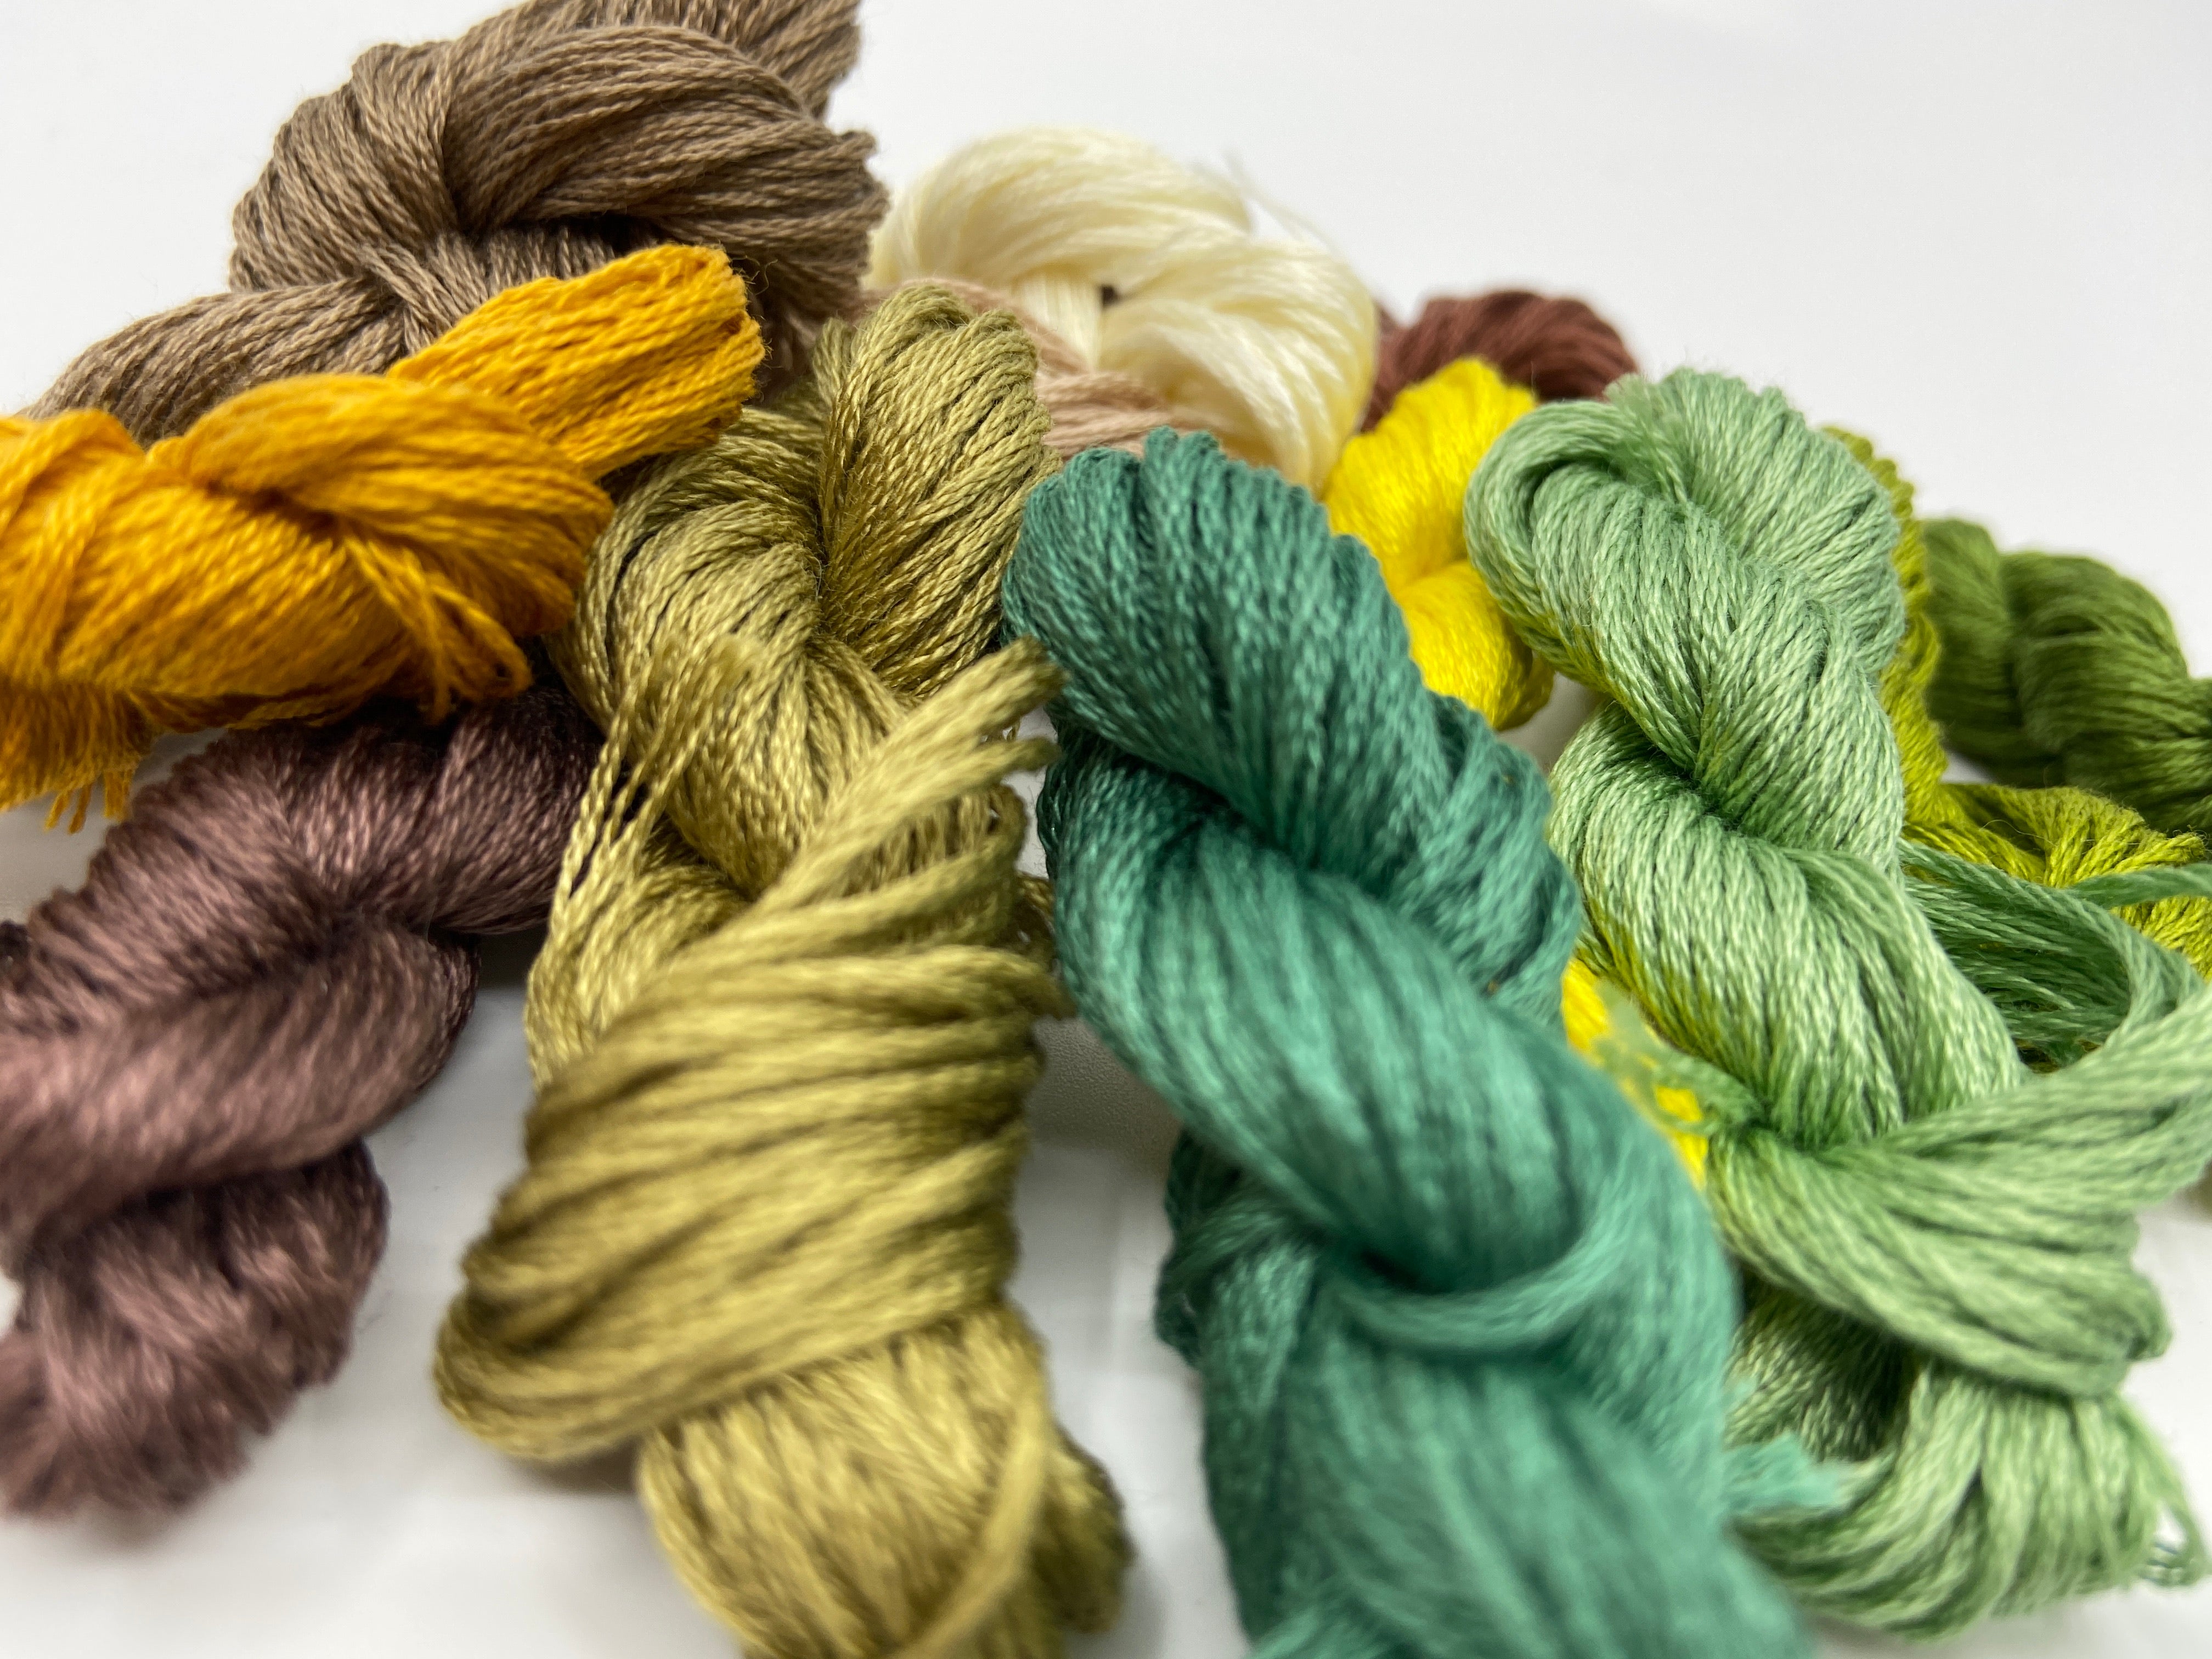
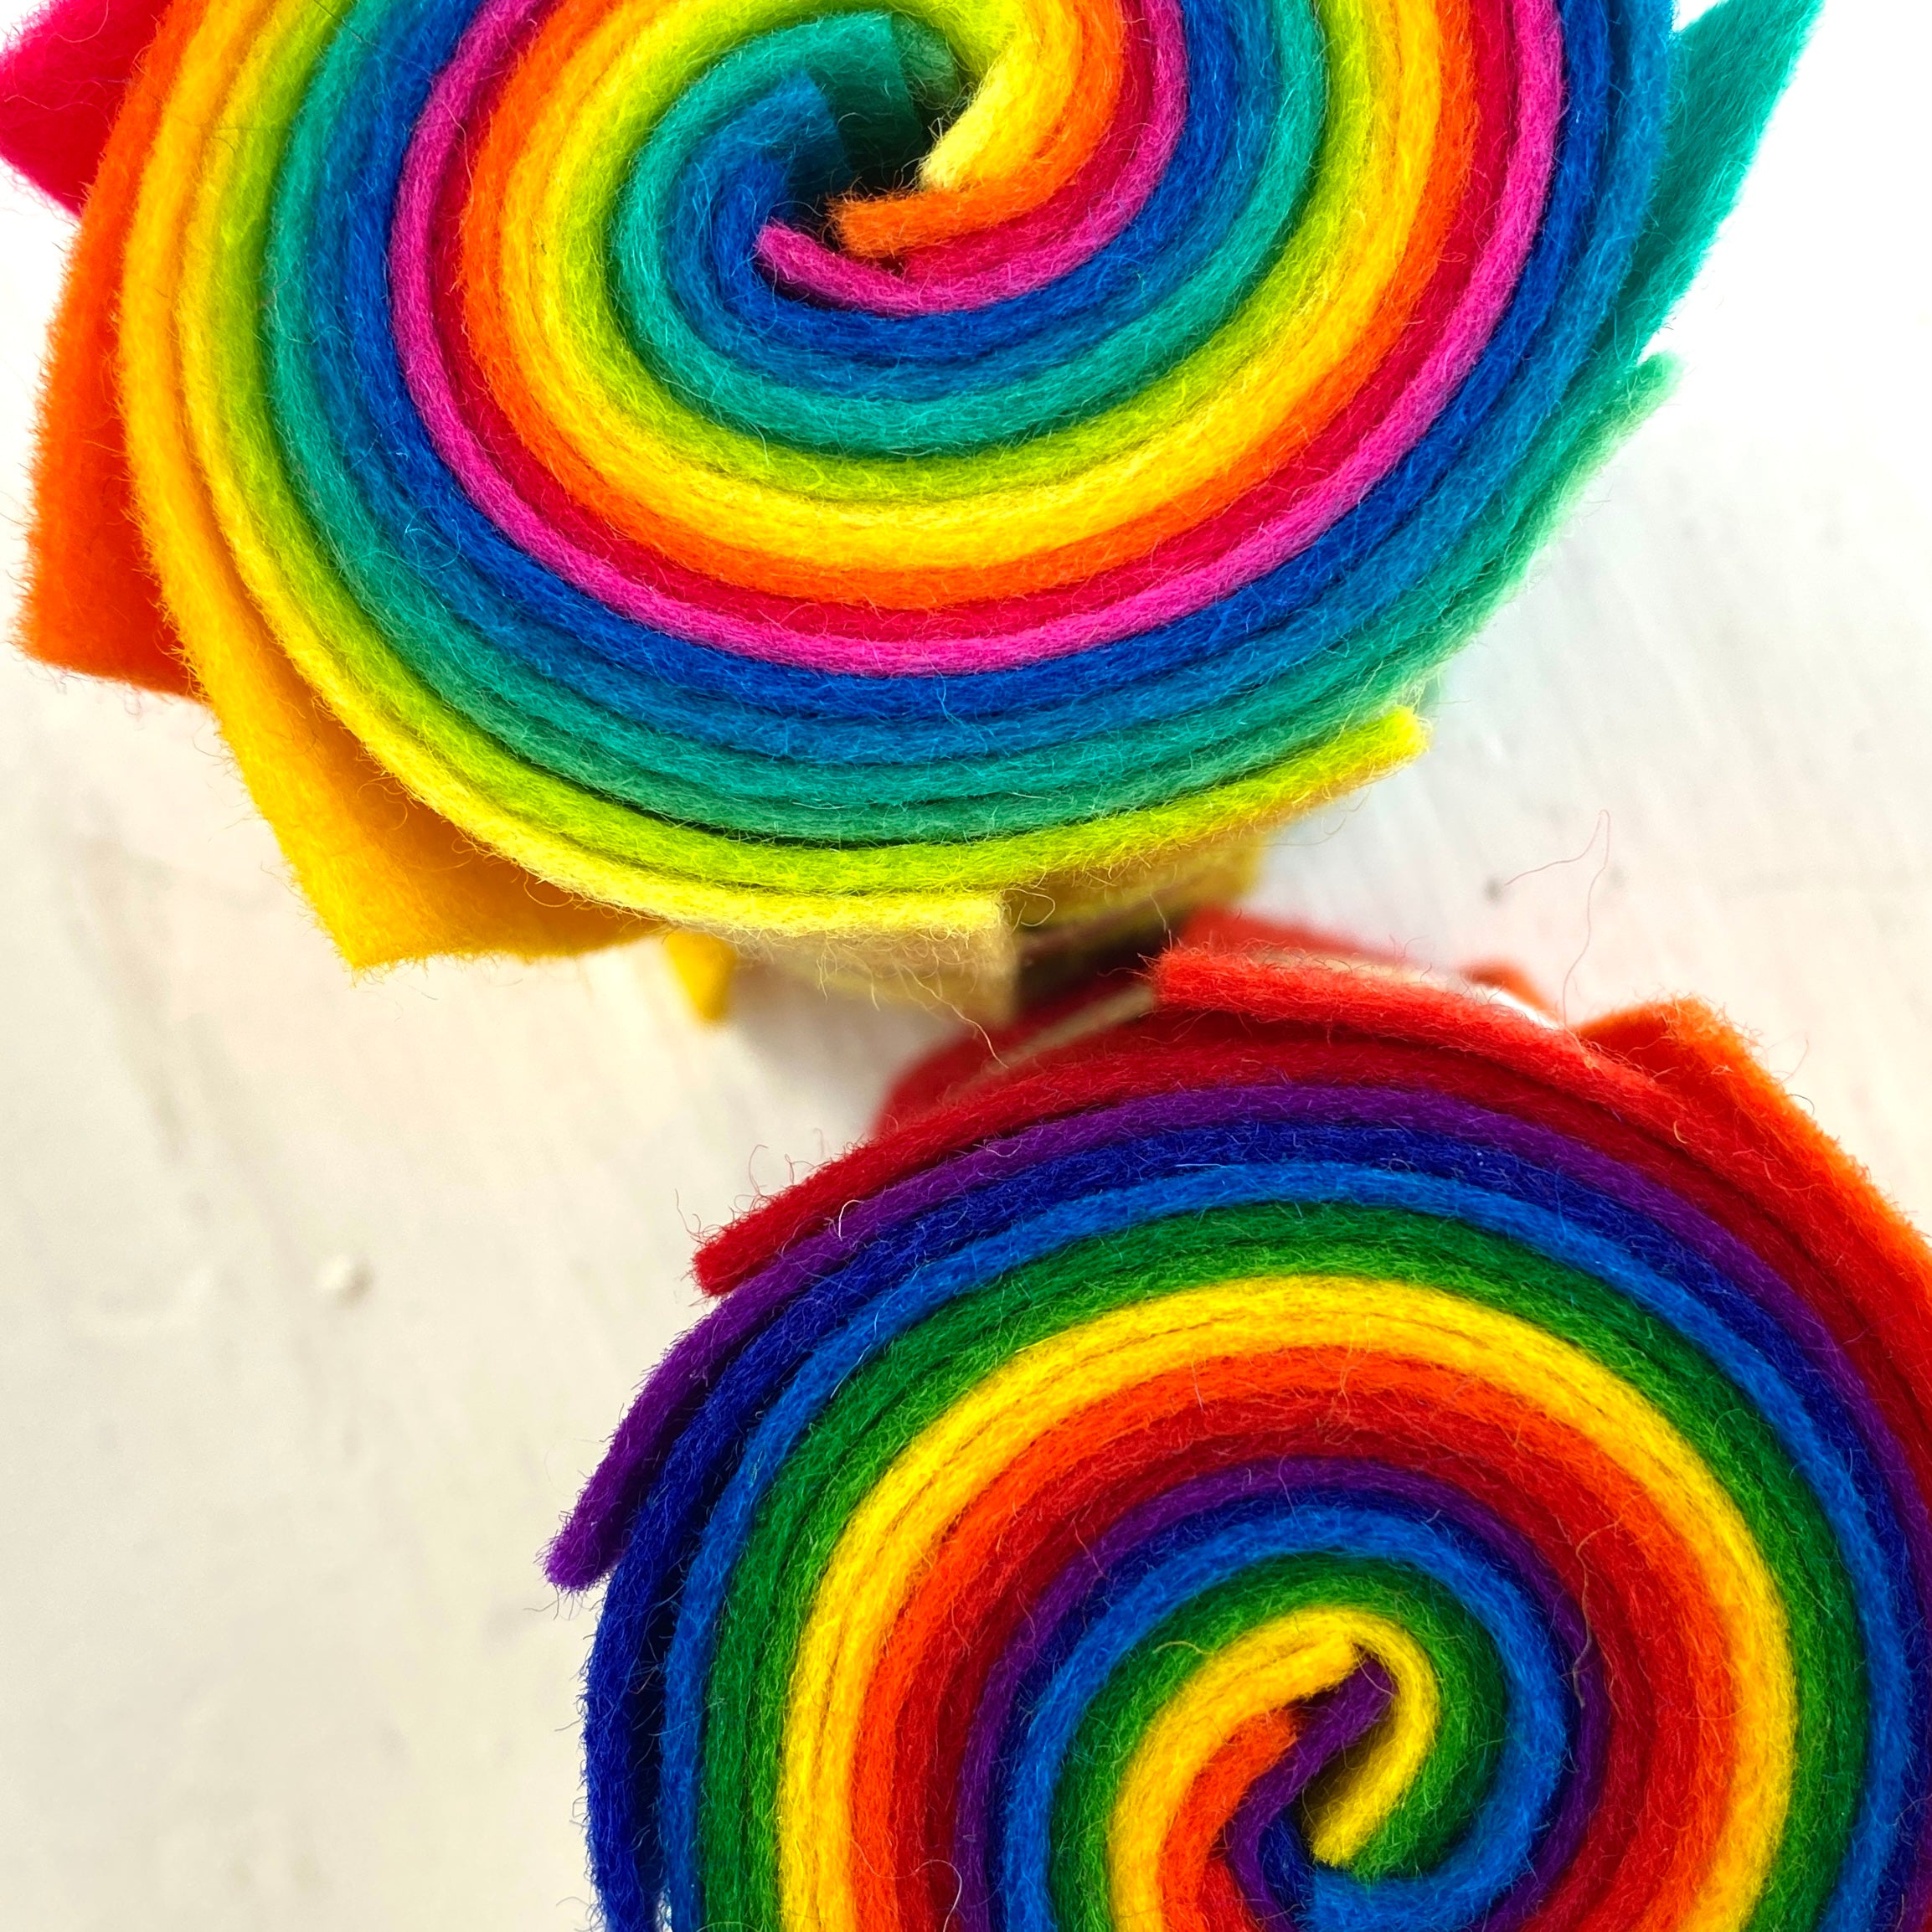
roving, embroidery floss, or felt roll for embellishments
1 yard ribbon or string
1/2" dowel or stick cut to 24" length
Instructions
Gather all your supplies and set your iron to its wool setting. You're going to be folding your pocket felt in 3" increments similar to a fan fold but with a slight variation to create stacked pockets. While an iron isn't an essential tool in this process it does make your folds crisp and clean which in turn makes the pocket construction easier. We recommend that you press after each fold you make.

Folding Your Pockets
For the folding of the pockets we've provided a diagram below to show how the three inch pleats need to be folded and pressed. Just keep folding the felt back and forth while measuring on at least both of the sides before pressing each fold.

As mentioned above, the pockets are stacked folds in 3" increments. The bottom three pockets will have 3 layers of wool felt (two layers making the outside part of the pocket and one layer making the back of the pocket) while the top pocket will have only 2 layers of wool felt (just the two layers for the outside fo the pocket - the back of the top pocket will be made from the backing). Before you get started we recommend you take a second to look over the diagram above and the photos below to familiarize yourself with the pocket construction.

Take note that the folds of each pocket should be flush with one another without overlapping. See the picture above.
The last step in creating your top pocket is to trim off the remaining wool felt after your last fold. Again, refer to the diagram above to see where the ends of the felt lie. The half yard of felt that you started with will be approximately 36" long, and the pockets that you are folding should take approximately 33" of felt, so there will be a bit of extra felt at one of the ends to trim off.

Topstitching the Folds
Now that you have crisp folds and 4 rows of pockets, it's time to topstitch the top edge of your folds. Remember on middle pocket (1), middle pocket (2), and the bottom pocket to stitch only through the top folded edge of the pocket. You will need to unfold each level as you do this, lest you stitch your pockets closed.
Stitch as close as you comfortably can to the top of your folded pocket edge. Repeat for middle pocket (1), middle pocket (2), and the bottom pocket. Refold all of your pockets back into place

Marking Your Pockets

Time to Need Felt, Embroider, or Appliqué!
Unfold your pockets completely and remove marking tape if desired. The fronts of your pockets will be clearly marked with vertical chalk lines and horizontal pressing lines.
Personalize your advent calendar to your own delight! Remember to keep your advent calendar pockets unfolded during this process so that you don't accidentally felt or sew them closed, and so that the back side of your work will be hidden when you re-fold the pockets.

As you decorate your pockets consider that you will be sewing lines of stitches along the bottom edge of each pocket row and down the chalk lines that divide pockets. Numbers and embellishments should be placed accordingly
Sewing Your Pockets in Place
Now that you've finished decorating your pocket fronts, it's time to sew your pockets in place.
First, sew along the bottom edge of each pocket row. As you sew, catch the single cut edge on the back side of the top pocket the folded edge of the middle pockets and the bottom pocket.
Then sew the vertical chalk lines that divide the pockets. Now the pocket piece will be secured into one piece that is ready to attach to the backing fabric. Set this aside until it is needed.
Marking and Decorating Your Backing Fabric
Orient your backing fabric to have your 36" edge vertical and your 18" edge horizontal. Fold the piece in half lengthwise so that it is now approximately 18" square. Press the top fold in place.
With the folded edge positioned at the top, use your chalk pencil and a ruler to mark a horizontal line 1.5" down from the pressed fold. This will be your stitch line for creating a pocket to use for hanging your advent calendar, but for now will be useful to determine the area on the backing that can be decorated.

Place your completed advent pockets on your backing felt, lining up the bottom edges. Using your chalk pencil draw another horizontal line on your backing felt, this one at the top edge of your pockets. This line should land approximately 12" from the bottom edge of the backing felt. Unfold your baking felt and decorate to your own desire between the two chalk lines.
Stitching Your Pockets to the Backing Felt
Please read entire step before proceeding.
With your backing felt unfolded, place your pockets into their final position, lining up the side and bottom edges, and the top edge of the pockets with the lower of the two previously drawn chalk lines. Pin in place and stitch the horizontal and vertical pocket lines again. This is done for both reinforcement and to attach the pockets to the felt backing piece. Do not stitch the bottom edge and the farthest left and right vertical pocket edges until the next step when you will finish sewing the backing in place.

Finishing Your Advent Calendar
Fold the back layer of the backing felt piece down into place, hand pressing the top fold back into place and lining up the side and bottom edges. Pin in place. Swap out your bobbin thread to match your backing felt while keeping your top thread matching your pockets.
Starting in the top right corner of your pockets, stitch on top of the right vertical pocket edge (previously a chalk line, now a row of stitches). At the bottom corner, pivot with the needle down to turn your advent calendar to stitch on top of your bottom pocket edge stitch line. At the next corner pivot again to finally turn your advent calendar one more time to stitch on top of the left vertical pocket edge (previously a chalk line, now a row of stitches). Stop stitching when you arrive at the end of your pockets and the beginning of the felt backing piece.
Trim the side and bottom edges of the entire calendar to about 1/8" from your stitch line. The cut should continue in a straight line up from the pockets into the felt backing piece. You should have nice clean edges and a uniform shape to head into your final step.

Swap out your top thread to match your felt backing color. Starting in the left corner right above the pockets, sew 1/8" from the edge, pivoting with the needle down to turn the corner when you reach your chalk line 1 1/2" from the top fold. Sew across this line to create a pocket (that you'll use to hang your calendar). At the end of this line, pivot and turn your calendar to sew your final line of stitches 1/8" away from the edge, stopping when you reach your pockets.
Hanging Your Advent Calendar
You can choose to feed a ribbon, a dowel, or a stick through the pocket to hang your calendar.
Congratulations! You now have an advent calendar that will surely be cherished and looked forward to year after year. We love seeing what our customers come up with so don't forget to share your work with us, online or in person. Online you can use the tags #FASadventcalendar and @fiddleheadartisansupply