Double Sided Napkin Tutorial

Fabric Requirements
Making 16" Finished Napkins from Fat Quarters
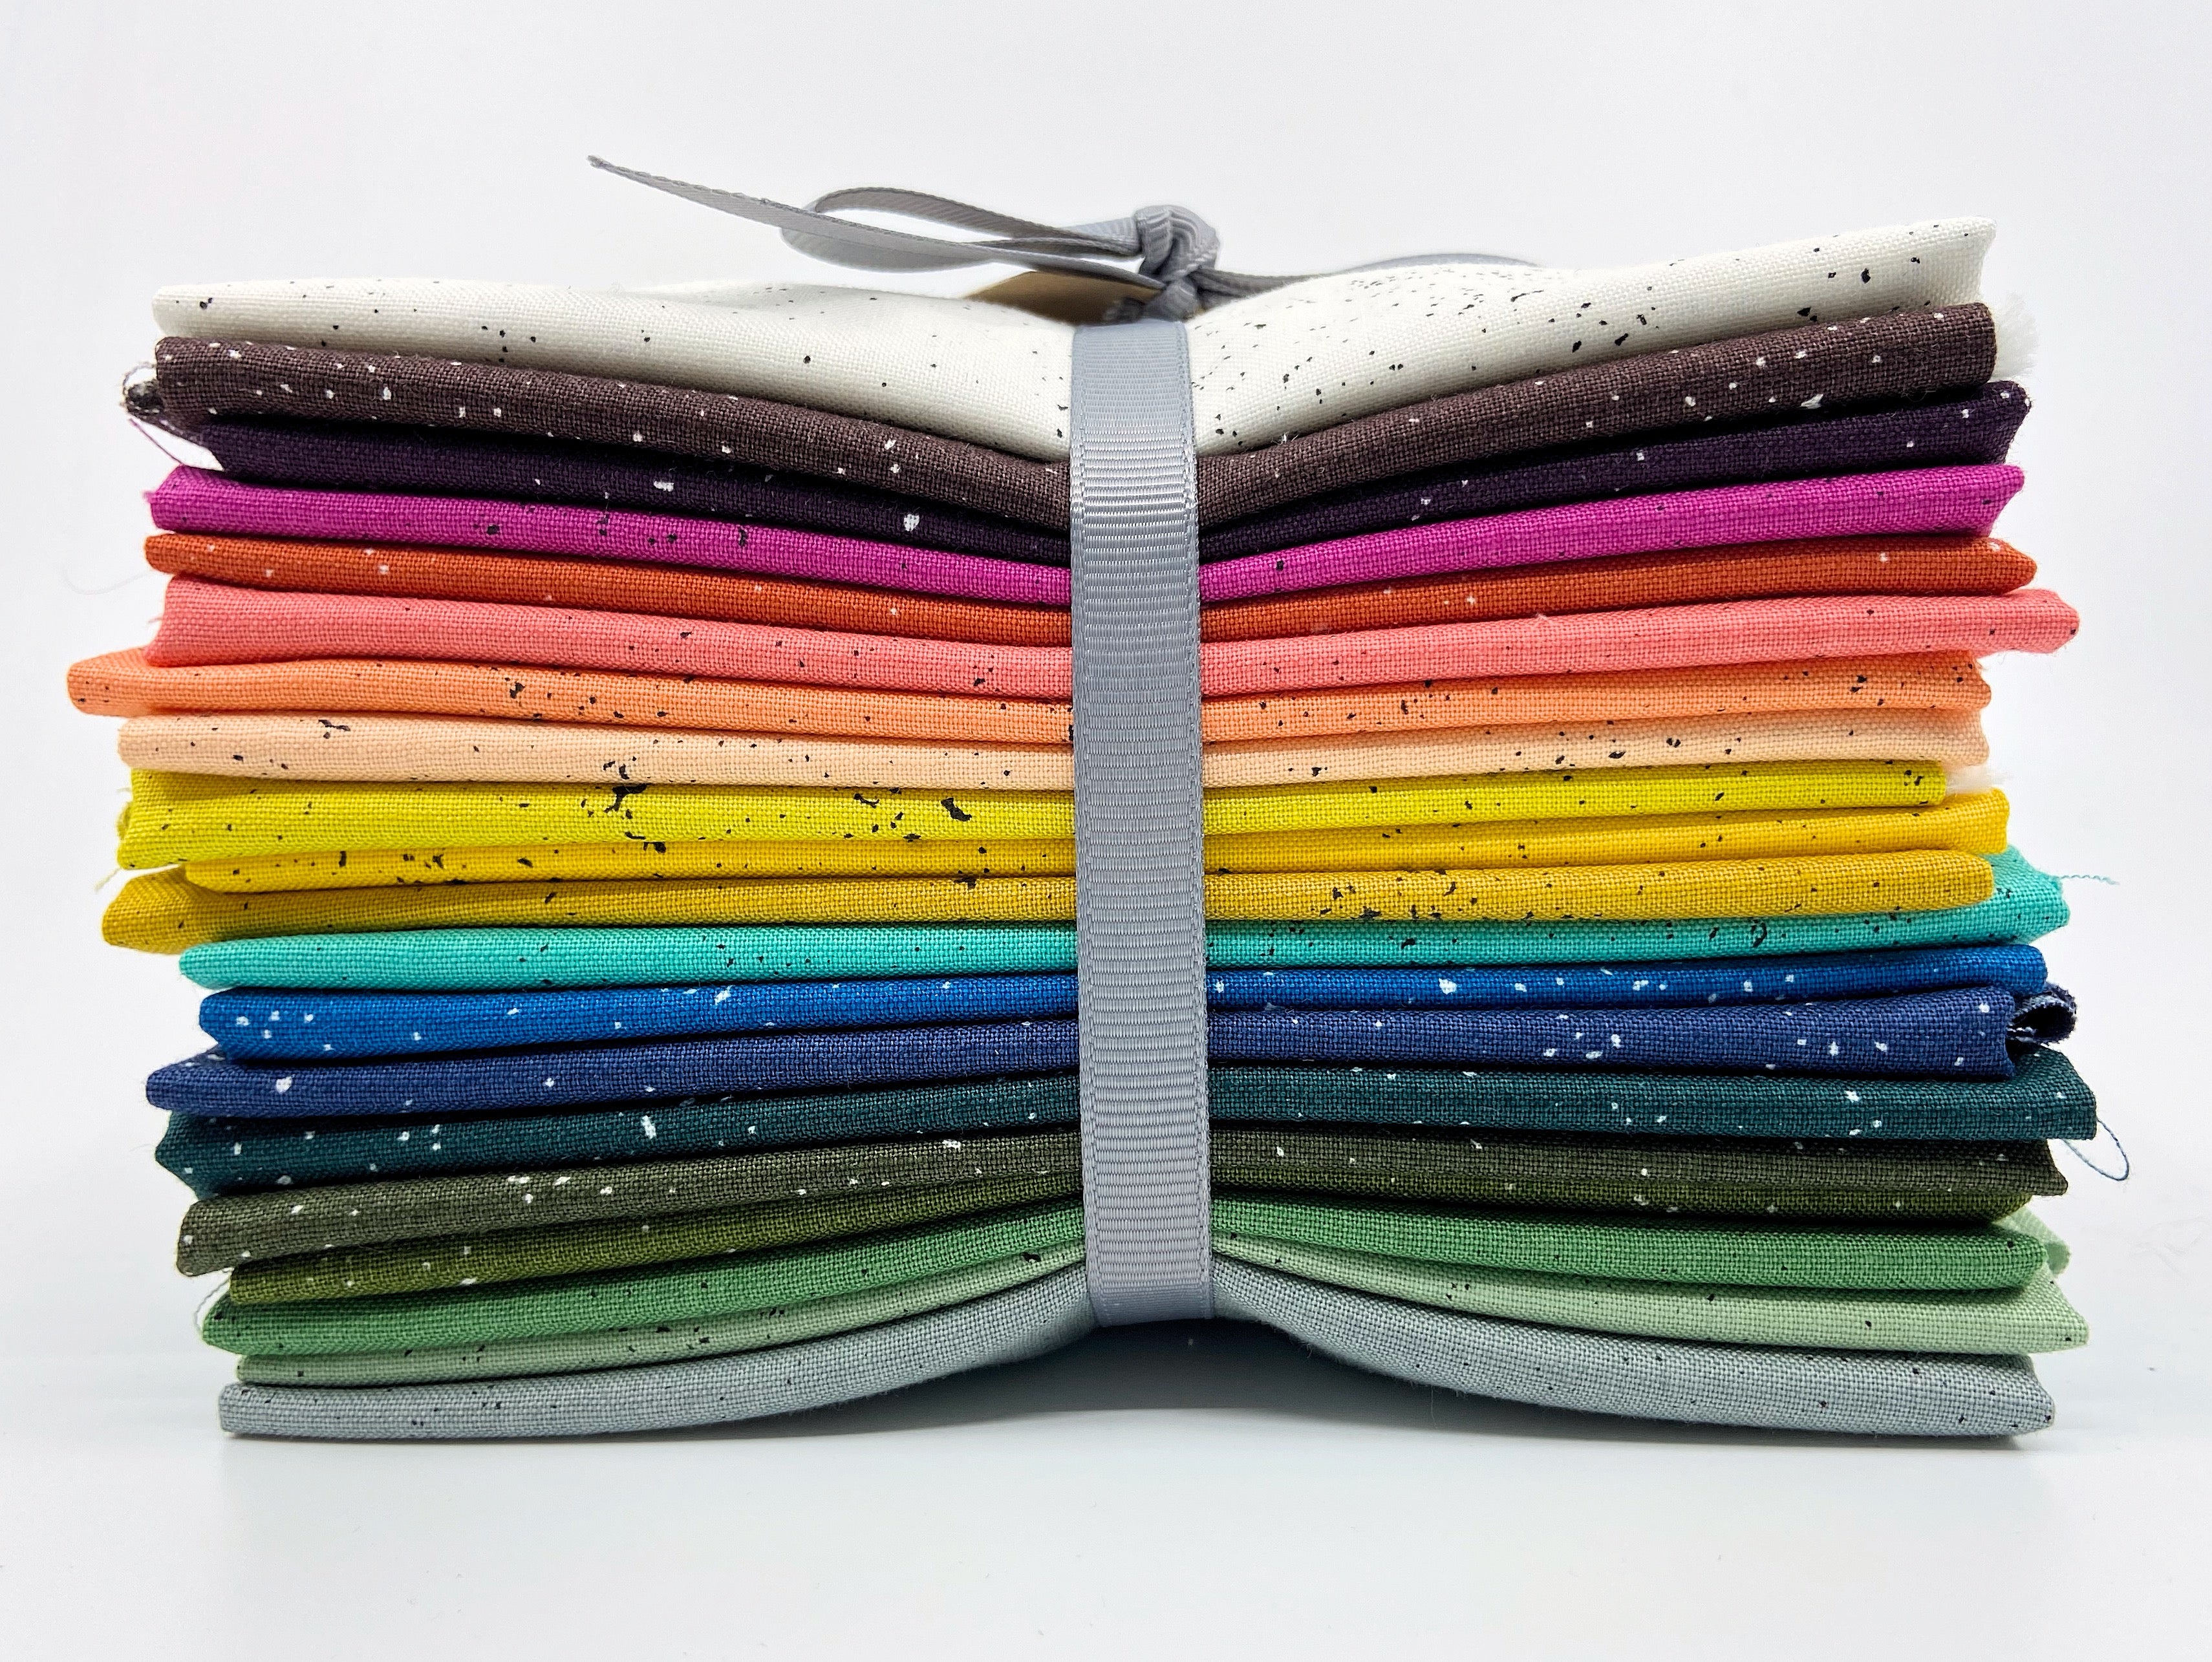
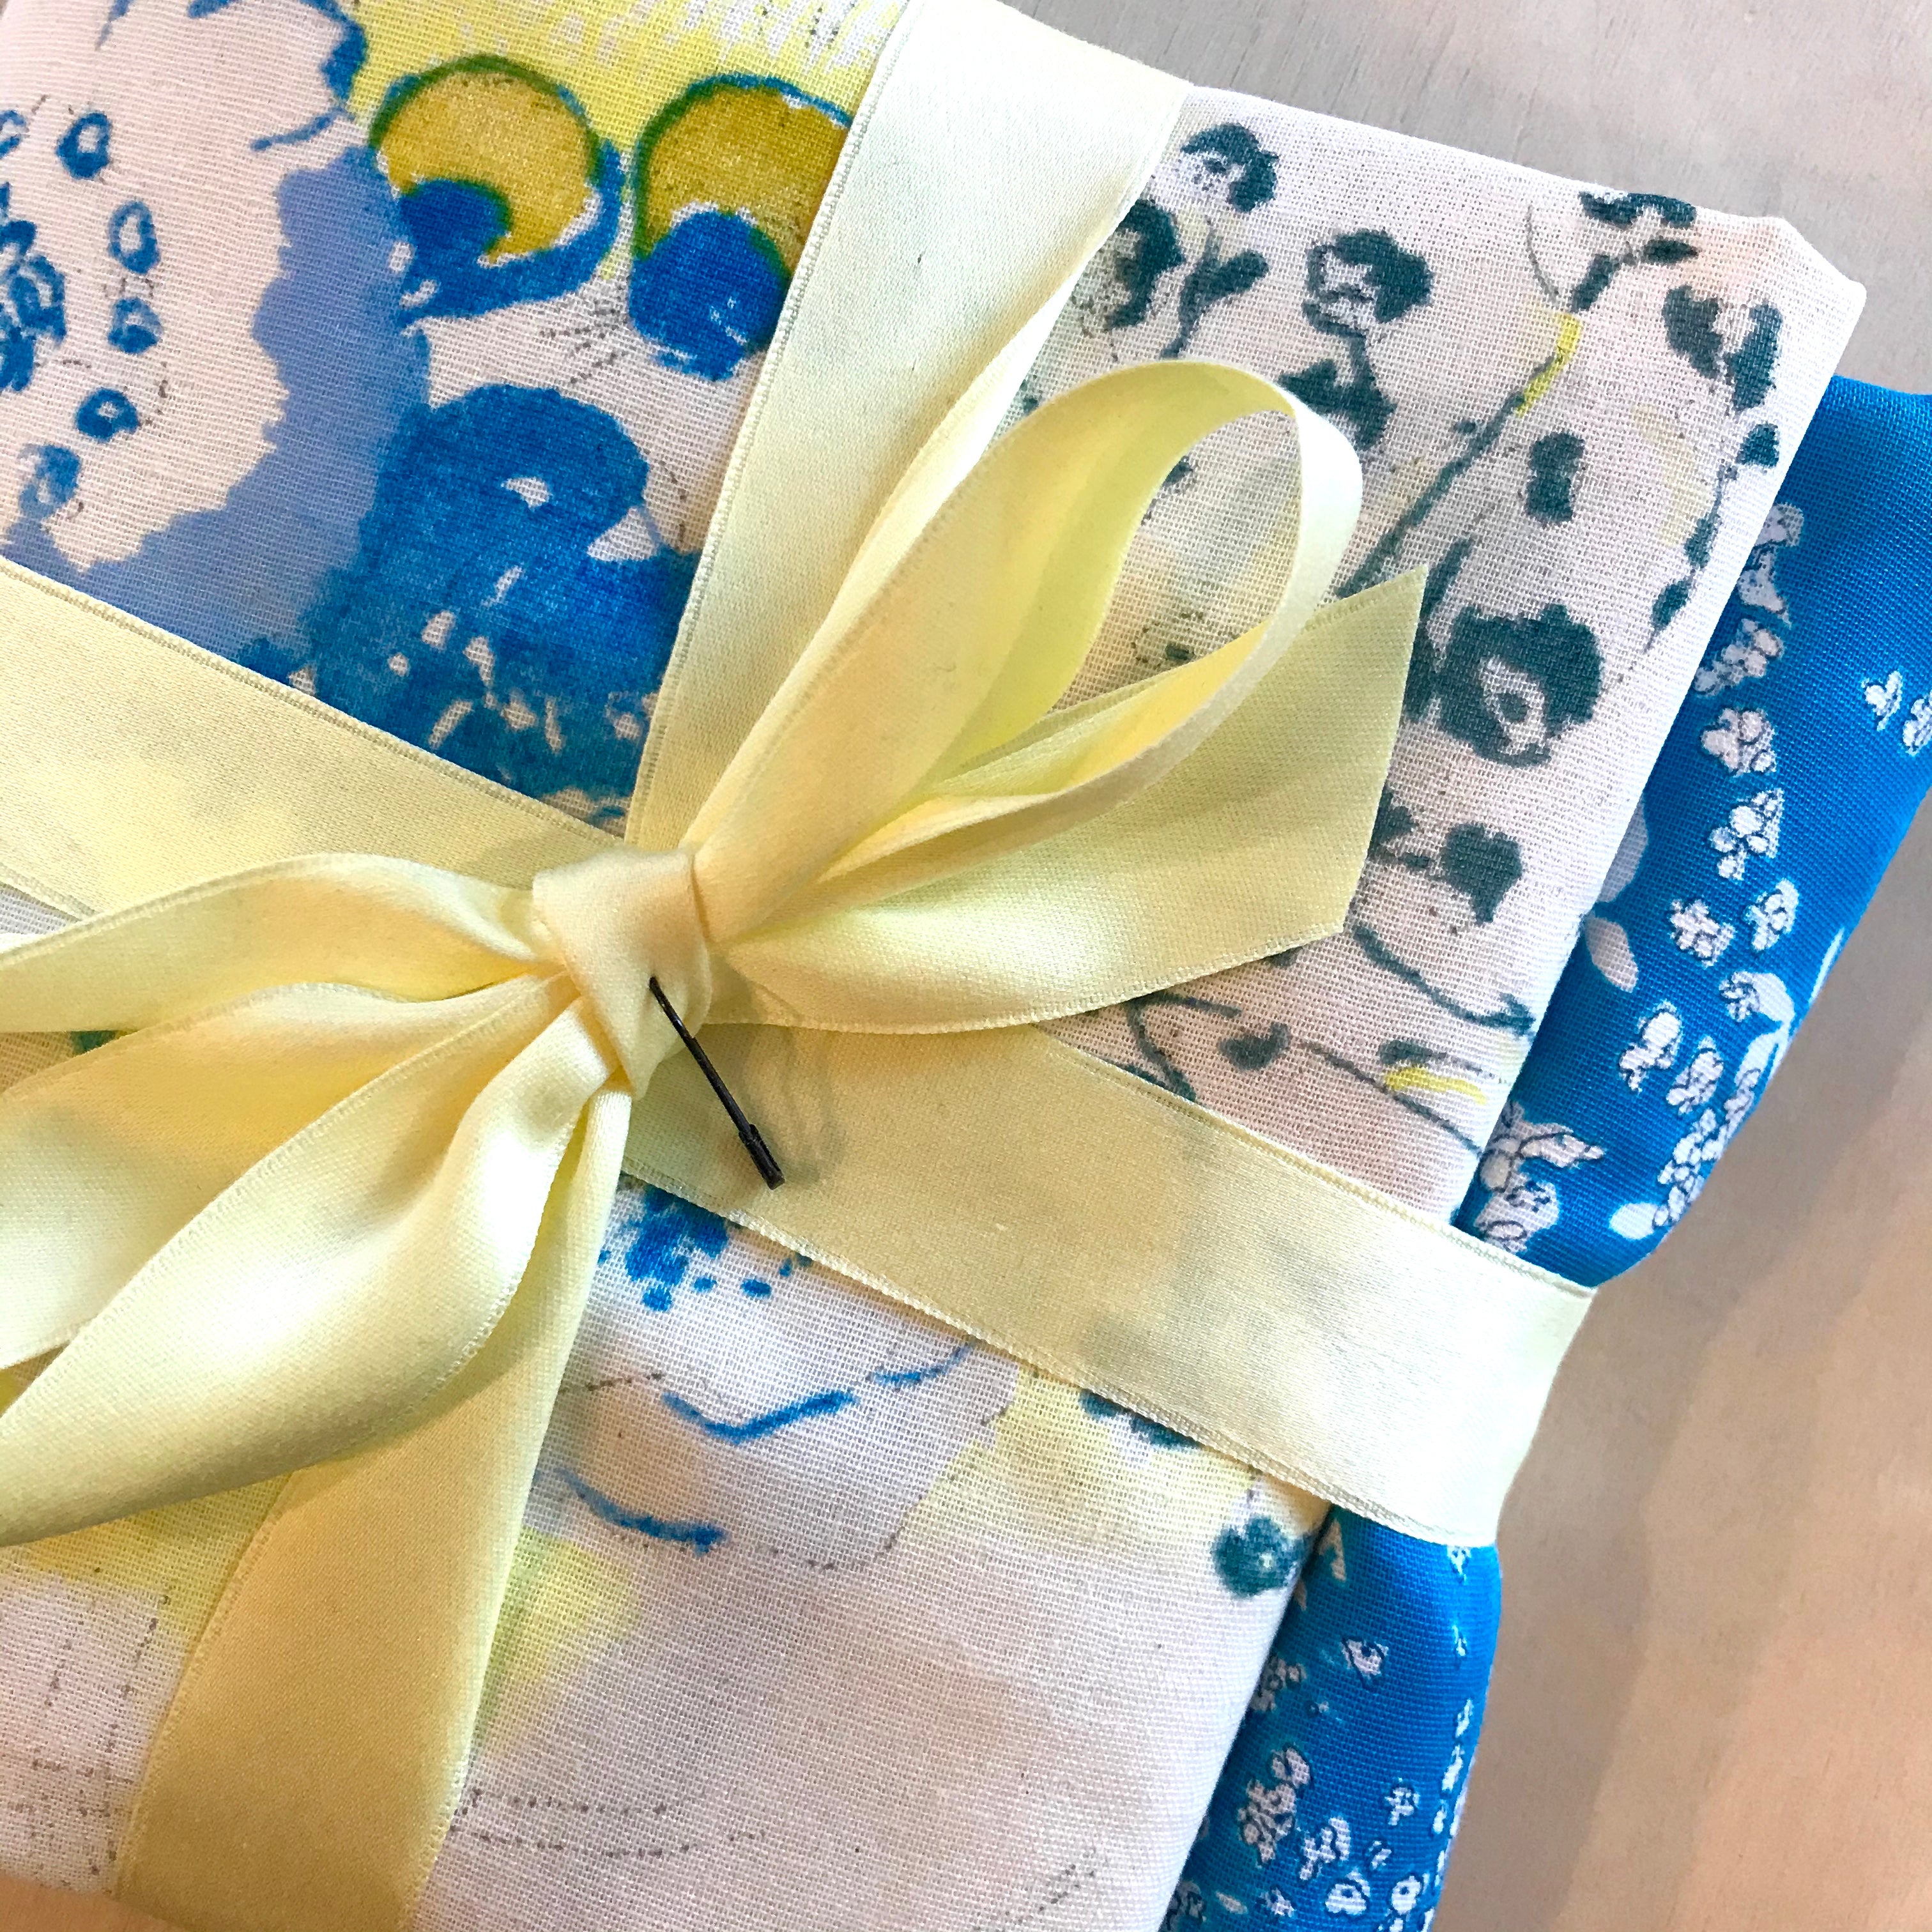
This pattern can be used to make a 16" square finished napkin from two fat quarters. Fat quarters and fat quarter bundles are an easy way to put together coordinating fabrics for this quick and fun project. The design possibilities are endless! Pick out a beautiful mix of your favorite fat quarters and pair them as you like, choose a single fabric for one side to pair with a mix of prints, or use the same two fabrics to create an entirely matching set of napkins. Before you get started, look over the yardage to napkin math below to plan out your desired set of napkins.
- Two fat quarters will make one 16" napkin
- Two yard cuts from 44" wide fabrics will make four matching 16" napkins
- Two yard cuts from 54" wide fabrics will make six matching 16" napkins
- A bundle of eight fat quarters will make four 16" napkins
- A bundle of eight fat quarters and two yards of a coordinating fabric will make eight 16" napkins with different prints and the same coordinating print on the reverse tying the set of napkins together
Making 20" Finished Napkins from Yardage
If you would like to make 20" square finished napkins you will need to cut 21" squares from your fabrics, so you will need to work from yardage and not from fat quarters. Here are some yardage suggestions:
- Two of our project cuts (22"x26") will make one 20" napkin
- Two 5/8 yard cuts will make two 20" napkins
- Two 1 1/4 yard cuts from 44" or 54" wide fabrics will make four matching 20" napkins
- Two 2 1/2 yard cuts from 44" or 54" wide fabrics will make eight matching 20" napkins
Directions
This is a great project for beginners who are just getting into sewing. We are first providing a very brief set of directions, followed by an in-depth set of directions with lots of details, explanations, and photos that those new to sewing might find helpful!
Brief Directions
- Pre-wash your fabric.
- Press and then cut your fabrics into 17" squares. (Or 21" squares if making the larger size.)
- Pin the fabrics right sides together, all the way around the four edges. Make sure the grainline going in the same direction on both of your fabrics.
- Start a bit past the middle of one side, and using a 1/2" seam allowance, sew around all four sides, stopping about 3" from where you started. Make sure to pivot at the corners and to back stitch at the beginning and end of your stitching.
- Clip the corners.
- Turn your napkin right-side out through the opening
- Using a point turner or other tool, push the corners out to make them as sharp as possible
- Press the napkin flat, turning in the raw edges from the opening.
- Pivoting at the corners, topstitch all the way around your napkin about 1/8" from the edge.
In-Depth Directions with Photos
Prewash Your Fabric
It is easy to want to skip this step, but preshrinking your fabric will result in a much nicer finished project, particularly considering that you cannot count on different fabrics shrinking to the same degree. This pattern has you sewing two layers of fabric together around all of the edges and because of this, you don't want the shrinking to occur after the napkin has been made.
Cut and Pin Your Fabric
Press and then cut your fabrics into 17" squares. (Or 21" square if making the larger size.)
Pin the fabrics right sides together, all the way around the four edges. Make sure the grainline going in the same direction.
This pattern uses fat quarters which are approximately 18" x 22". So we are suggesting a 17" square. Because the fabric might have shrunk in the wash, and to make up for slight discrepancies in the cuts, 17" is a good place to start. That said, you can cut the fabrics into any size you would like. Keep in mind that the 1/2" seam allowances will result in a finished napkin that will be 1" smaller than the size your fabric is originally cut.

Prior to cutting the squares, assess the prints you're working with. In the above photo, you can see how the scattered floral fabrics on the left can be cut without very careful attention to print layout. The two fabrics on the right, where the patterns are in clear rows or columns, show prints where you will want to pay extra attention to lining up your ruler markings along the pattern before cutting.

Our favorite way of cutting the squares (if you have at least one fabric that doesn't need special cutting attention as described above) is to put the two fabrics you are matching in a napkin right sides together, with the grainline lined up and going the same direction, down on your cutting mat together, and cut them both at the same time. Then you can pin them right away, and this saves the time of matching and lining up the squares when pinning.

A note about lining up the grainline: You will find that quilting fabric stretches when pulled with the selvedges in your hands. This is the cross-grain. The fabric will barely stretch when pulled in the other direction, along the grainline. Because of how the fabric behaves differently, it would be best to put the squares together so that the stretch goes in the same direction with both pieces. This is not something to be overly concerned about if you are brand new to sewing, but doing so may help your napkins stay neater after many washings.
Stitch
Start a bit past the middle of one side, and using a 1/2" seam allowance, sew around all four sides, stopping about 3" from where you started. Make sure to pivot at the corners and to back stitch at the beginning and end of your stitching.

Pivoting at the corners will help to give your napkins nice sharp corners. You do this by sewing straight along the side right up to 1/2" from the next edge. Stop sewing with your needle in the down position, then lift the presser foot and spin the fabric around so that the new side is lined up on your stitching guide. Drop your presser foot back down and continue sewing.
Clip The Corners

Clip your corners by cutting off each corner at a 45 degree angle, very close (but not right up to) the seam.
Turn and Press

Turn your napkin right-side out through the opening you left when stitching.
Use a point turner tool, or anything you have in your craft supplies such as a knitting needle, and carefully push the corners out to make them as sharp as possible.
Press the napkin flat, turning in the raw edges from the opening.

When pressing, you will want to make sure that along with the corners, the entire length of the seams down the sides are pulled out to the edge as much as possible. Sometimes it is helpful to run your fingers along the inside of the napkin before pressing, and pushing the seams right out to the edge.

When pressing, you will need to make sure to turn in the fabric edges along the opening by 1/2" to line up with the stitching lines on both sides of the opening. If done well, you won't be able to see where the opening was.
Topstitch
Pivoting at the corners, topstitch all the way around your napkin about 1/8" from the edge.

If desired, make an additional round of stitching 1" from the edge or wherever you would like.
If your machine has decorative stitches, this might be a fun time to use them.
In addition to helping to keep the napkin flat after being washed, the topstitching round will close up the opening you made. If you would like to close it by hand stitching, you can use a ladder stitch.
And now your napkin is finished and ready for the table!


