


Faced Tea Towel and Napkin Tutorial


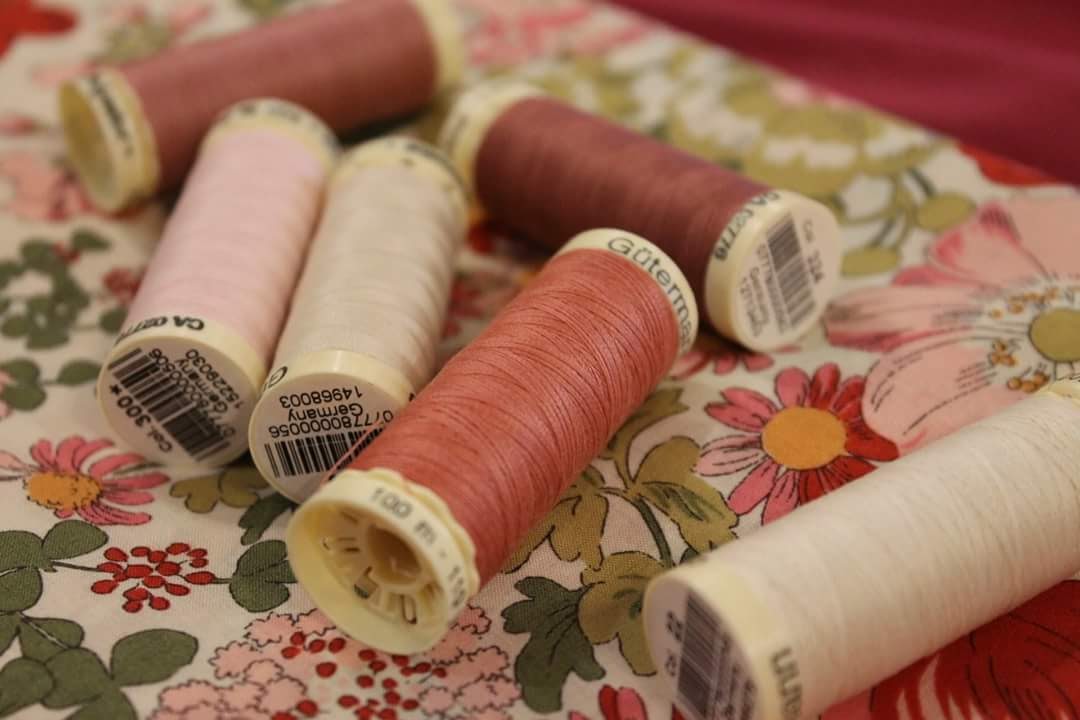
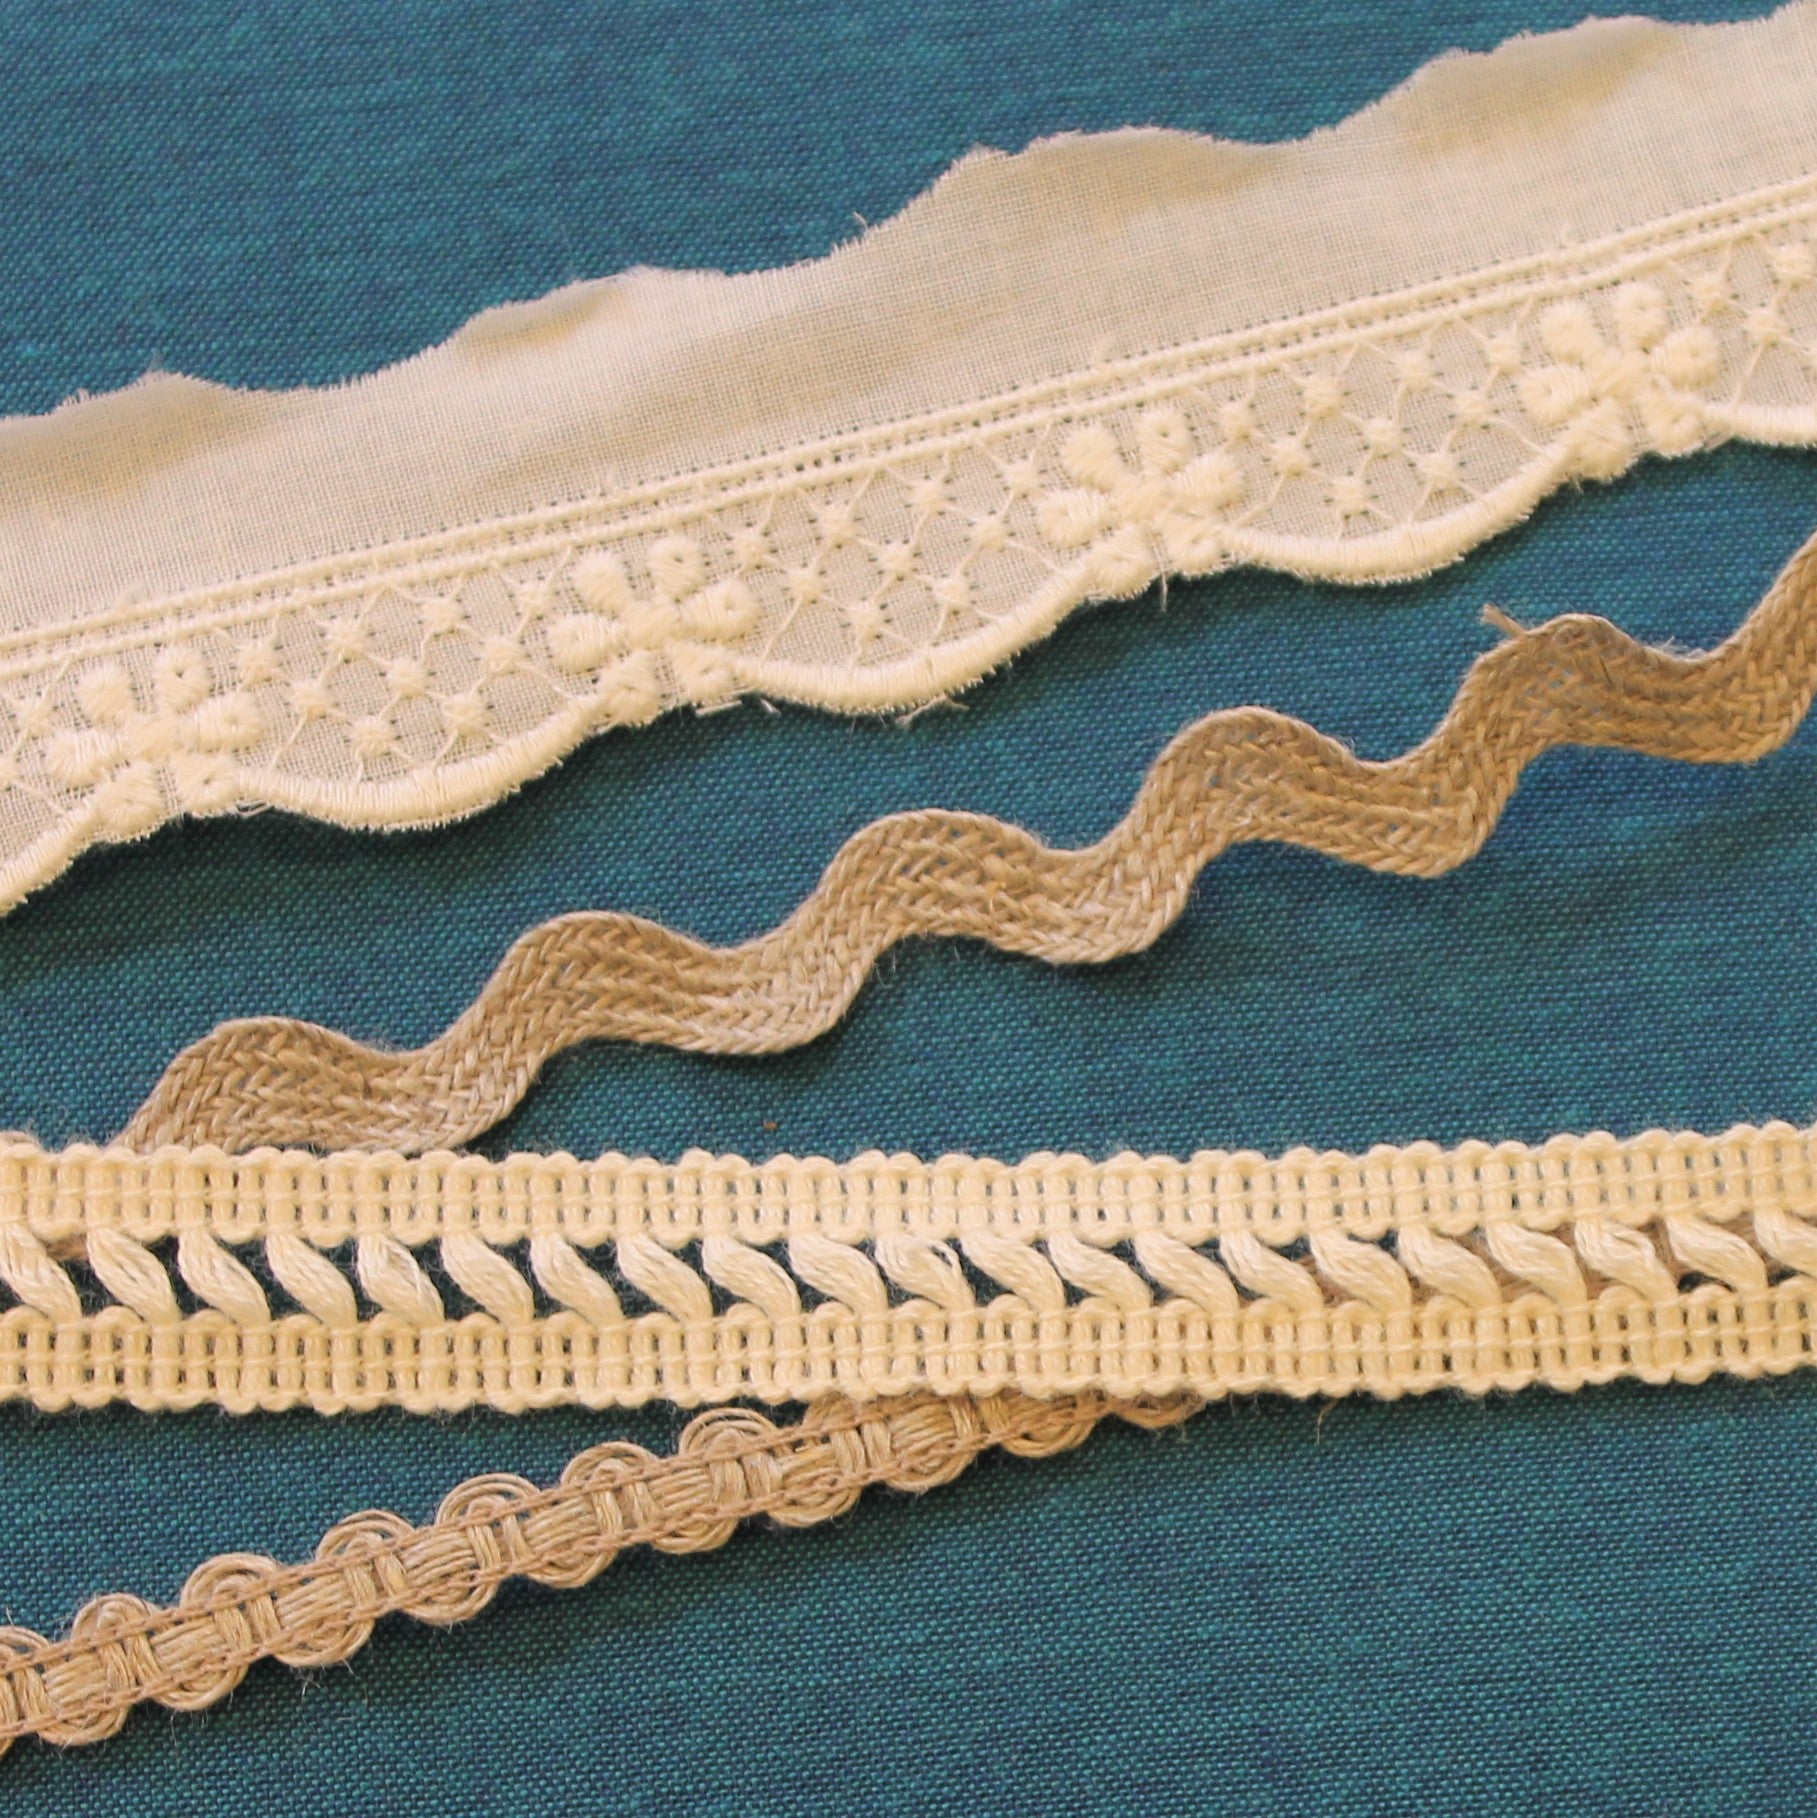
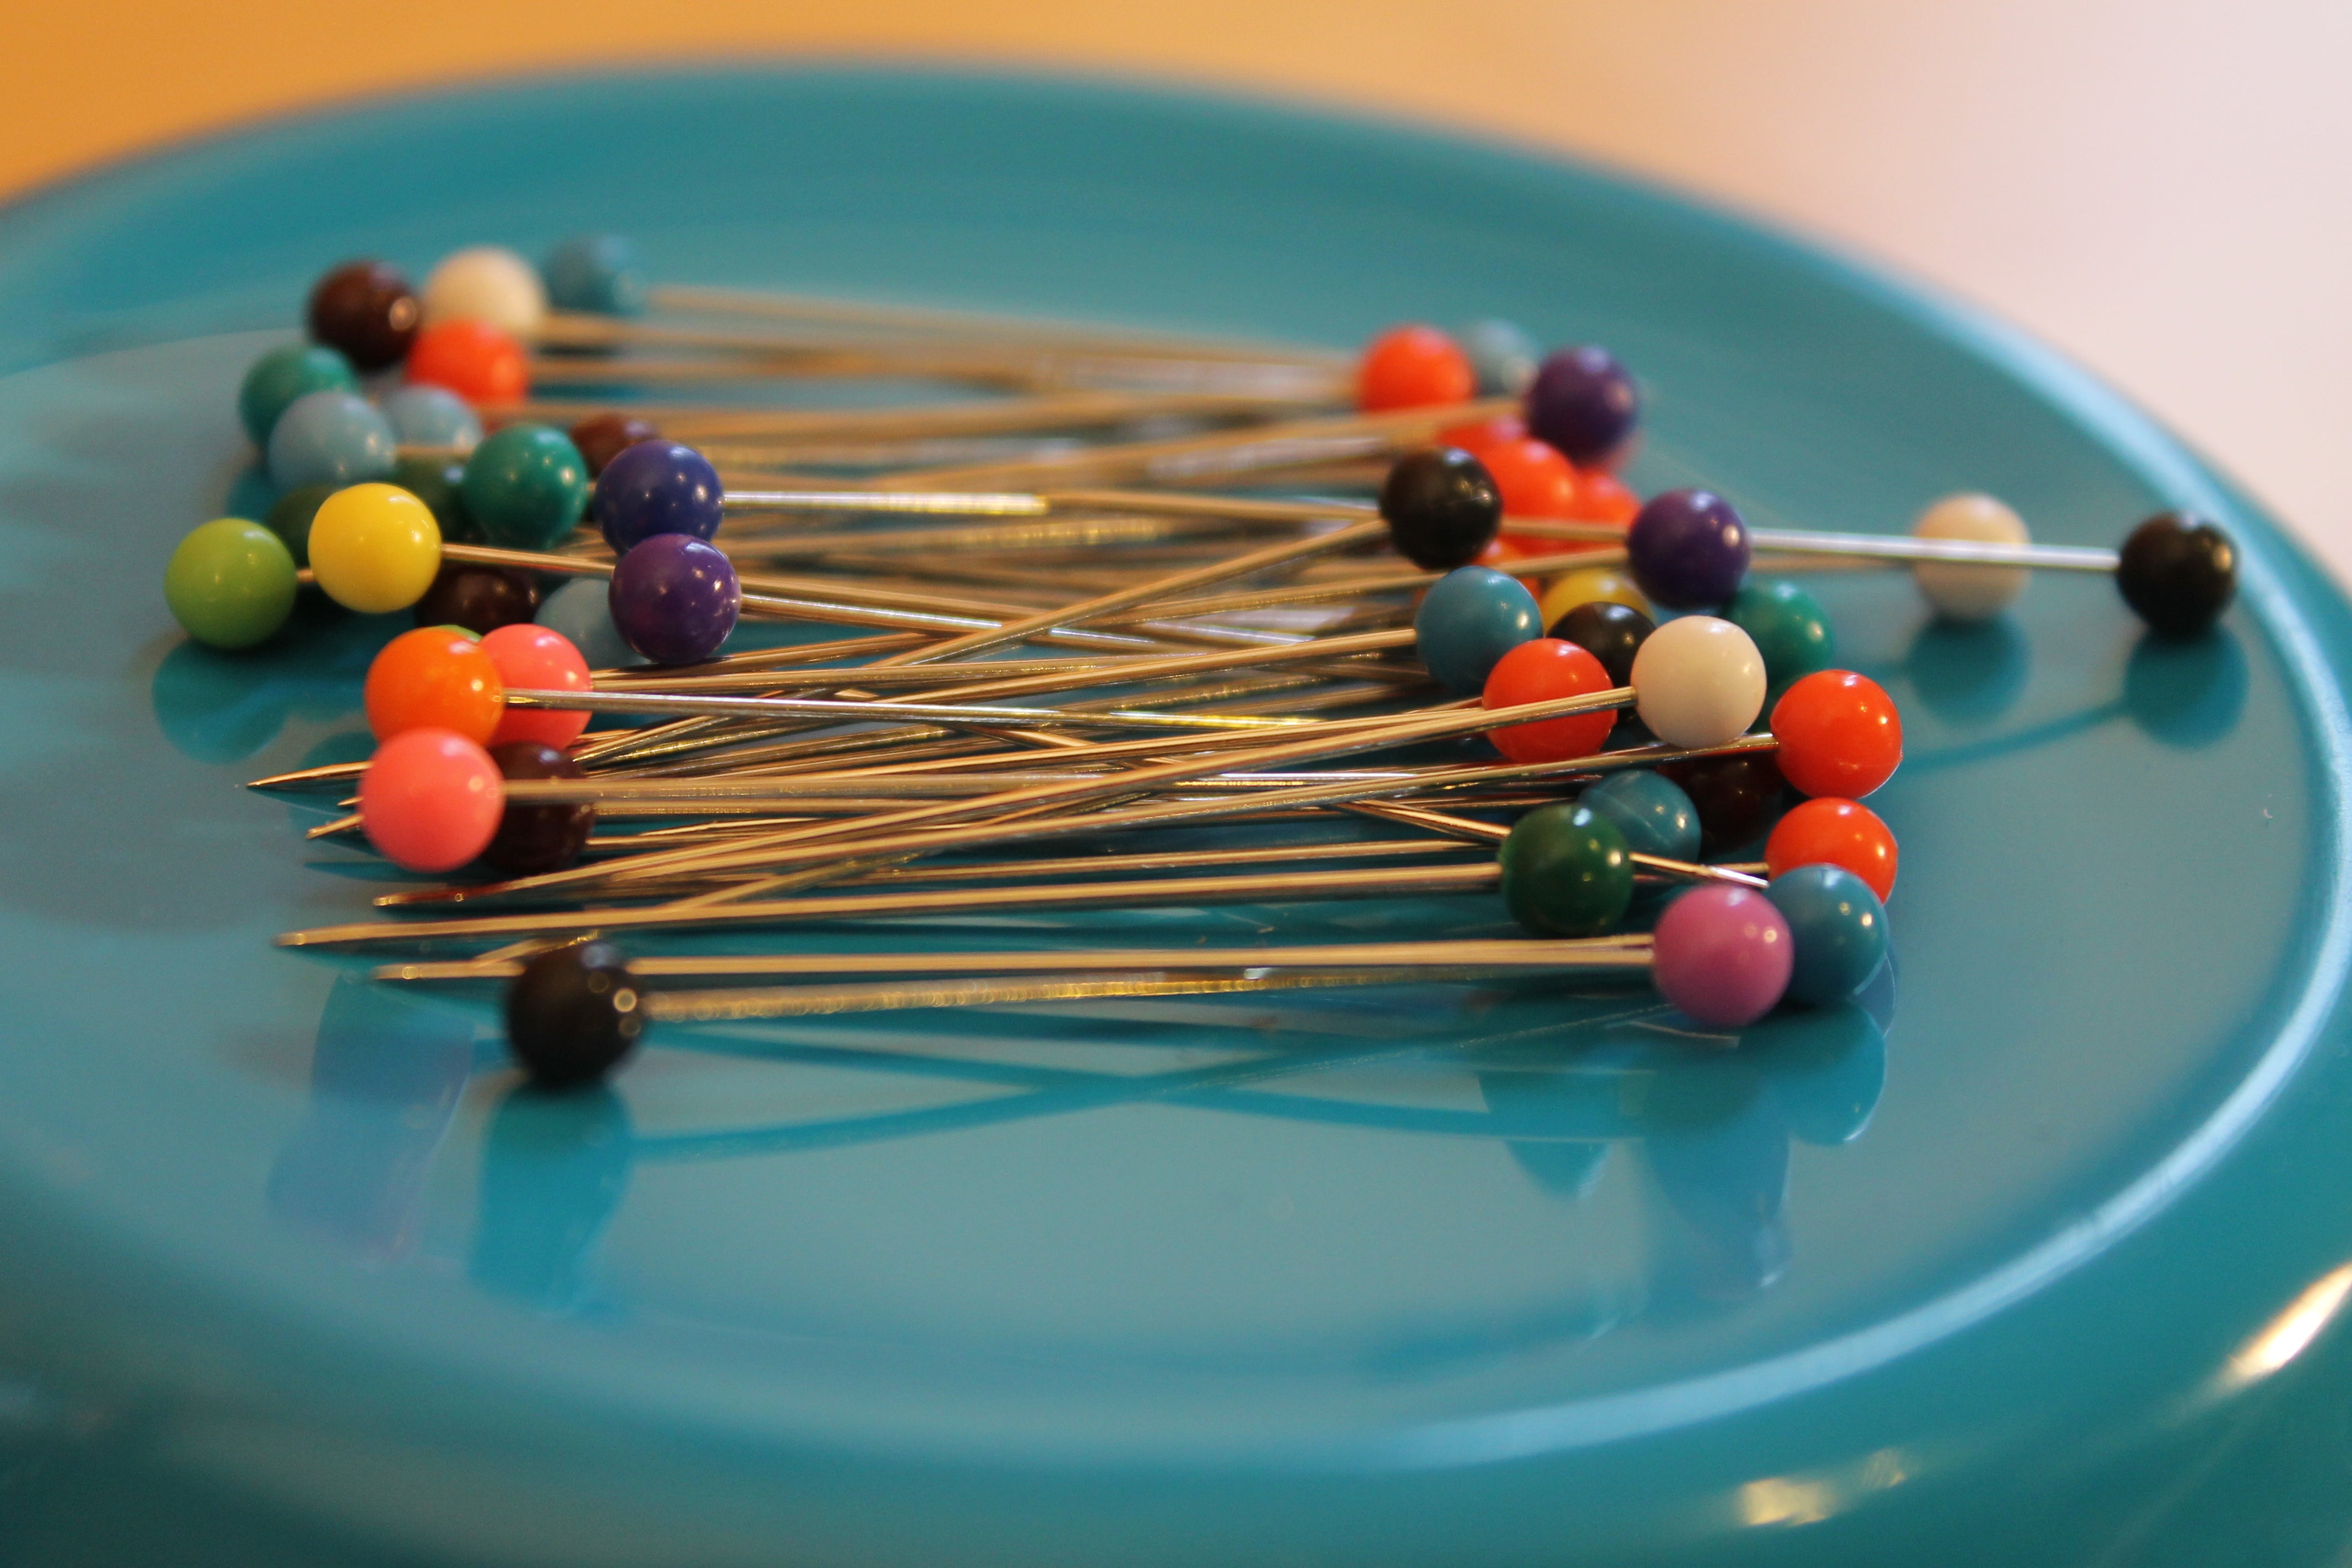
Gather your Supplies
The first step in getting your supplies is to decide how big you want your napkins or tea towels to be. This size is completely up to you and your preference for this project. The finished size of the napkins or tea towels will be about 1" less than the size you cut your fabric to.
Note: Prewash all of your fabrics so that any shrinking of the fabric happens BEFORE you make the project! Also, when purchasing fabric, get a bit extra length to allow for Andy shrinking and for straightening out the edges when cutting.
Napkins
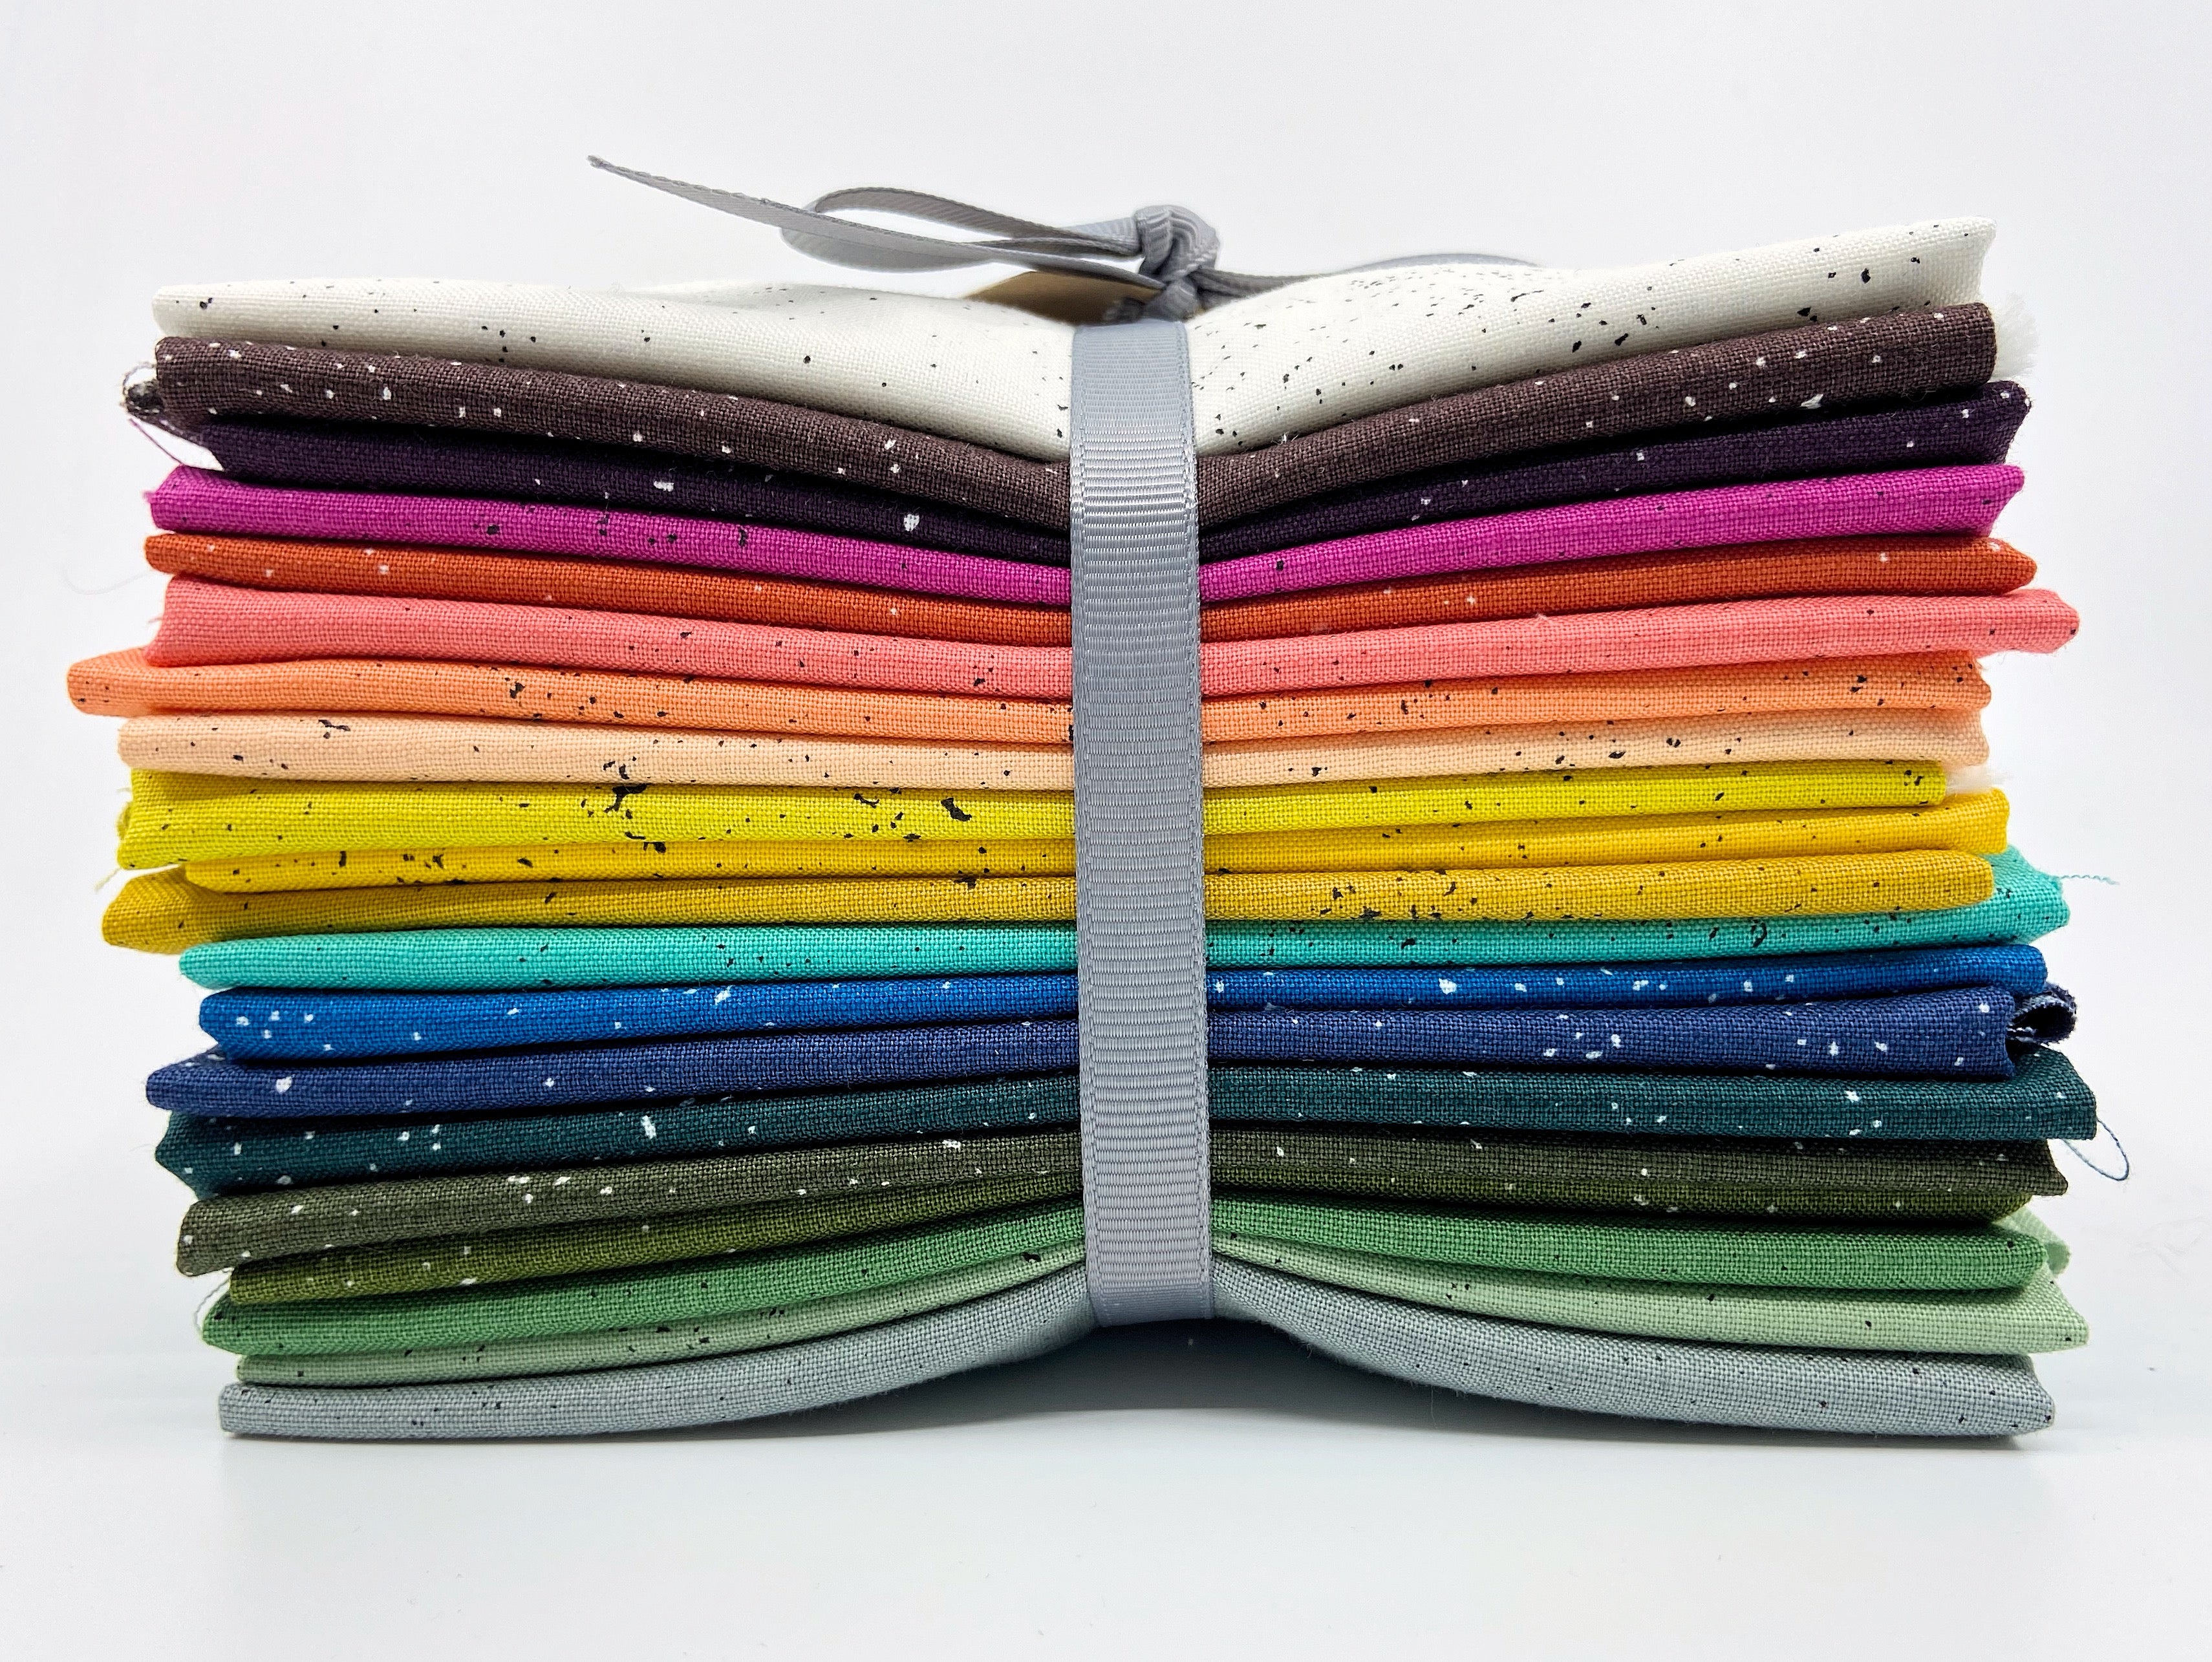
If using Driftwood Linen yardage, or other 58" wide linen, you can get three 18" wide squares from each half yard.
If using a 45" wide fabric, you can get two 18" wide squares from each half yard.
Make the Single Fold Tape
Cut 2" strips the width of the fabric

Sew them together by overlapping the corners and sewing from one corner of one strip to the corner of the other one as shown in the photo below.

Leaving approximately a 1/4" seam allowance, trim the remaining fabric off of the corners.

Press the seams open.

You should now have one strip that is many yards long. Feed one end of the strip into the bias tape maker and adjust the strip so that the folded in edges meet in the center. Press flat with your iron.

Slowly pull the strip through the bias tape maker, stoping every foot or so to press the strip flat.

Once you are done creating your single fold facing strip, put it aside while you trim and prepare the the tea towel/napkin fabric for sewing.

Trim the linen or whatever fabric you are using for the tea towel or napkin to size
Option 1 - Use a ruler and rotary cutter or scissors

Options 2 - Pulling threads and cutting - This will get you the most accurate cut for your fabric as your cuts will all be right on grain.
With your scissors, make a snip about 1" long along the grain of the fabric where you need it cut. Separate one thread out and carefully pull on it. As you pull on the thread more and more, the fabric will bunch up along it. Keep pulling carefully on the thread, and eventually it will either come loose from the opposite edge of the fabric or it will break.

Whether the thread pulls all the way out, or it breaks, cut along the line made by the part of the thread that you pulled out. If the thread broke, cut up to where the thread broke, and then find another loose thread and pull on that, repeating this process until you reach the opposite side.
Measure from this new edge to the opposite edge to get the fabric cut down to the size you want for your project.

Mark your Trim Placement Lines
Using a ruler and chalk or marking pen, measure 1/2" or other consistent distance from the edge of your fabric on all four sides.
(The side that you make these markings on is the back side of your work that

Start Stitching the Trim Onto the Tea Towel Fabric
Starting about 10 inches from the end, place the trim along the chalk line (around the center of one of the sides) with the folded edges facing down and the trim going off the edge of the fabric.
Topstitch along the very edge of the trim as close as you can get to the edge while maintaining an even line.

Sewing Around a Corner
When getting to the corner, stitch past the marking for the next side and cut your threads, removing your work from your machine.

Turn the trim to the back of your work and finger press the fold.

Fold the trim back to the front and along the new stitching line, so that the trim forms a 45 degree corner as shown in the photo below.

Start a new line of stitching, making sure to backstitch at the beginning of the seam. Stitch the trim down along the placement line to the next corner and repeat until you have worked all the way around.

The photo below shows what the back of your work will look like when working around a corner. You should just be working on the other side (the side with the chalk markings) and probably won't look at the back side of your work, but we are providing this image for you if you are confused about all of the steps and need a reference to be sure you have done this correctly.

Joining the Two Ends with a Mitered Seam
Once you get to the side that you started sewing your trim down on, stop stitching down the trim about 9-10" from where you started. Backstitch and cut your threads.

Trim one trim end so that it goes a little bit past the halfway point along the un-sewn space (about 5"). Make sure to trim it straight.
Place the other trim end on top of the strip. Trim this end so that the strips overlap by exactly 2".
(We used 2" wide strips originally to make the single fold trim, so this is why they should overlap by 2". If you chose to make thinner single fold trim by cutting 1.5" strips and using a 3/4" single fold bias tape maker, then you would only overlap the strips by 1.5")


Open out the folds on the single fold trim and place the two strips on top of each other at a right angle as shown below, right sides facing, and lining up the corners so that they meet each other. Pin in place.

Stitch from one corner to the other just as you did when making the original bias trim, and trim of the top corner as show below.

Finish Stitching Down the Trim
Tuck the ends back in place along the original folds and press flat and back in place.
Stitch the rest of the stitching line that you had been sewing before to attach this last bit of trim.

Press the Trim into Place for the Finished Napkin
In the process of turning the corners, you have already started to fold the trim to the front side of the napkin. The trim will want to fold towards the front at the seam that you just sewed it down with. At your ironing board, press the trim to the front side along the sides, and folding the corners down too. Press thoroughly to really set these folds.


Stitch the Trim down on the Front Side
Now that the trim has been turned to the front side of the napkin and pressed down, the inside edge needs to be stitched down. Sew all the way around the napkin as close to the edge of the trim as you can comfortably stitch. Backstitch at the beginning and end of the seam.


How to Handle Stitching Down the Corners (Or Not!)
The photo below shows a slightly exaggerated view of how the trim will look if you just sew around the inside edge of the trim and don't stitch down the corners of the trim. If you don't mind this look, this is the easiest way to stitch the trim down. But, something could get stuck in the opening and most people will want to stitch over this gap.

If you want to stitch the opening closed, sew right to the corner, and with the needle down, pivot the napkin so that you sew right along the edge of the fold right out to the outside corner as seen in the photo below.

Once you reach the outside corner, with the needle down, pivot and turn your work all the way around and carefully stitch back over the stitching line you just made.

Once you reach the inside corner, with the needle down, pivot again so that you can sew along the next inside edge. Repeat with all four corners and finish your seam with a backstitch when you reach the spot where you started stitching.

The photo below shows what your corner should look like on the front when you have stitched over the fold.

The photo below shows what your corner should look like on the back when you have stitched over the fold.

The photo below shows what your corner would look like on the back if you have NOT stitched over the fold. This makes a really attractive single square stitching line. If you really want to get this look, and also want to get your corners stitched down, you would need to hand tack the corners in a few places with a needle and thread.

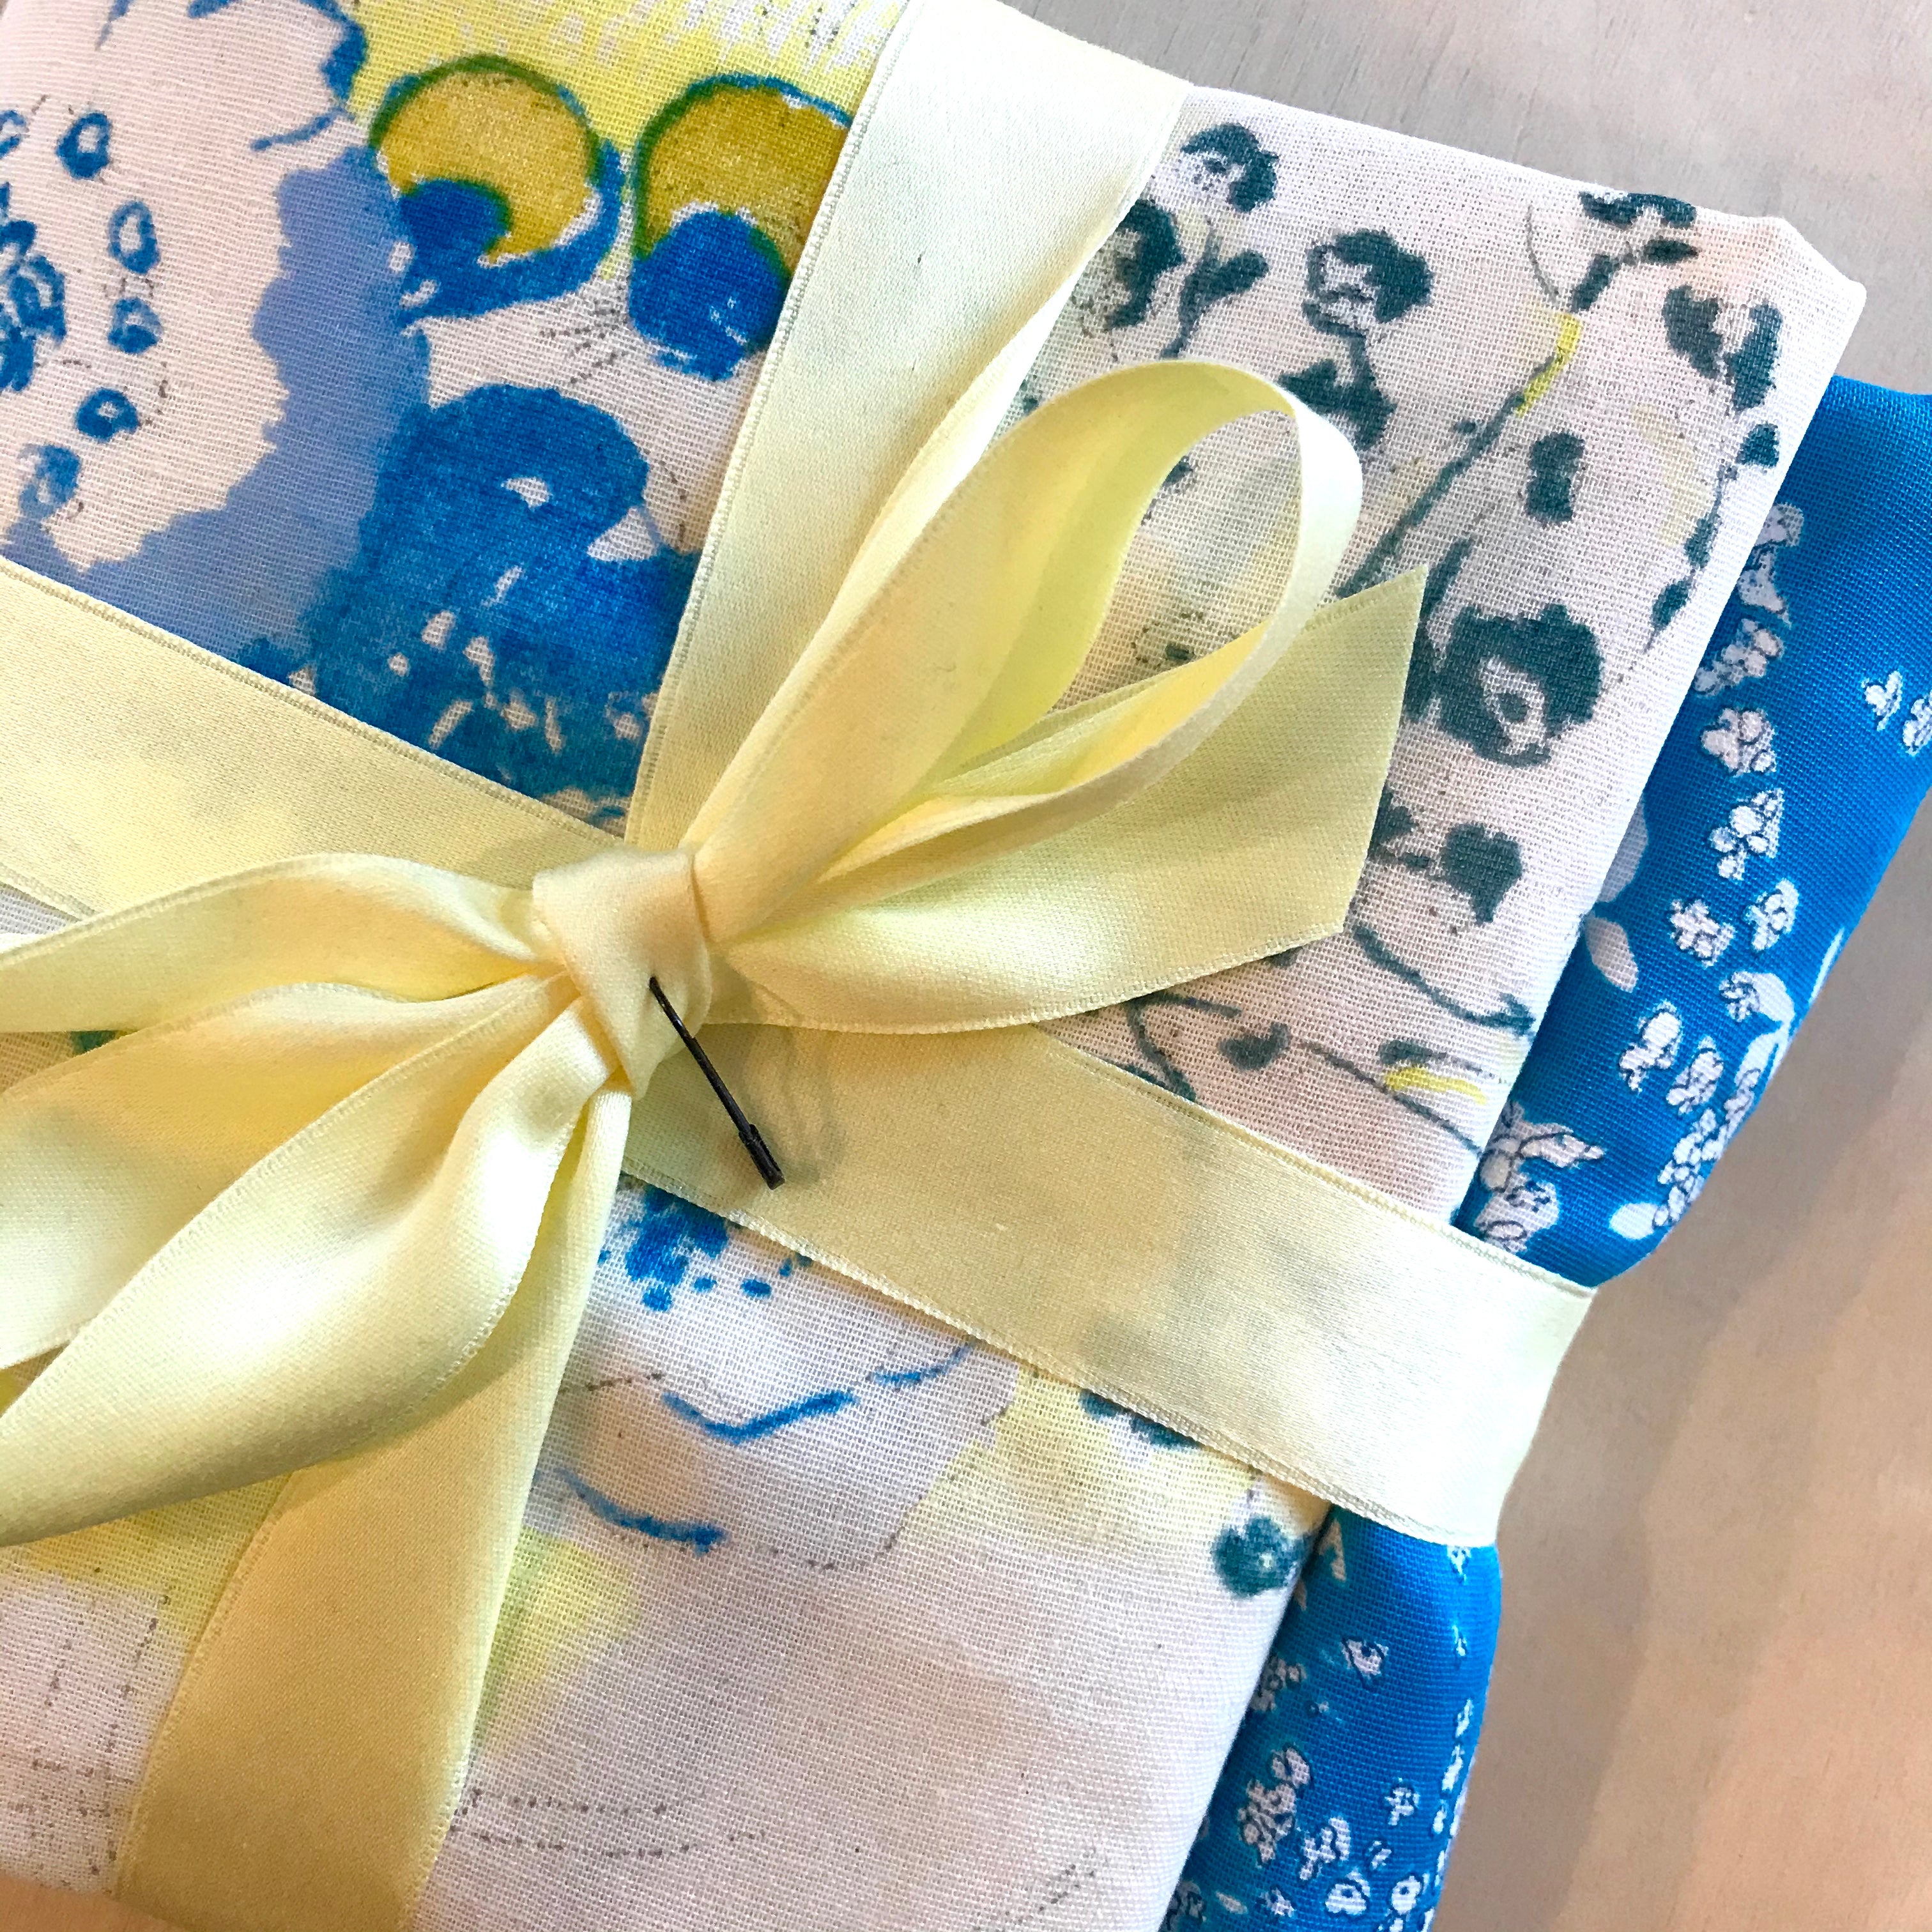
And now you have a finished napkin or tea towel! Enjoy!