

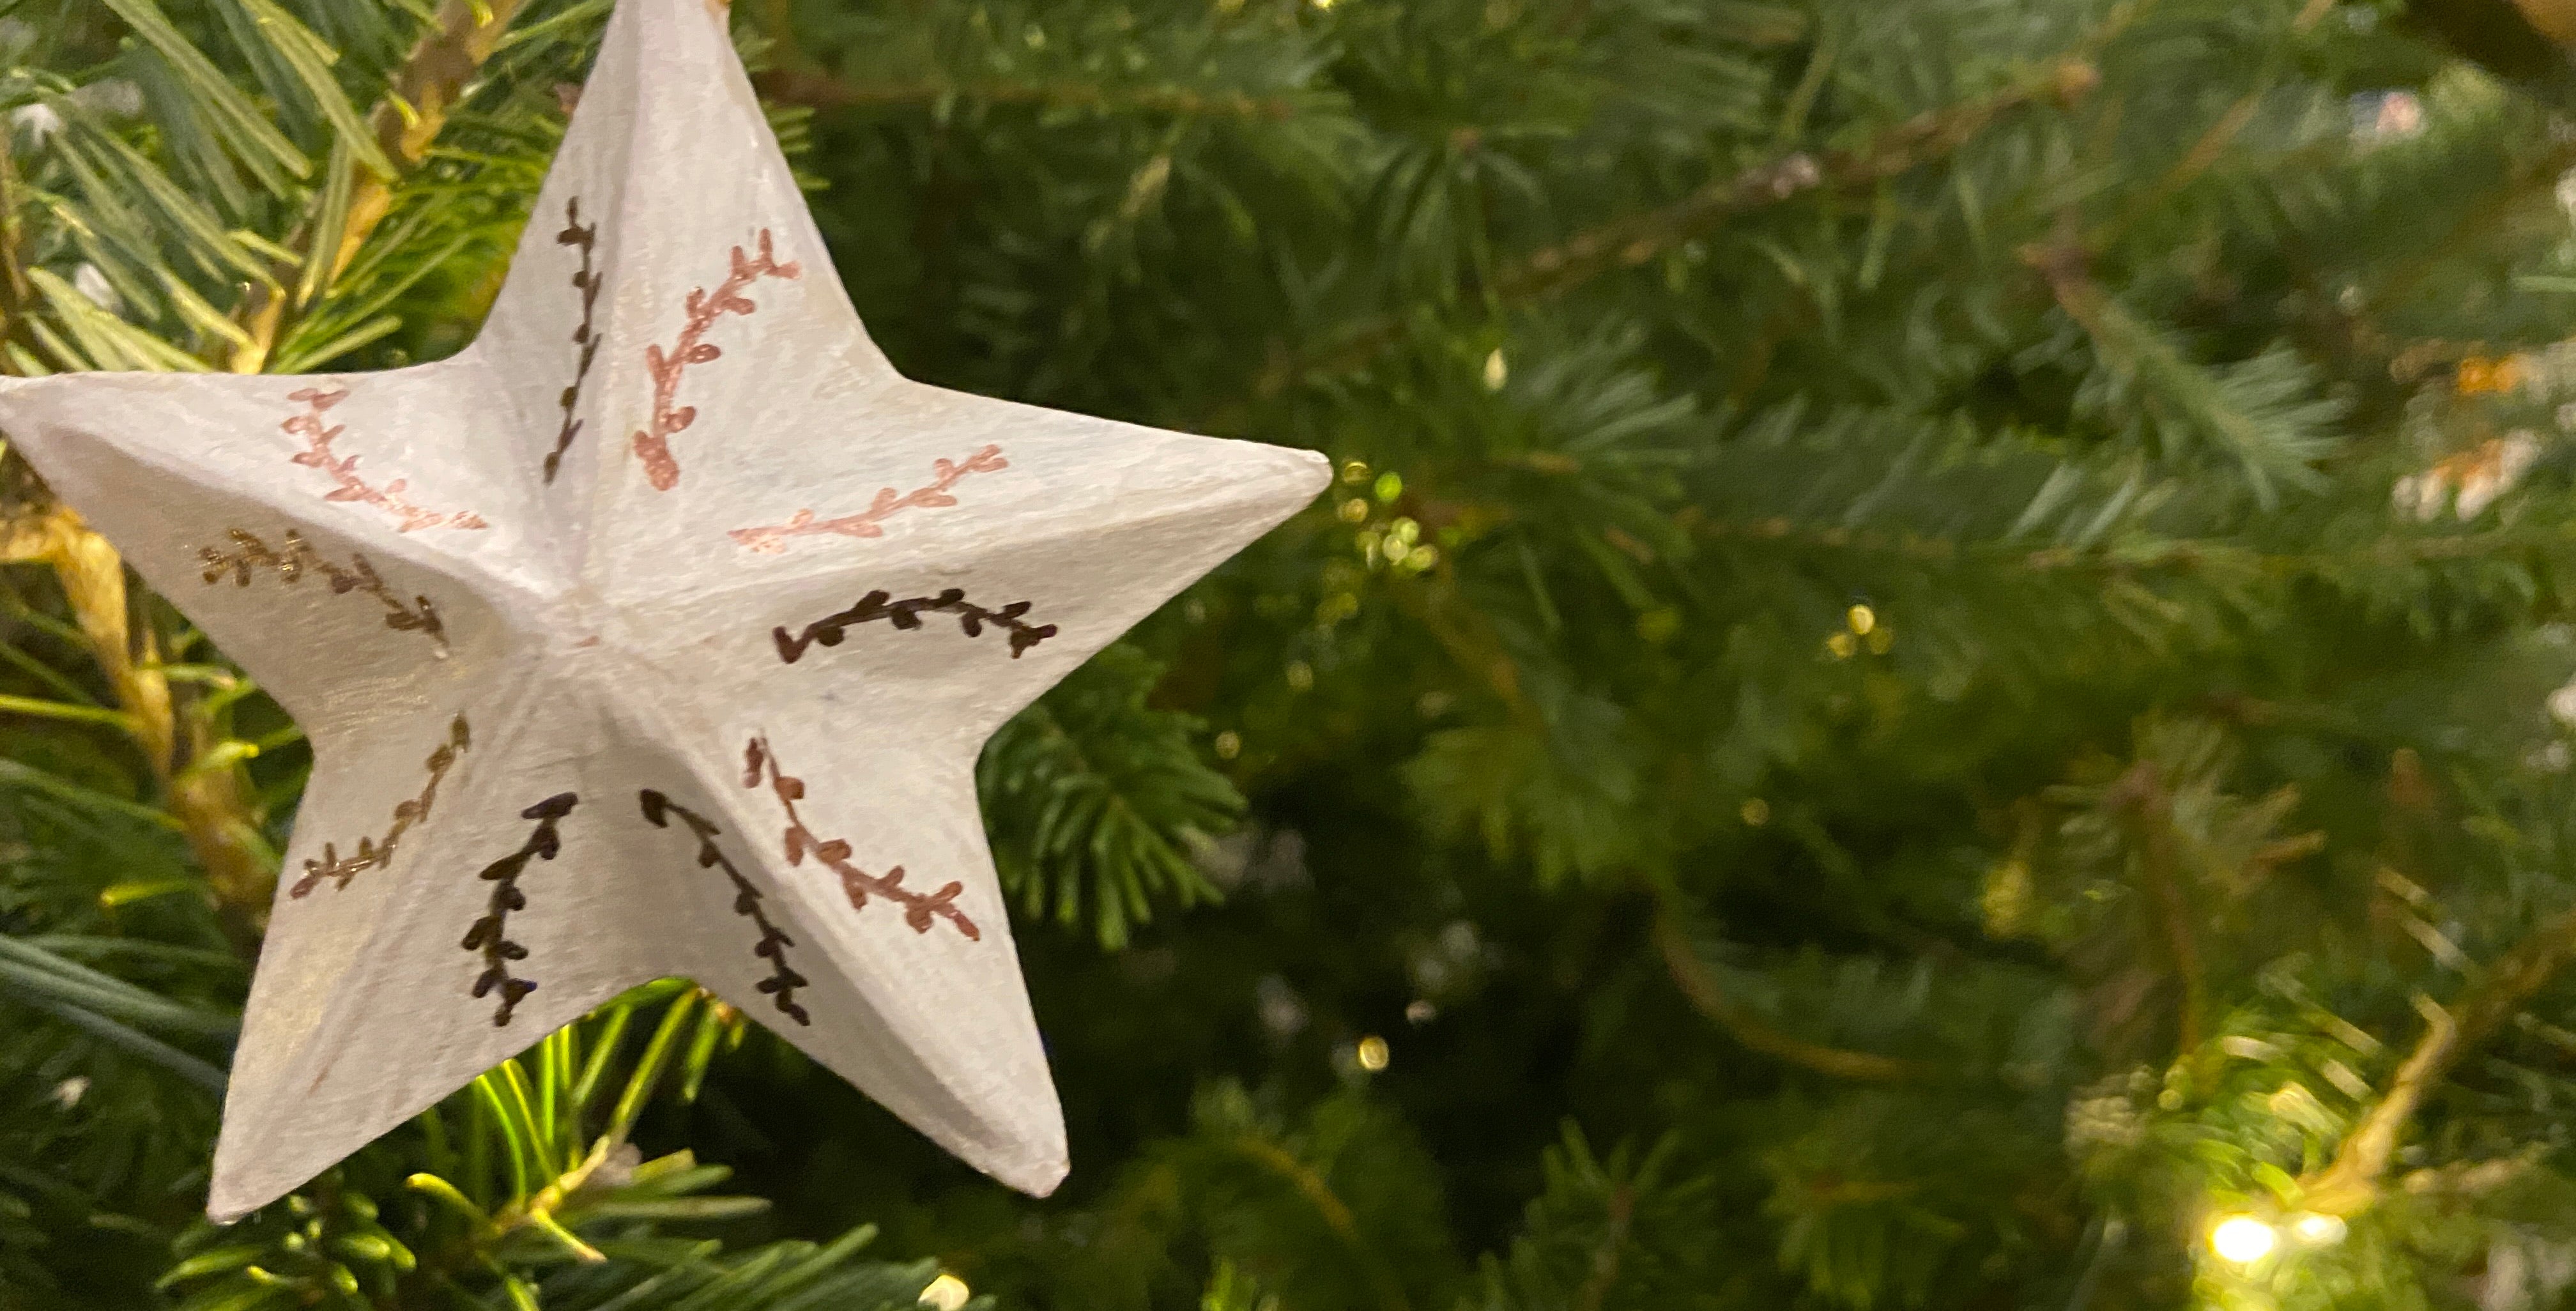


Decorated Felt Ornament Tutorial

Supplies:
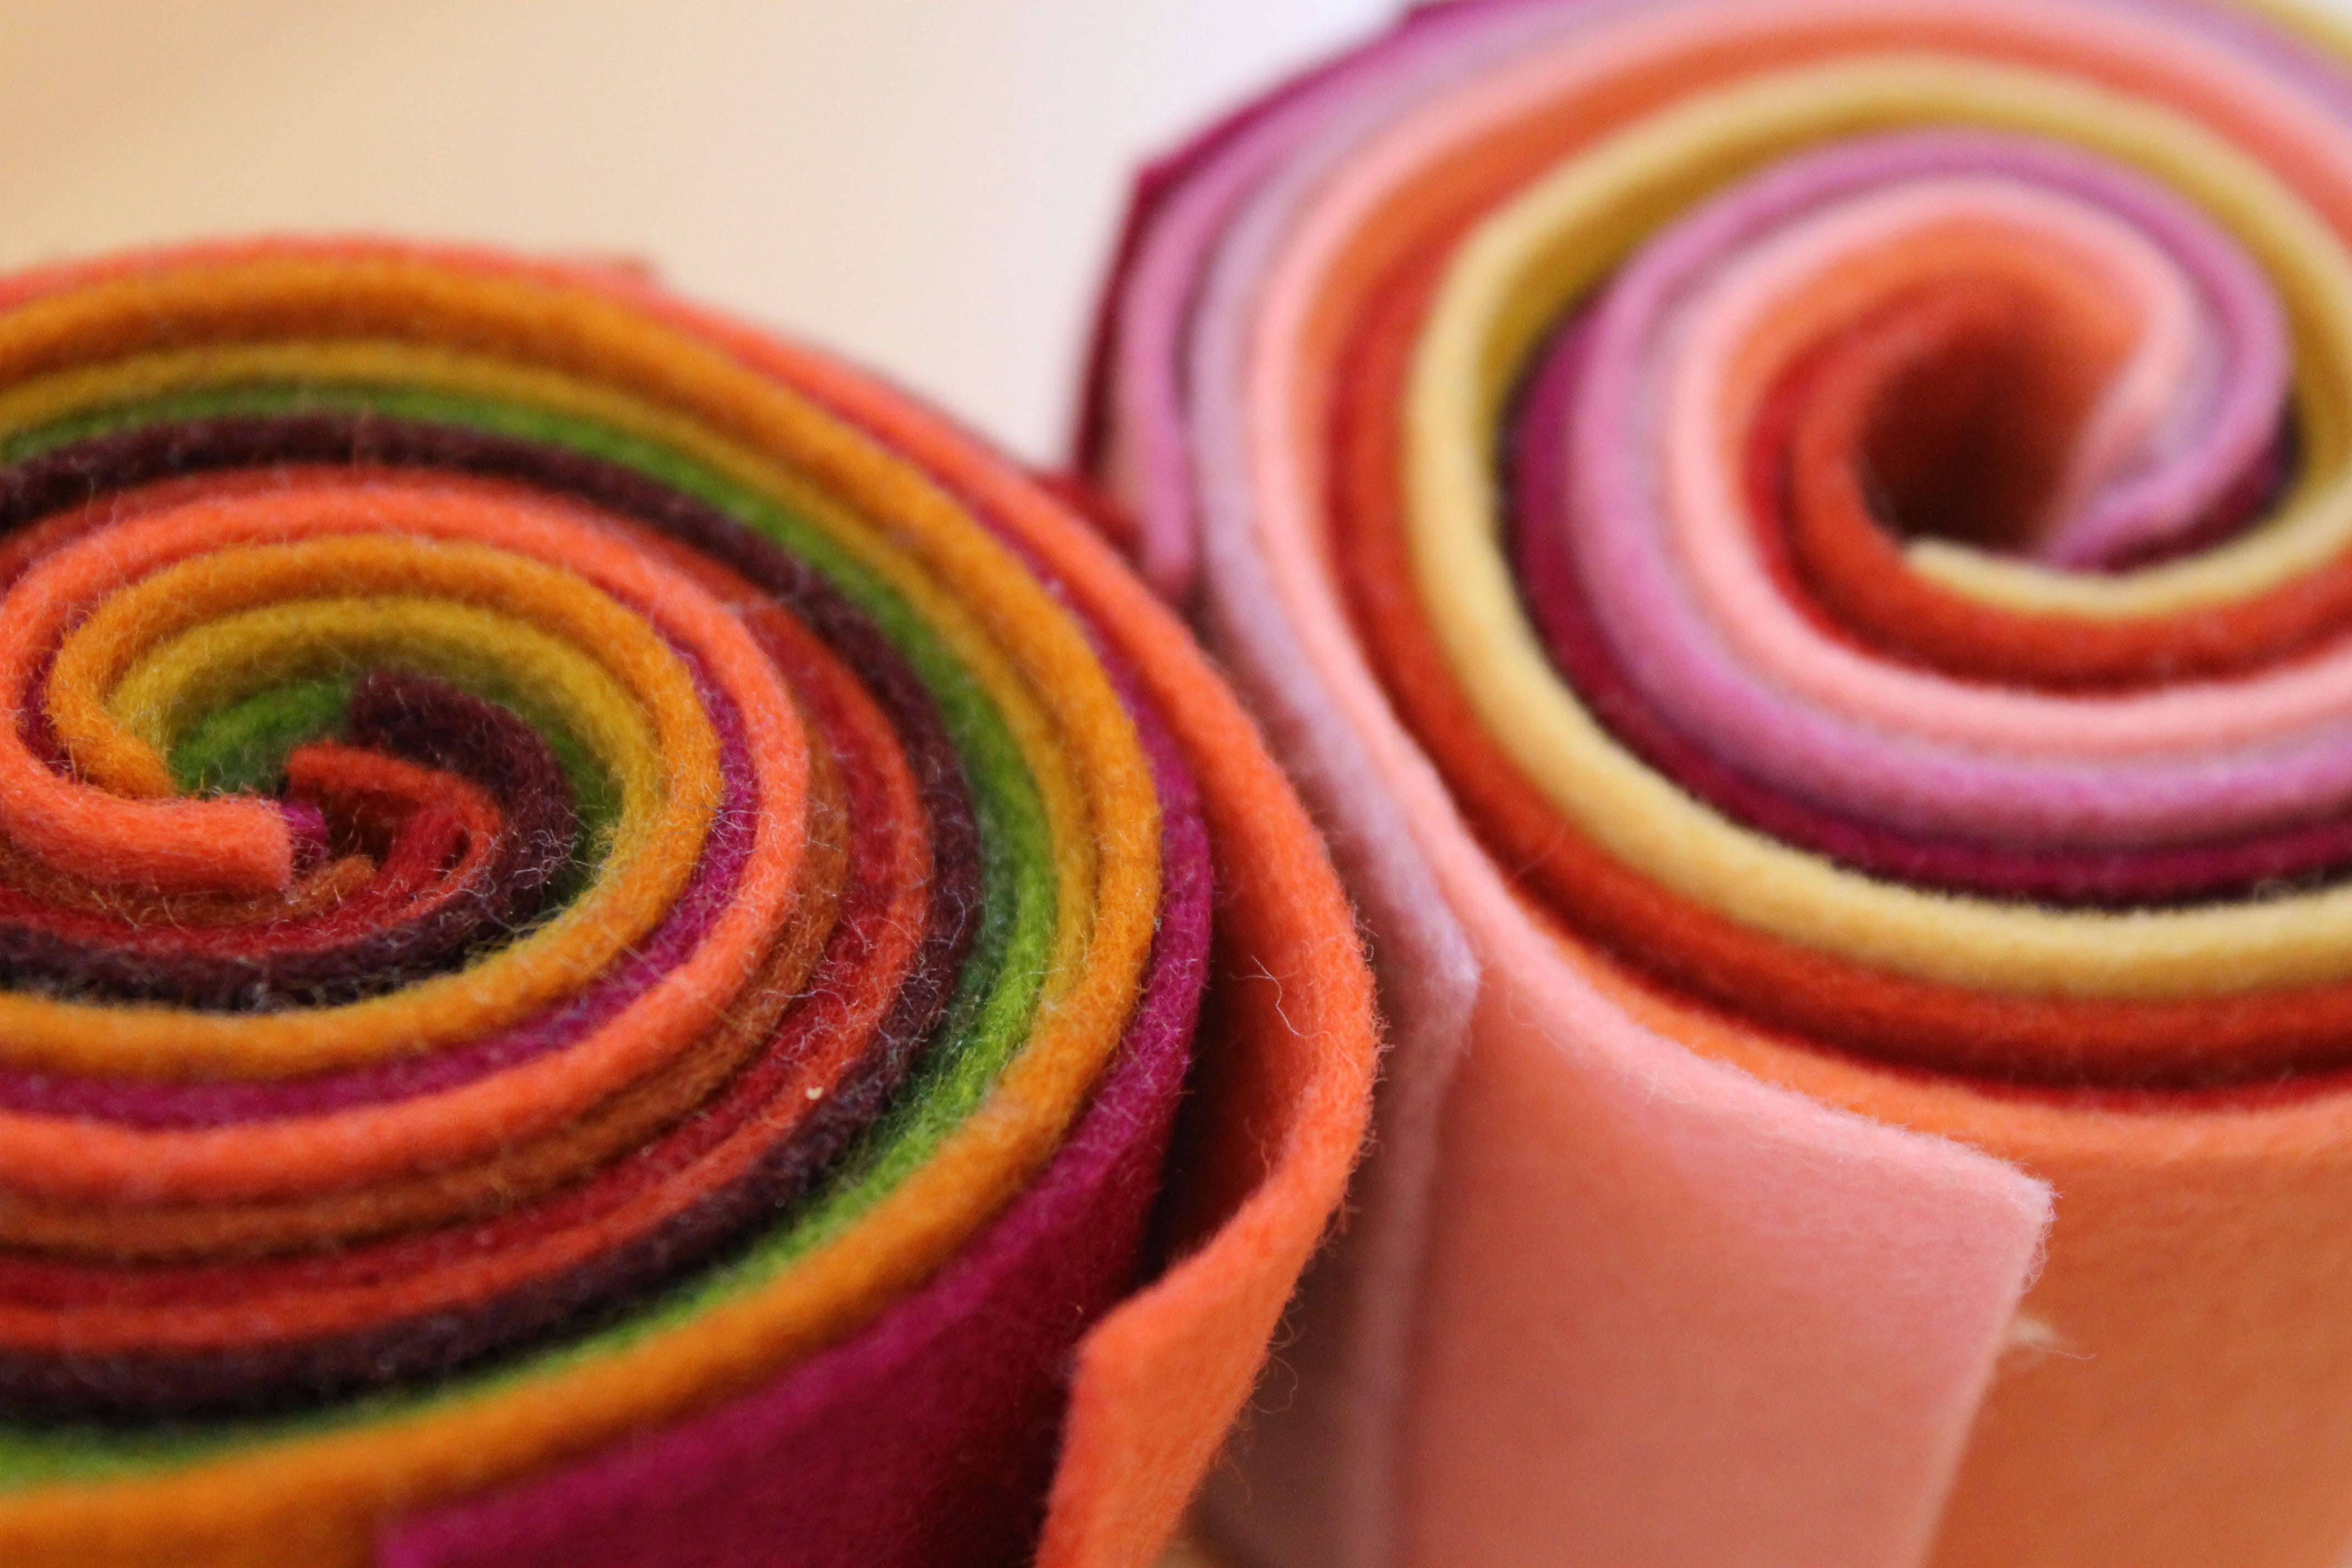
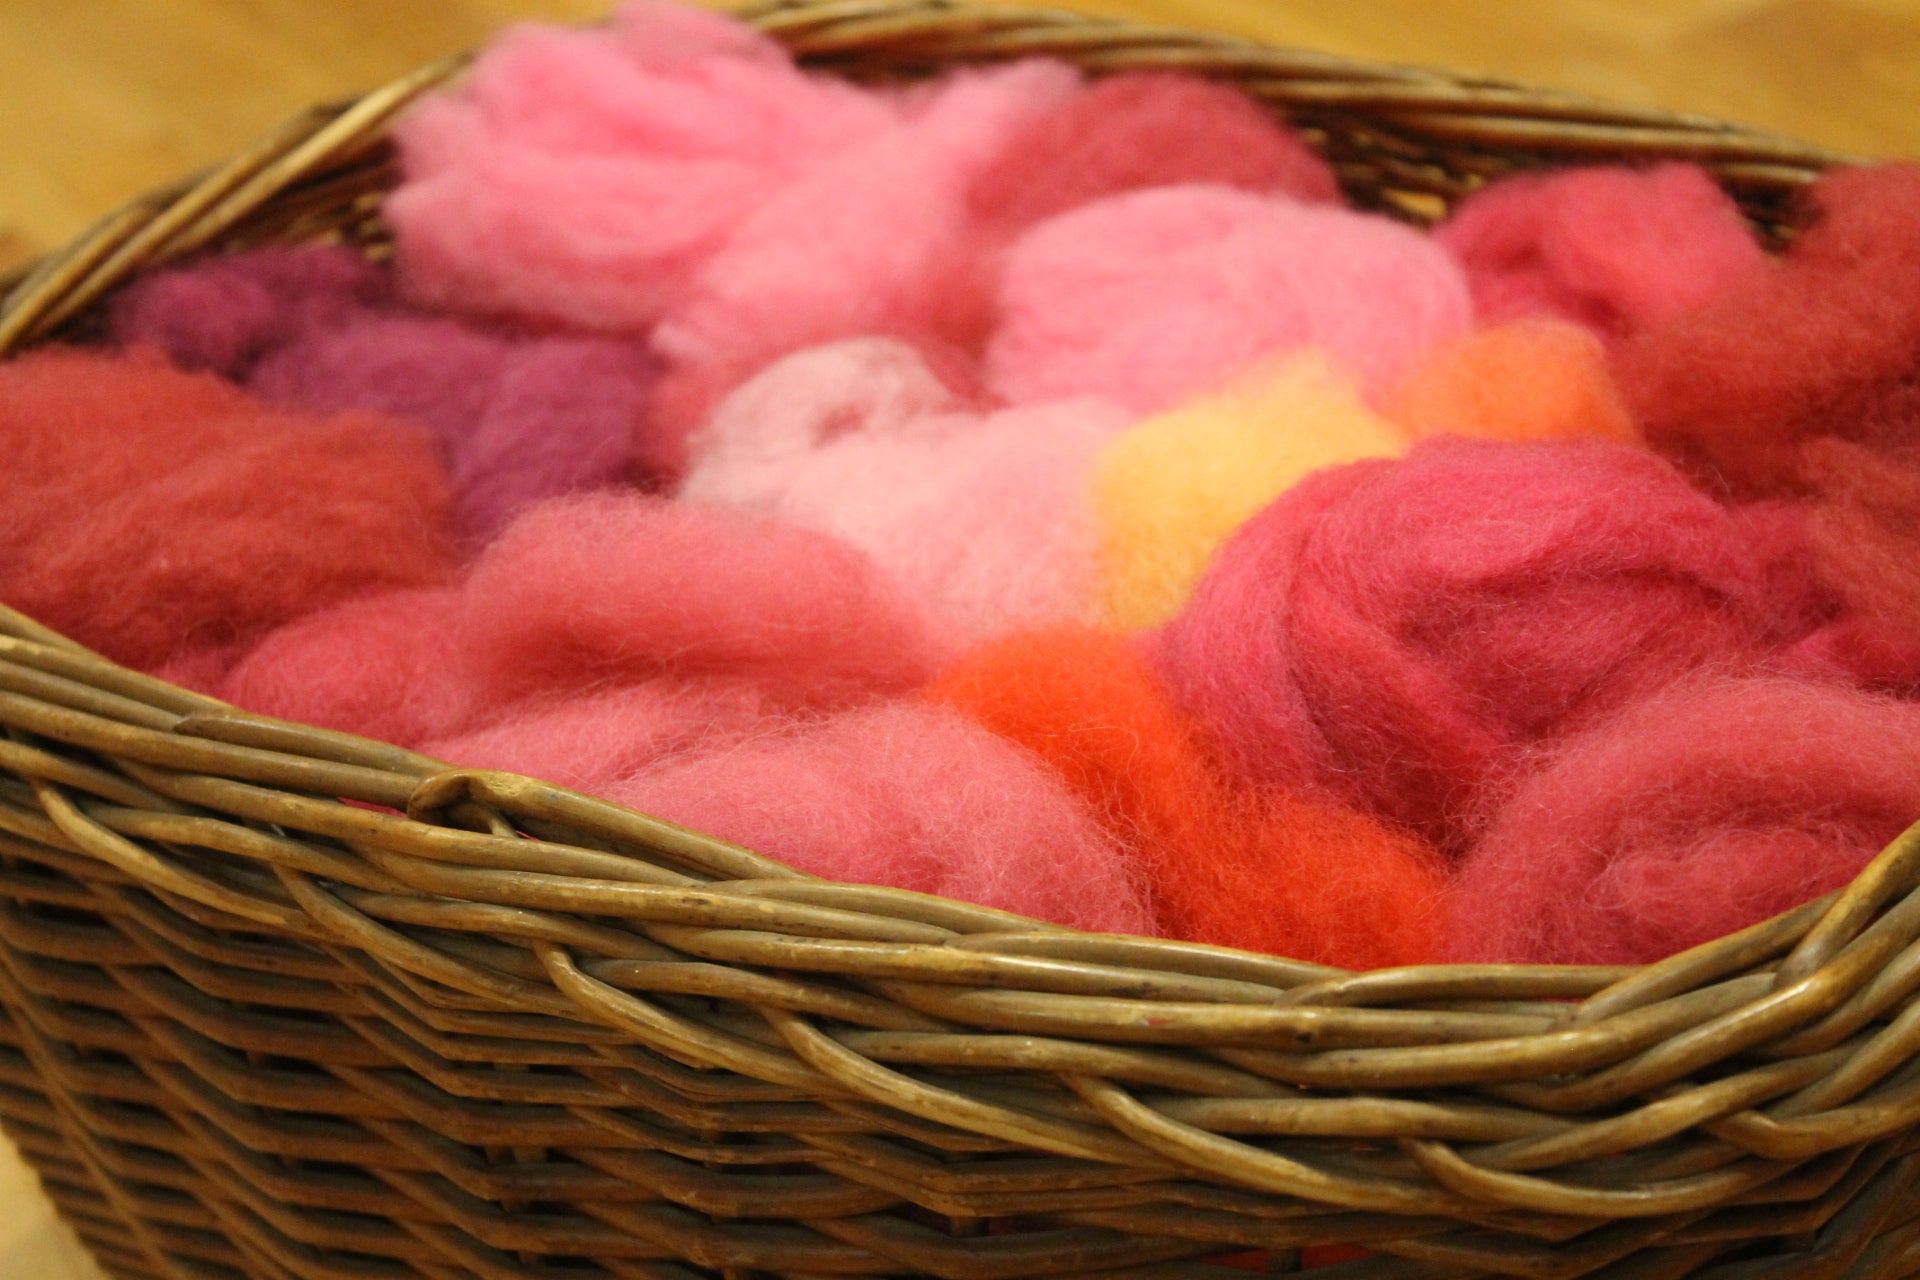
- Wool felt - Our small felt rolls have ten 4x8" pieces of felt. Each of these pieces will cut out two ornament shapes which will make one ornament, so one smaller felt roll can make up to ten ornaments. - To make a set of advent calendar ornaments, you will need ten full size 8x12" sheets. Your can choose the full sheet option within the felt roll listings, or make your own choice of felt sheet colors.
- Felt Advent Numbers
- Cording for the top loops - 3 yards if making the set of advent ornaments.
- Glass glitter
- Diamond Glaze
- Fabric Glue
- Glue gun and glue sticks
- Scissors
- A printed out copy of our Ornament Templates PDF
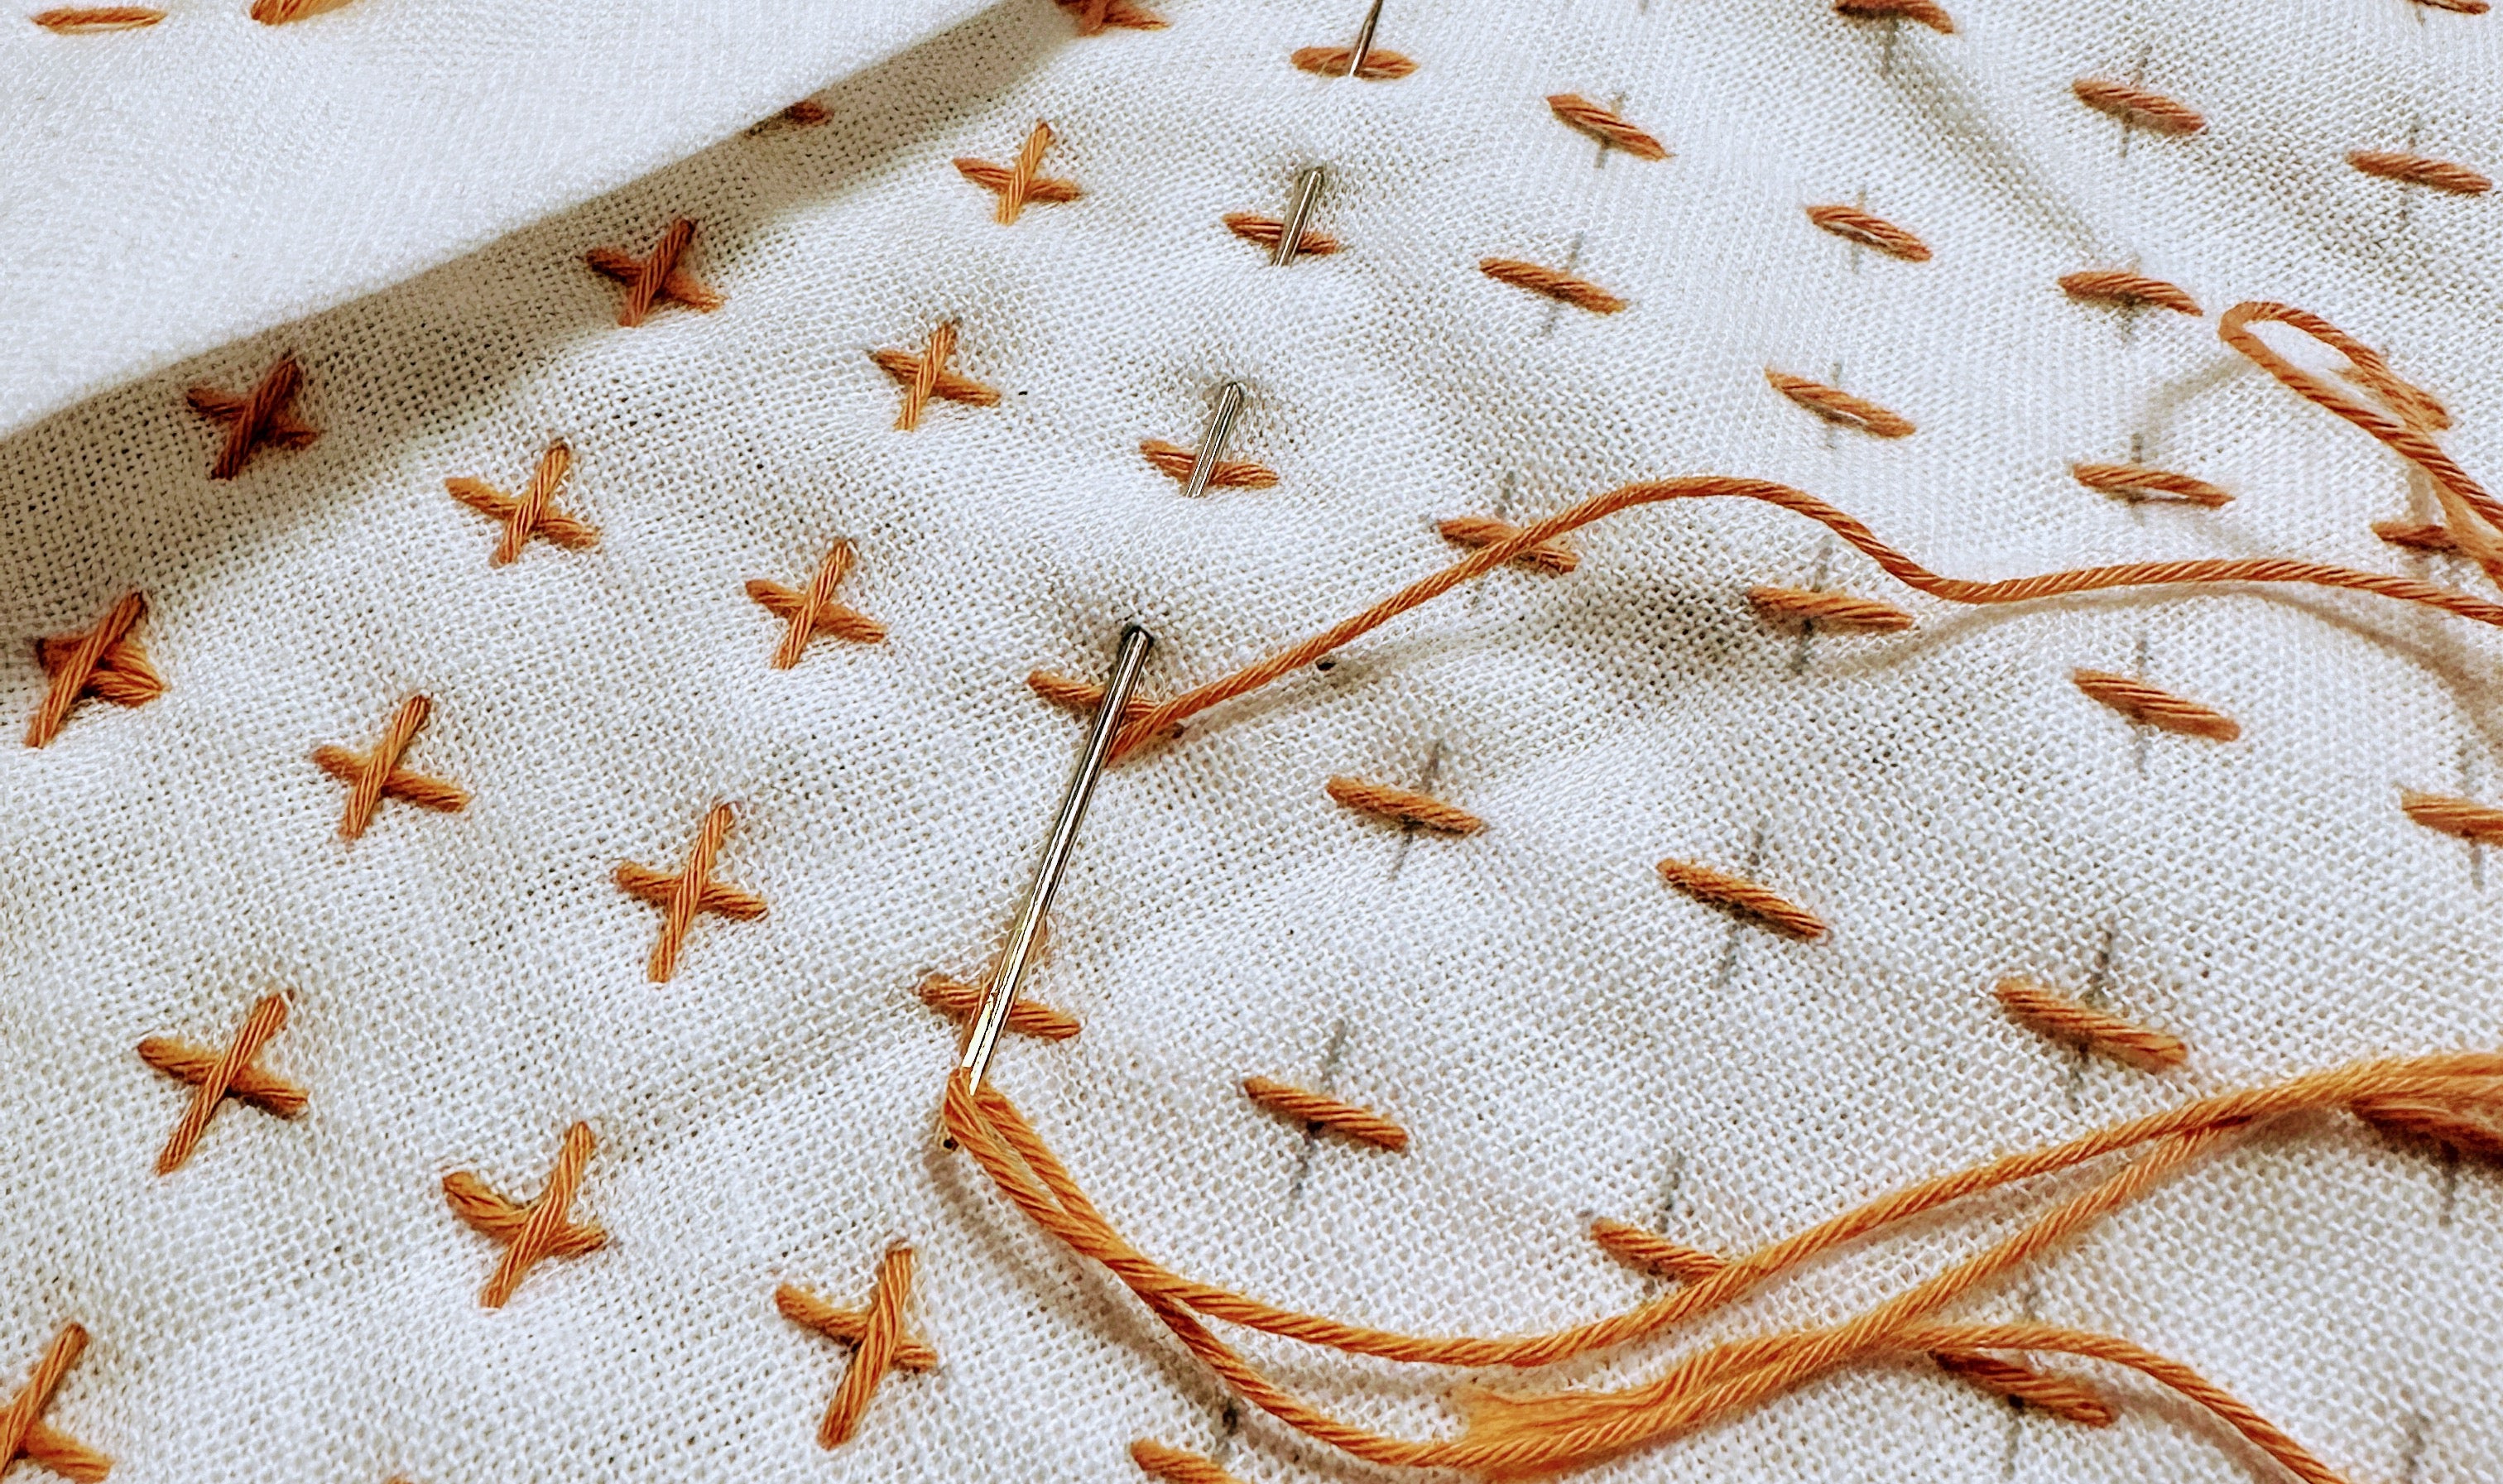
This is a no-sew felt project, but that doesn't mean you shouldn't sew it! Decorative blanket stitching and other embroidery stitches would look beautiful with this project. If you are just going to blanket stitch around the outside, follow the tutorial as it is, but if you are going to embroider or needle felt in the middle of the ornaments, you will want to do that before putting the two layers together so that the backside of the stitching will be hidden.
The following directions will be for making the Advent Ornaments, providing 25 numbered ornaments, and 5 decorated ones. If you just want to make a few decorated ornaments, a small felt roll will give you enough felt to make ten ornaments and all the extra felt needed to decorate them.
Directions:
Cut out the large ornament shapes from the templates. For this project, we only use the outline of the largest shape. You will have enough felt scraps though, that you could probably also cut out a few smaller ornaments too.

Trace out two of each ornament shape from each felt sheet, and cut them out, keeping the pairs together. If you used a pen like we did, make sure that if any markings show on the felt, that they are kept on the inside when the pieces are put together.


Using your hot glue gun, glue 2.5" lengths of your cording in loops to the top of one felt piece from each pair.

Once the loop is attached, make a generous round of the hot glue about .5" from the outside edge. A quickly as possible, place the matching shape down on top of the glue, pressing down to spread the glue out. (You can see that we were working so fast to get the photo before the glue cooled off, that the photo is a bit blurry!)

Repeat this with all the pairs.

Do a quality check around the edge of each ornament. Trim up the edges to even them out if neccessary.
If you want to do a blanket stitch around the outside of the ornaments, this would be a good time. It is not neccessary to do this as the glue will hold the layers together.

Now it is time to decorate! Use the felt number pack we have, or cut shapes out of the scraps from cutting out the ornaments. In the photos you can see that we did not add extra decorations to the ornaments with the numbers, but that is certainly an option!

Use the fabric glue for this detailed glue work. Tweezers can also be useful to help to hold, turn, and place the felt. After you have finished gluing all the pieces down, go back and check them lightly to make sure that the glue held. Add a bit more glue as necessary.

Now it's time for the glitter! Place the ornaments on top of a piece of paper and spread the diamond glaze all over the top of the ornament where the cap would be if it were a glass ornament. Make sure to get the entire area covered with the diamond glaze, spreading it a bit with the tip of the bottle, and getting it on the edges of the ornament and not just on the top.

Pour the glitter over the top of the ornament. Don't worry about how much you pour on, the extra can be poured back into the bottle when you are done, just make sure to cover all of the glue with glitter.
After the glue and glitter has had a chance to set for a minute or two, give the ornaments a little shake to get the rest of the glitter to fall off the ornaments and then set aside to dry. Repeat on the other side of the ornament if you would like.