


Julehjerte: Danish Woven Felt Heart Baskets

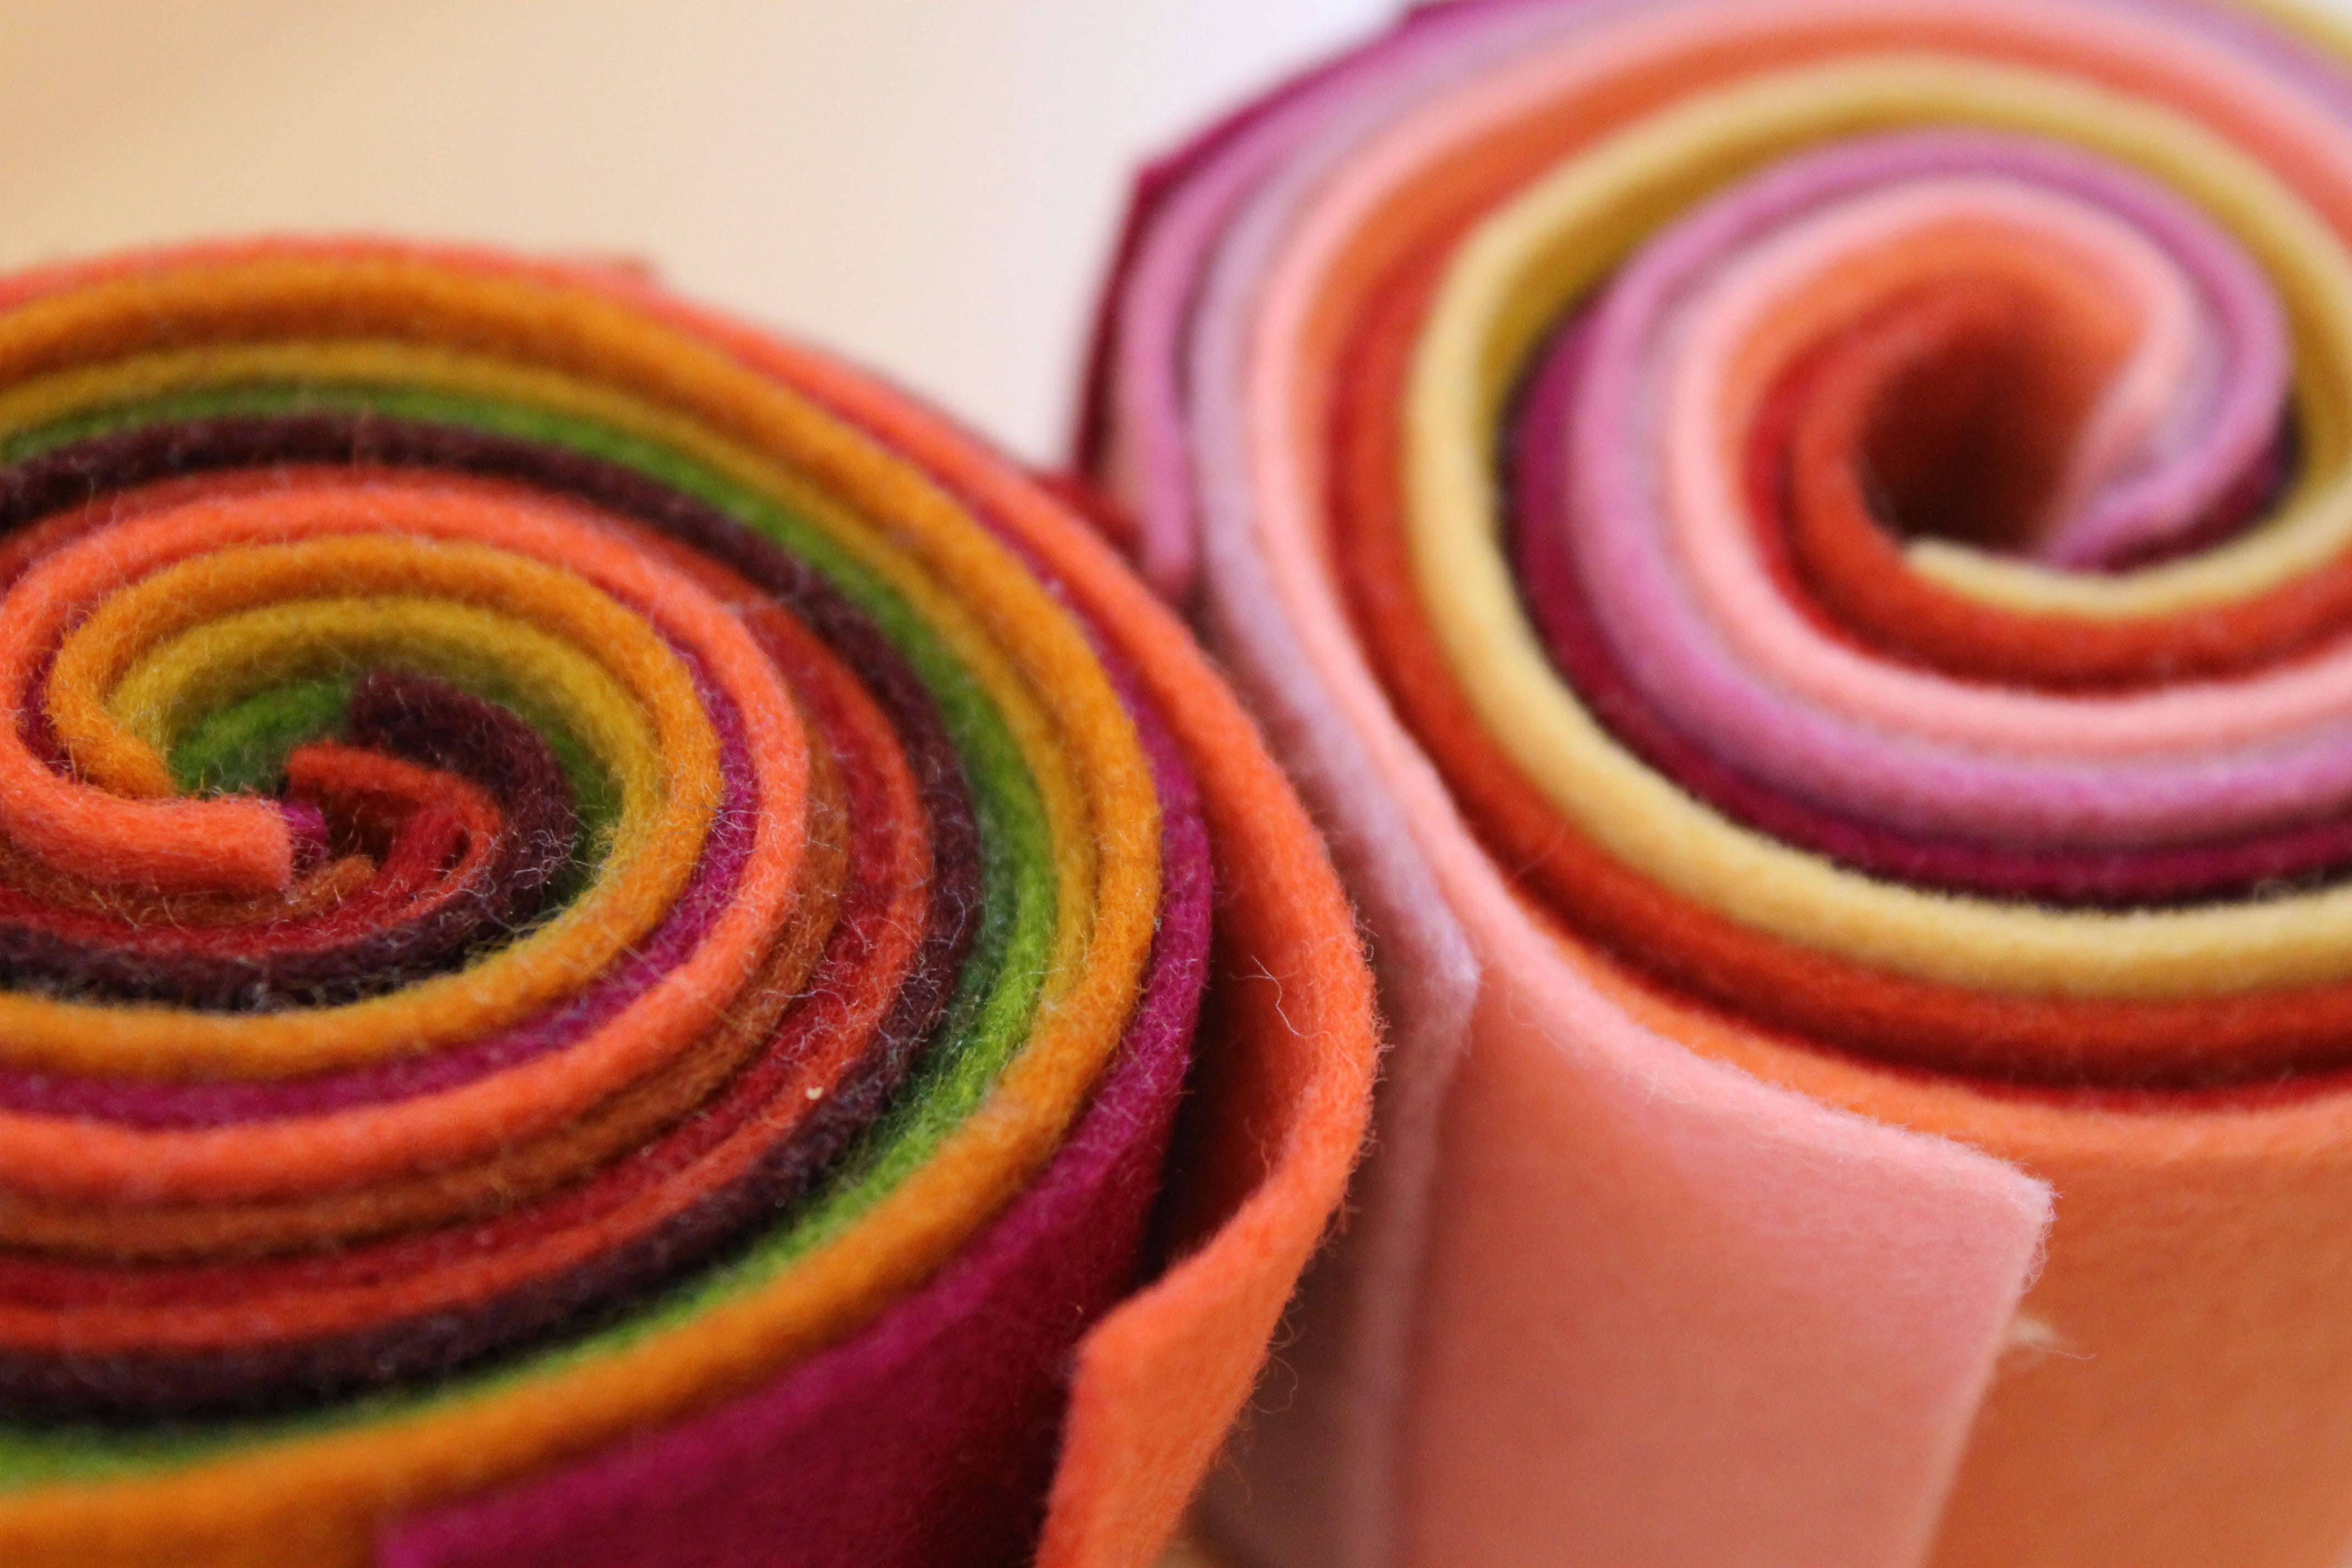
The Danish heart basket, also known as julehjerte, has been a beloved festive craft for over 150 years. Originating in Denmark, rumor has it that famed children's book author Hans Christian Andersen is the original maker of this lovely woven basket that adorns many a Danish Christmas tree. Here in the states it has become a popular Valentine's Day craft in Waldorf schools. While traditionally made with paper, we have made our julehjerte pattern just the perfect size to fit on our our 100% wool felt rolls. What could be better than a few little chocolates tucked inside a lovingly woven wool heart basket?
Note: Our free julehjerte pattern offers 3 weaving options, with the 4 equal width strips being the easiest to work with for beginners. The pattern that has 6 strips is tricky and you must practice patience and gentle weaving so as not to rip the felt. We recommend working with the 4 and 5 strip pattern pieces if doing this project with children.

Supply List
- heart basket pattern pdf - free! Print on US Letter size or A4 size paper
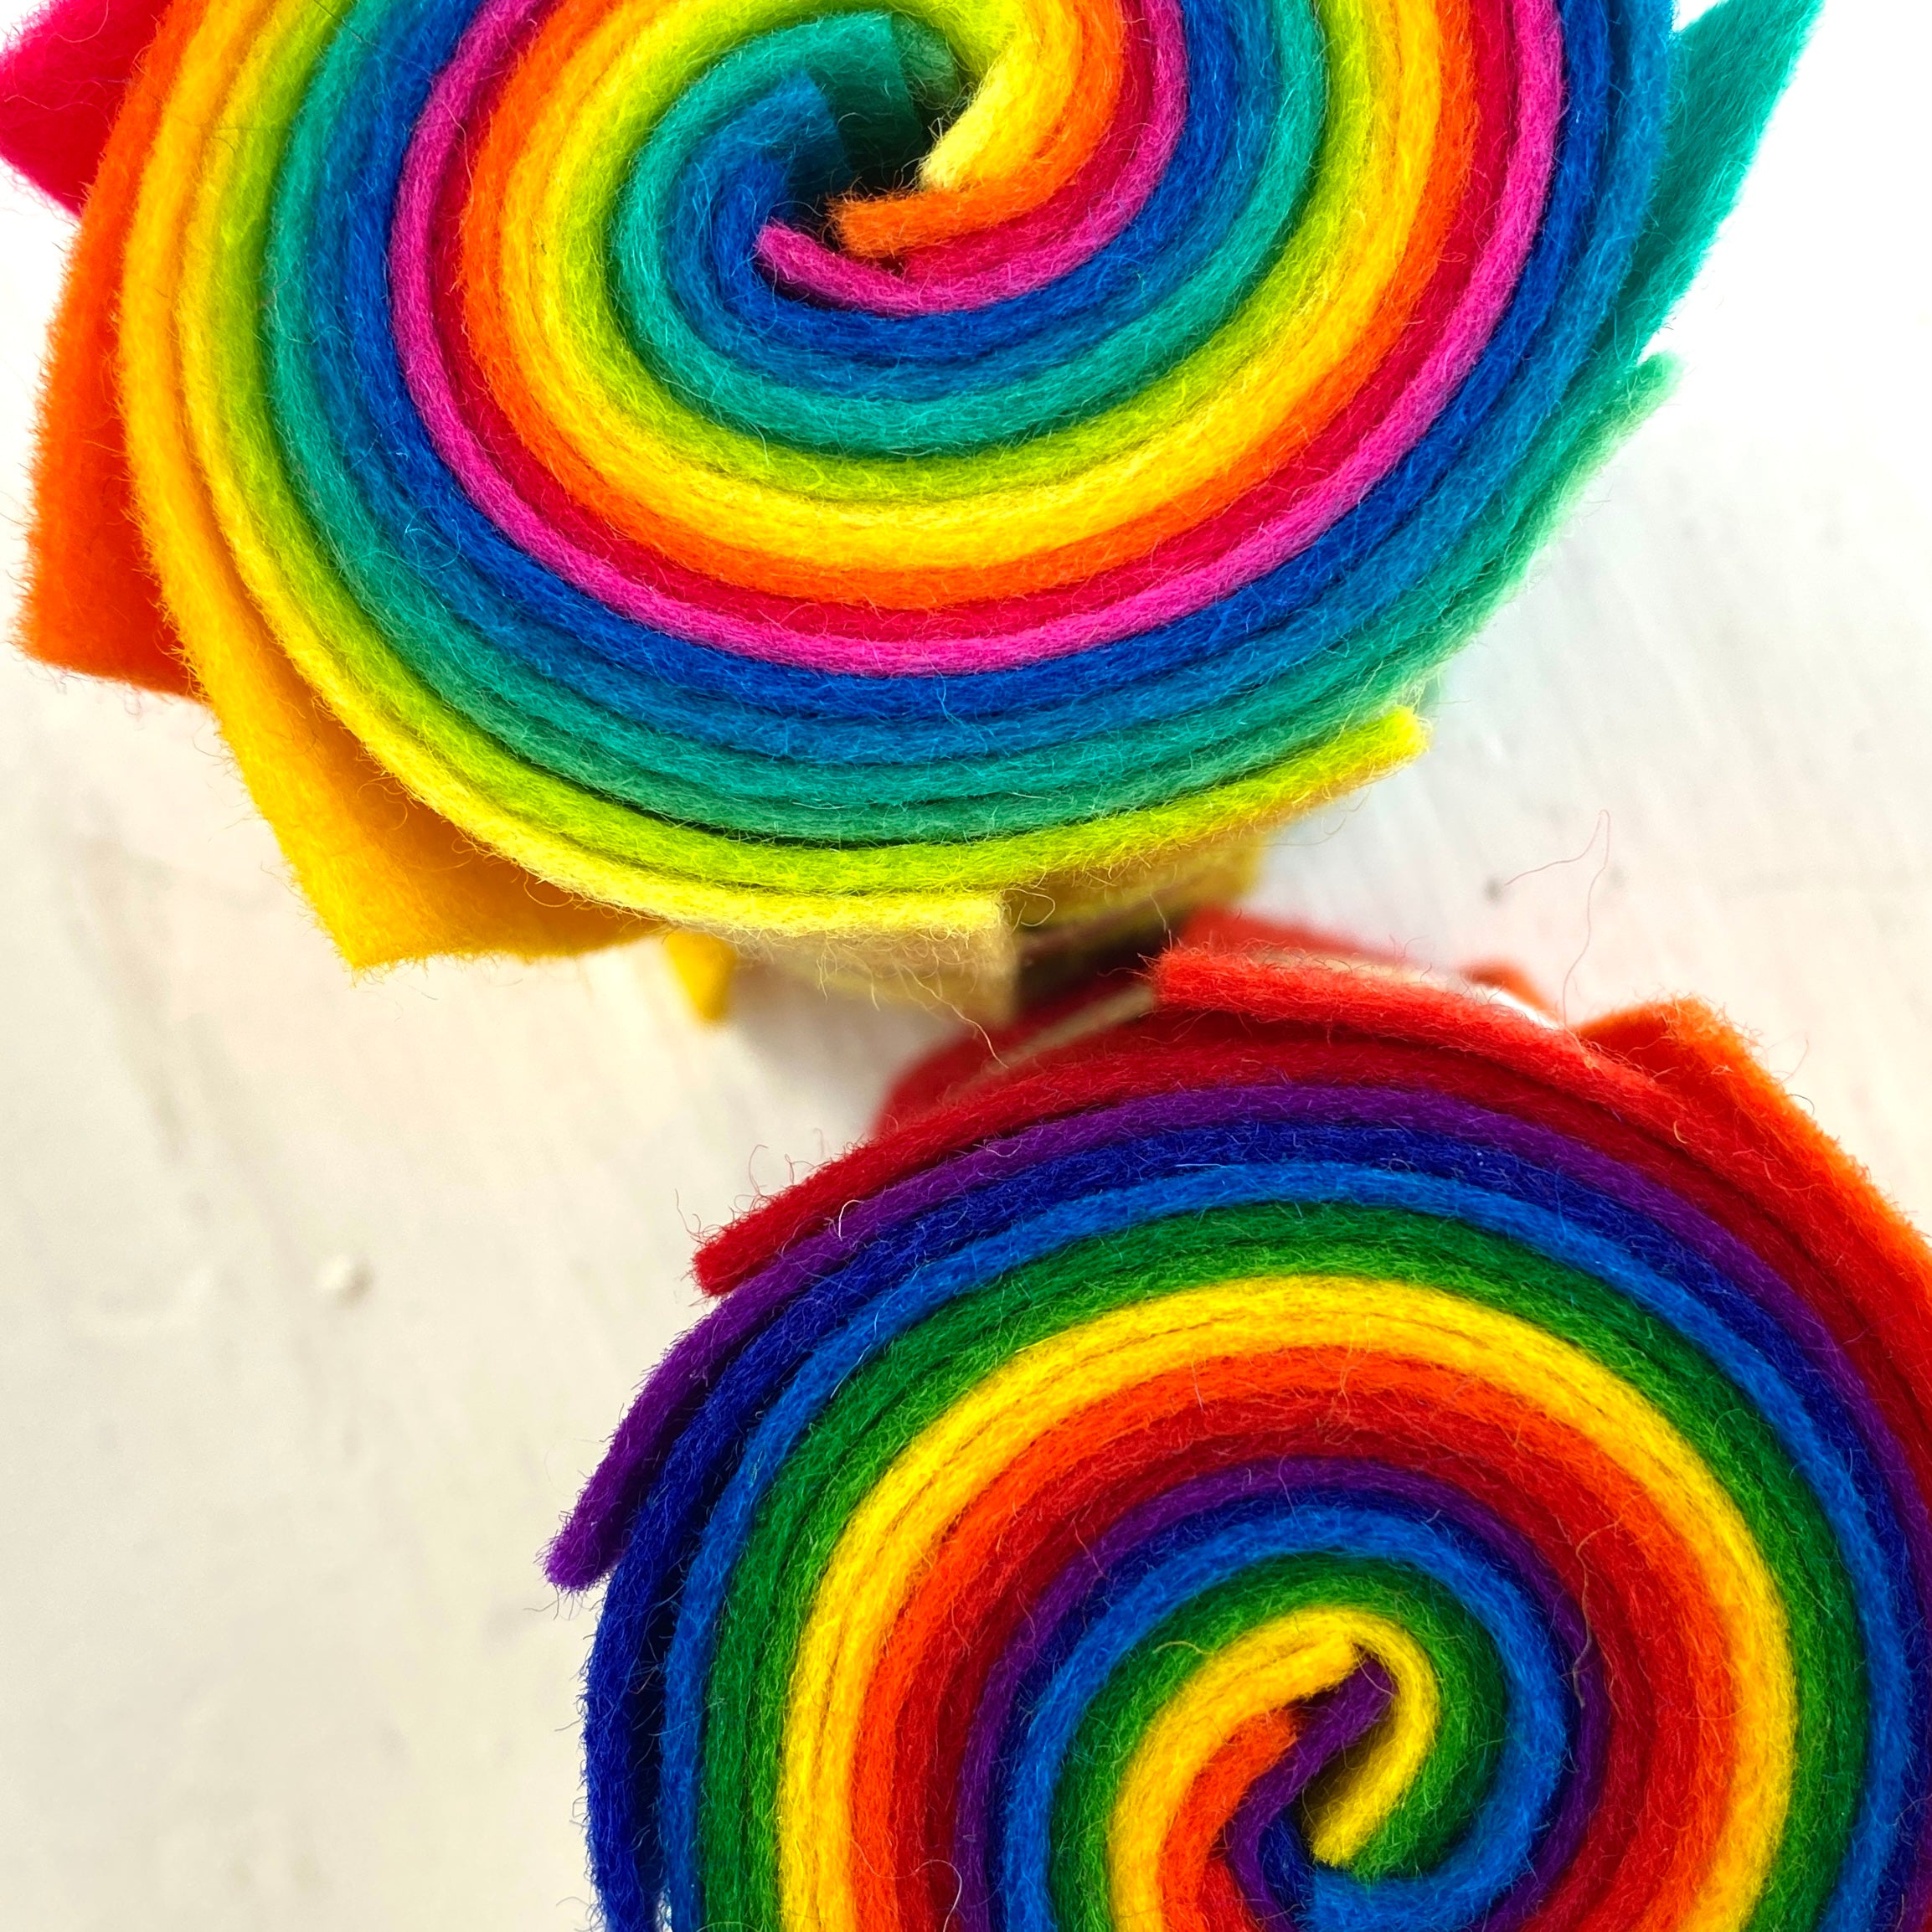
- felt roll (makes 5 heart baskets) or 2 felt sheets in contrasting colors (makes 3 heart baskets)
- paper scissors
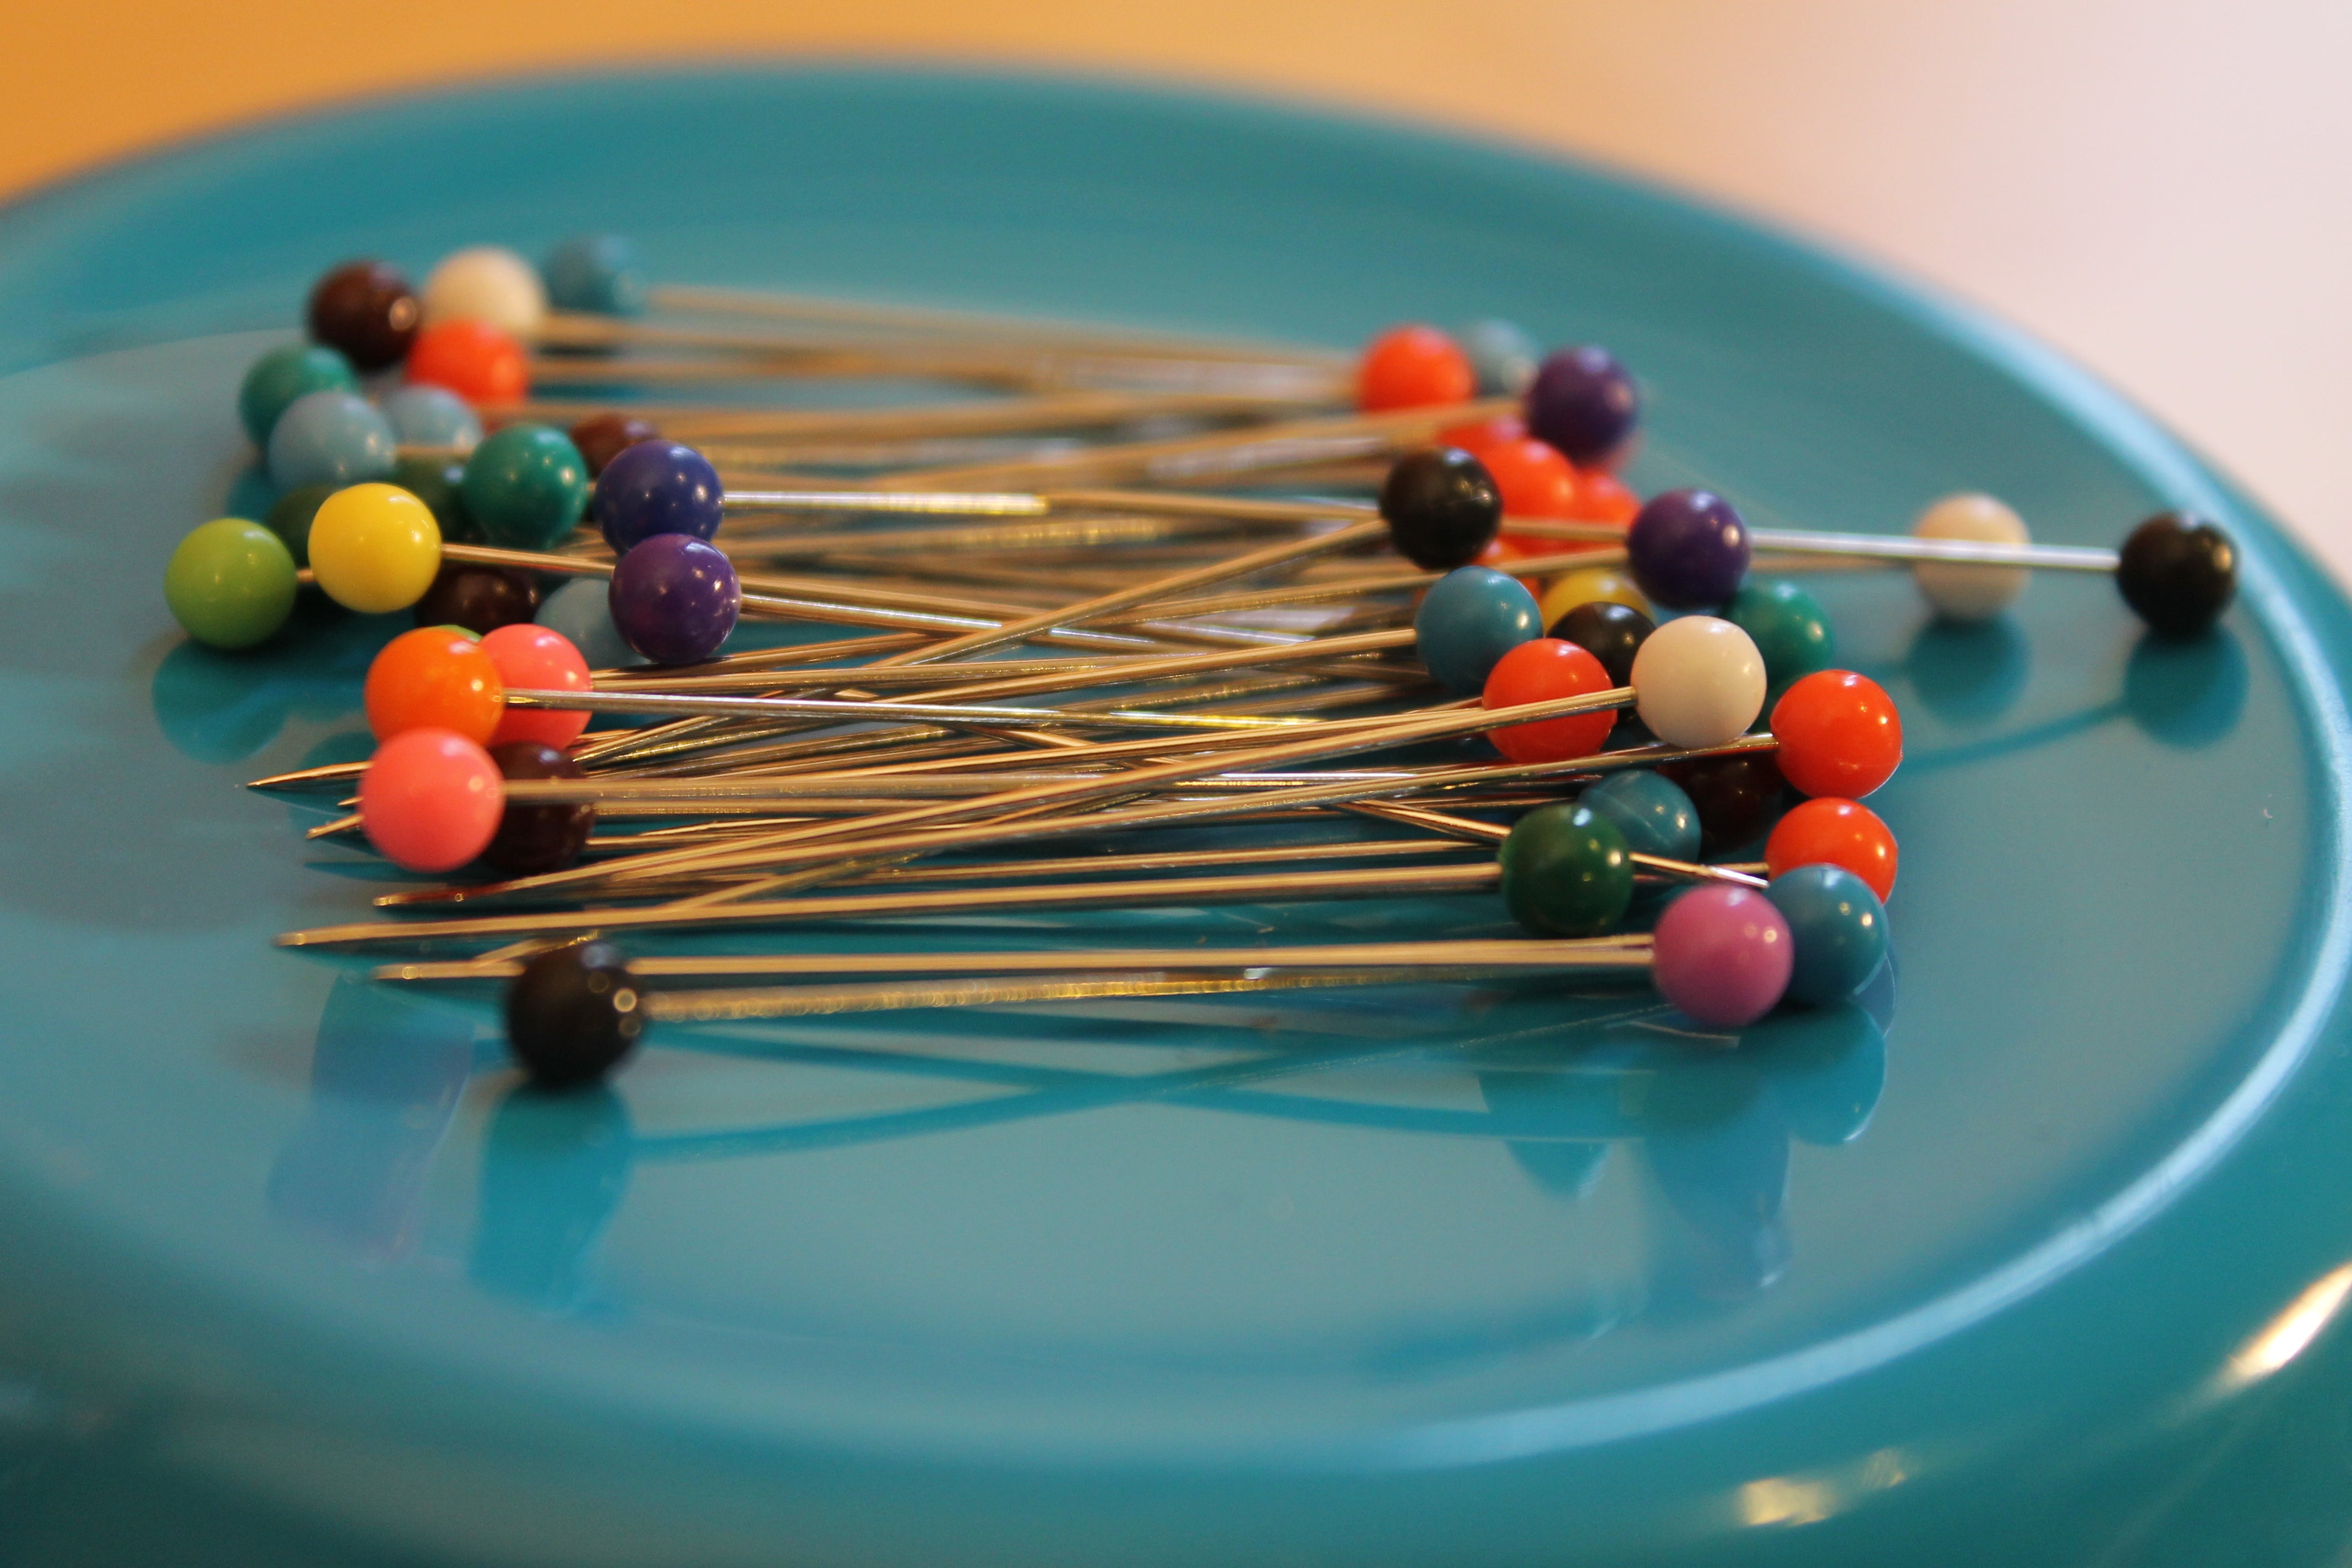
- pins
- ribbon (about 6" per basket)
-
glue (like E6000 or Turbo Tacky), or a needle and thread
Step 1: Cut out your paper pattern and pin it to your felt.

Using your sharpest paper scissors, cut out your pattern pieces leaving the interior cut lines intact (as pictured above).
Note: we found that using a rotary blade was not our preferred method, and that traditional scissors gave a cleaner edge to the curved edge of the felt. That said, experiment and see what works for you!
If you are using a felt roll, your felt pieces are already cut to the appropriate size. Before you begin cutting, take a moment to pair up your felt. Each heart basket will consist of 2 colors and it's nice to plan what goes with what before you begin cutting, especially if you intend to do different weaves.
If you are starting with felt sheets, cut your felt down into 3 equal 4" x 8" strips of felt.

Fold your strips of felt in half by lining up your short ends. Place the straight edge of your pattern piece on the fold and pin in place.
Begin cutting out your pattern piece along the outer curved edge. Next, cut along the straight lines inside your pattern piece.
If trying the more difficult 6 strip woven heart, we recommend leaving the middle line uncut and instead cutting the felt carefully and evenly once the pattern piece is removed. (Pictured below.) Because it's such a small strip it seems to work better with the pattern removed.

Note: you can use your already cut pattern pieces over and over, though they do take a little more patience to align and pin. Consider finding some scrap paper to trace your pattern piece on if you would prefer a fresh pattern piece each time.
Step 2: Weave your heart basket.

Start by pinning the top curved edges of each basket piece together. Not only will this step make your weaving easier and cleaner, it will also create the loops that you will be weaving with.

With your curved edges of each pattern piece facing up, begin by taking your top loop from your right piece (red in the above picture) and feeding it through the top loop of your left piece (purple in the above picture).

Opening up the same loop from your right pattern piece take the second loop on your left piece and feed it through your open right pattern piece loop. Continue this alternating weaving pattern across the row.

After you have fully woven the first loop on your right pattern piece, begin weaving the second loop on your right pattern piece by alternating how you start the weave. For instance, in the first row you wove your right pattern piece loop through the left pattern piece loop. For the second row you will weave your left pattern piece loop through the right pattern piece loop.

At the end of the second row you will notice that your right pattern piece loop simply tucks into the final spot inside the left pattern piece loop. It may feel like your basket will come unwoven - it will not! Just tuck it in there and continue weaving your rows, alternating your starting weave with each row. Very quickly you will have a cute little basket!

Remove your pins and either move on to Step 3, or continue weaving more baskets.


Step 3: Attach your ribbon.
 Your heart basket is woven and you certainly could stop here, but it's lovely to attach a special ribbon for hanging. You can either glue or stitch the ribbon in place.
Open the top center of your heart where the curves of the two pattern pieces begin to overlap and secure to ribbon using your preferred method.

May your woven heart baskets bring you and all who receive them a little dose of love. Enjoy!