


Silk Dupioni Lap Quilt

We were inspired by the new rolls of silk dupioni that arrived at the shop, so we put together this beautiful (and simple!) quilt pattern. The quilt has a wool batting and is tied with embroidery floss. What a warm and luxurious throw to decorate any room!

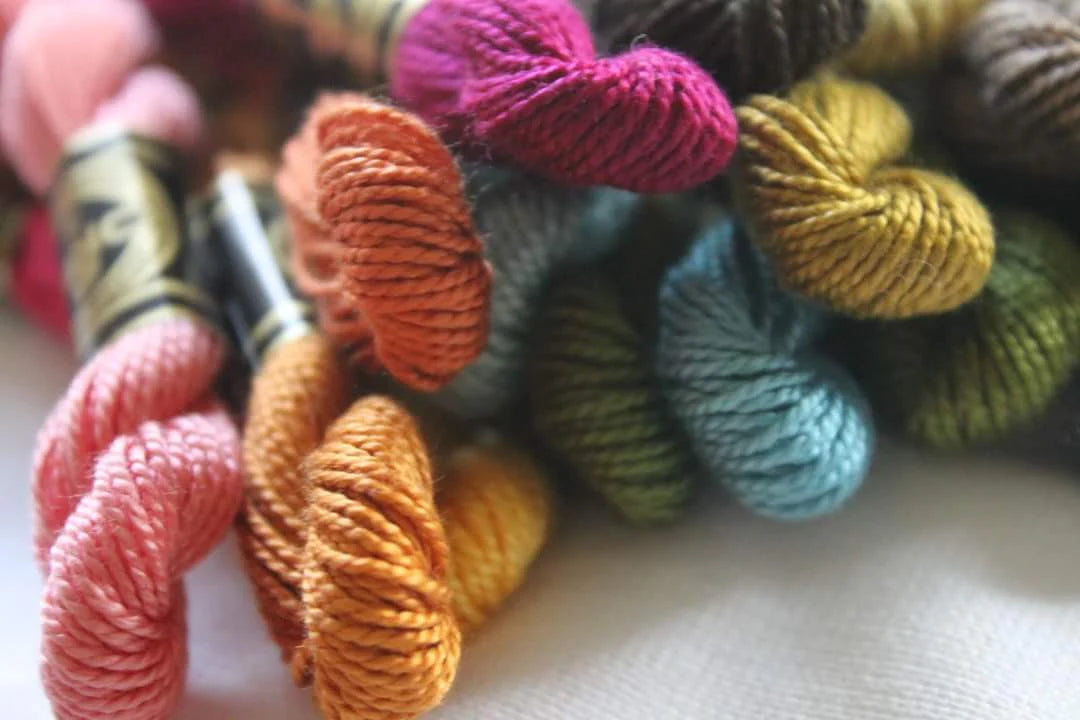
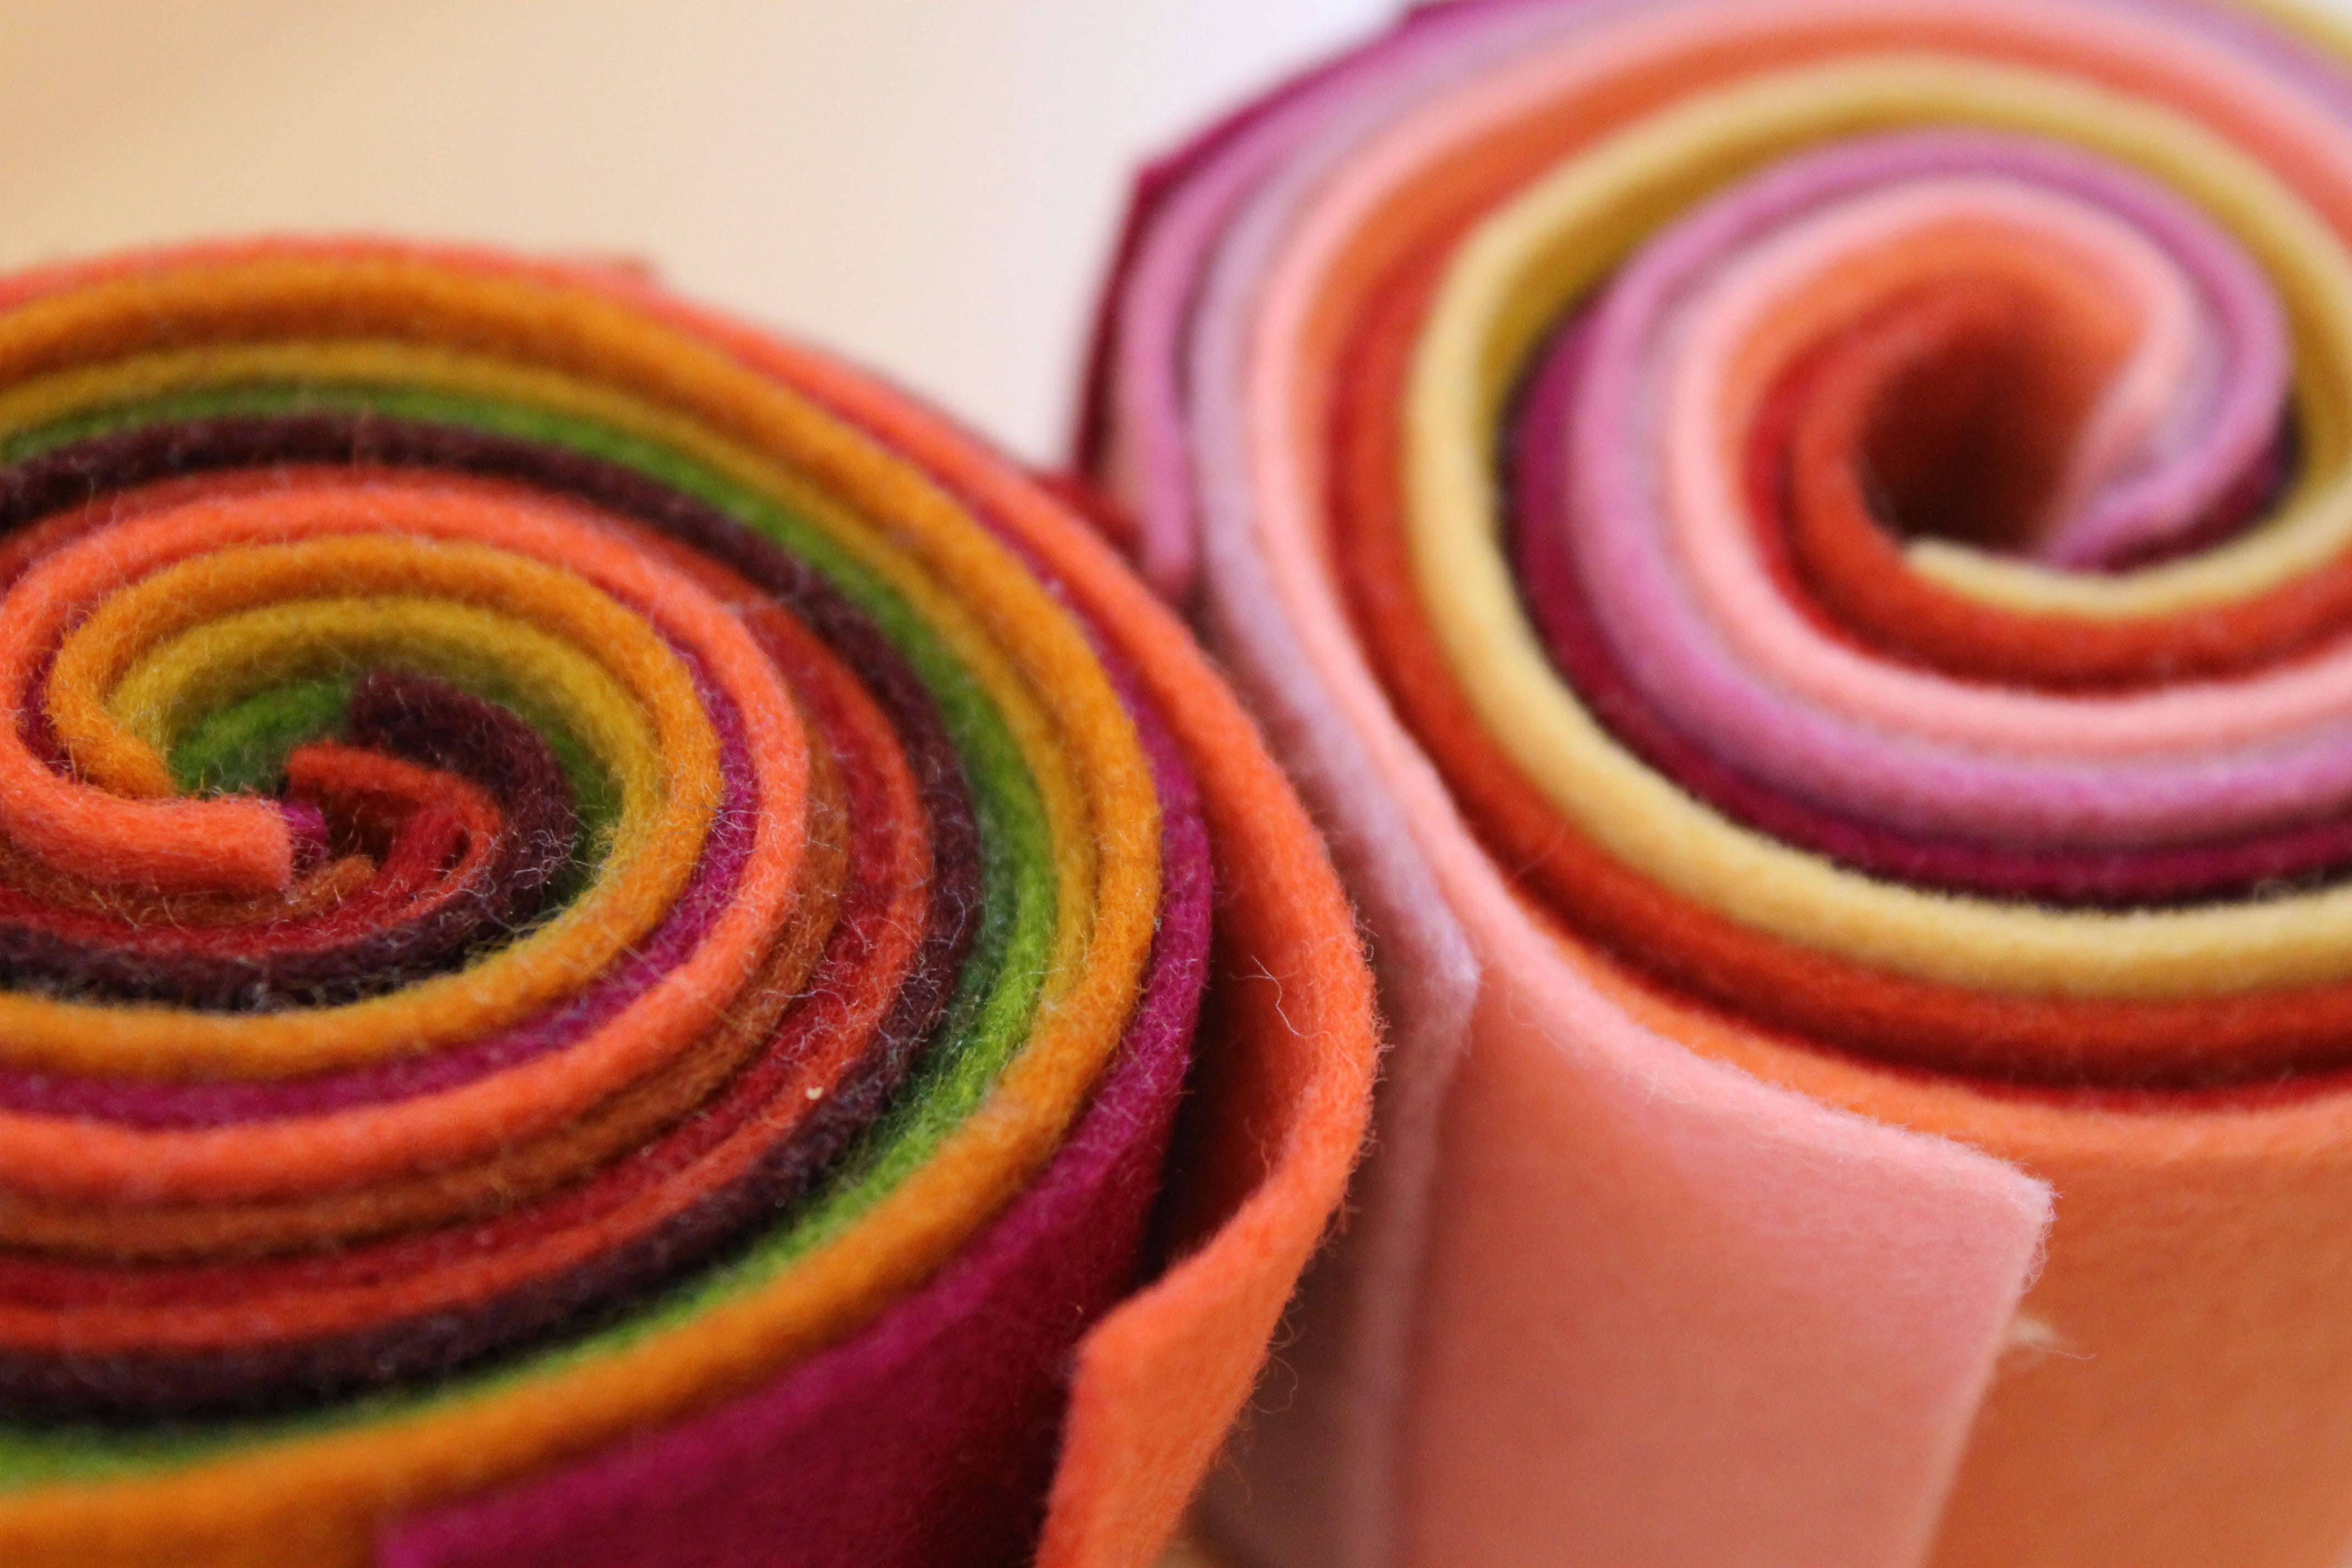
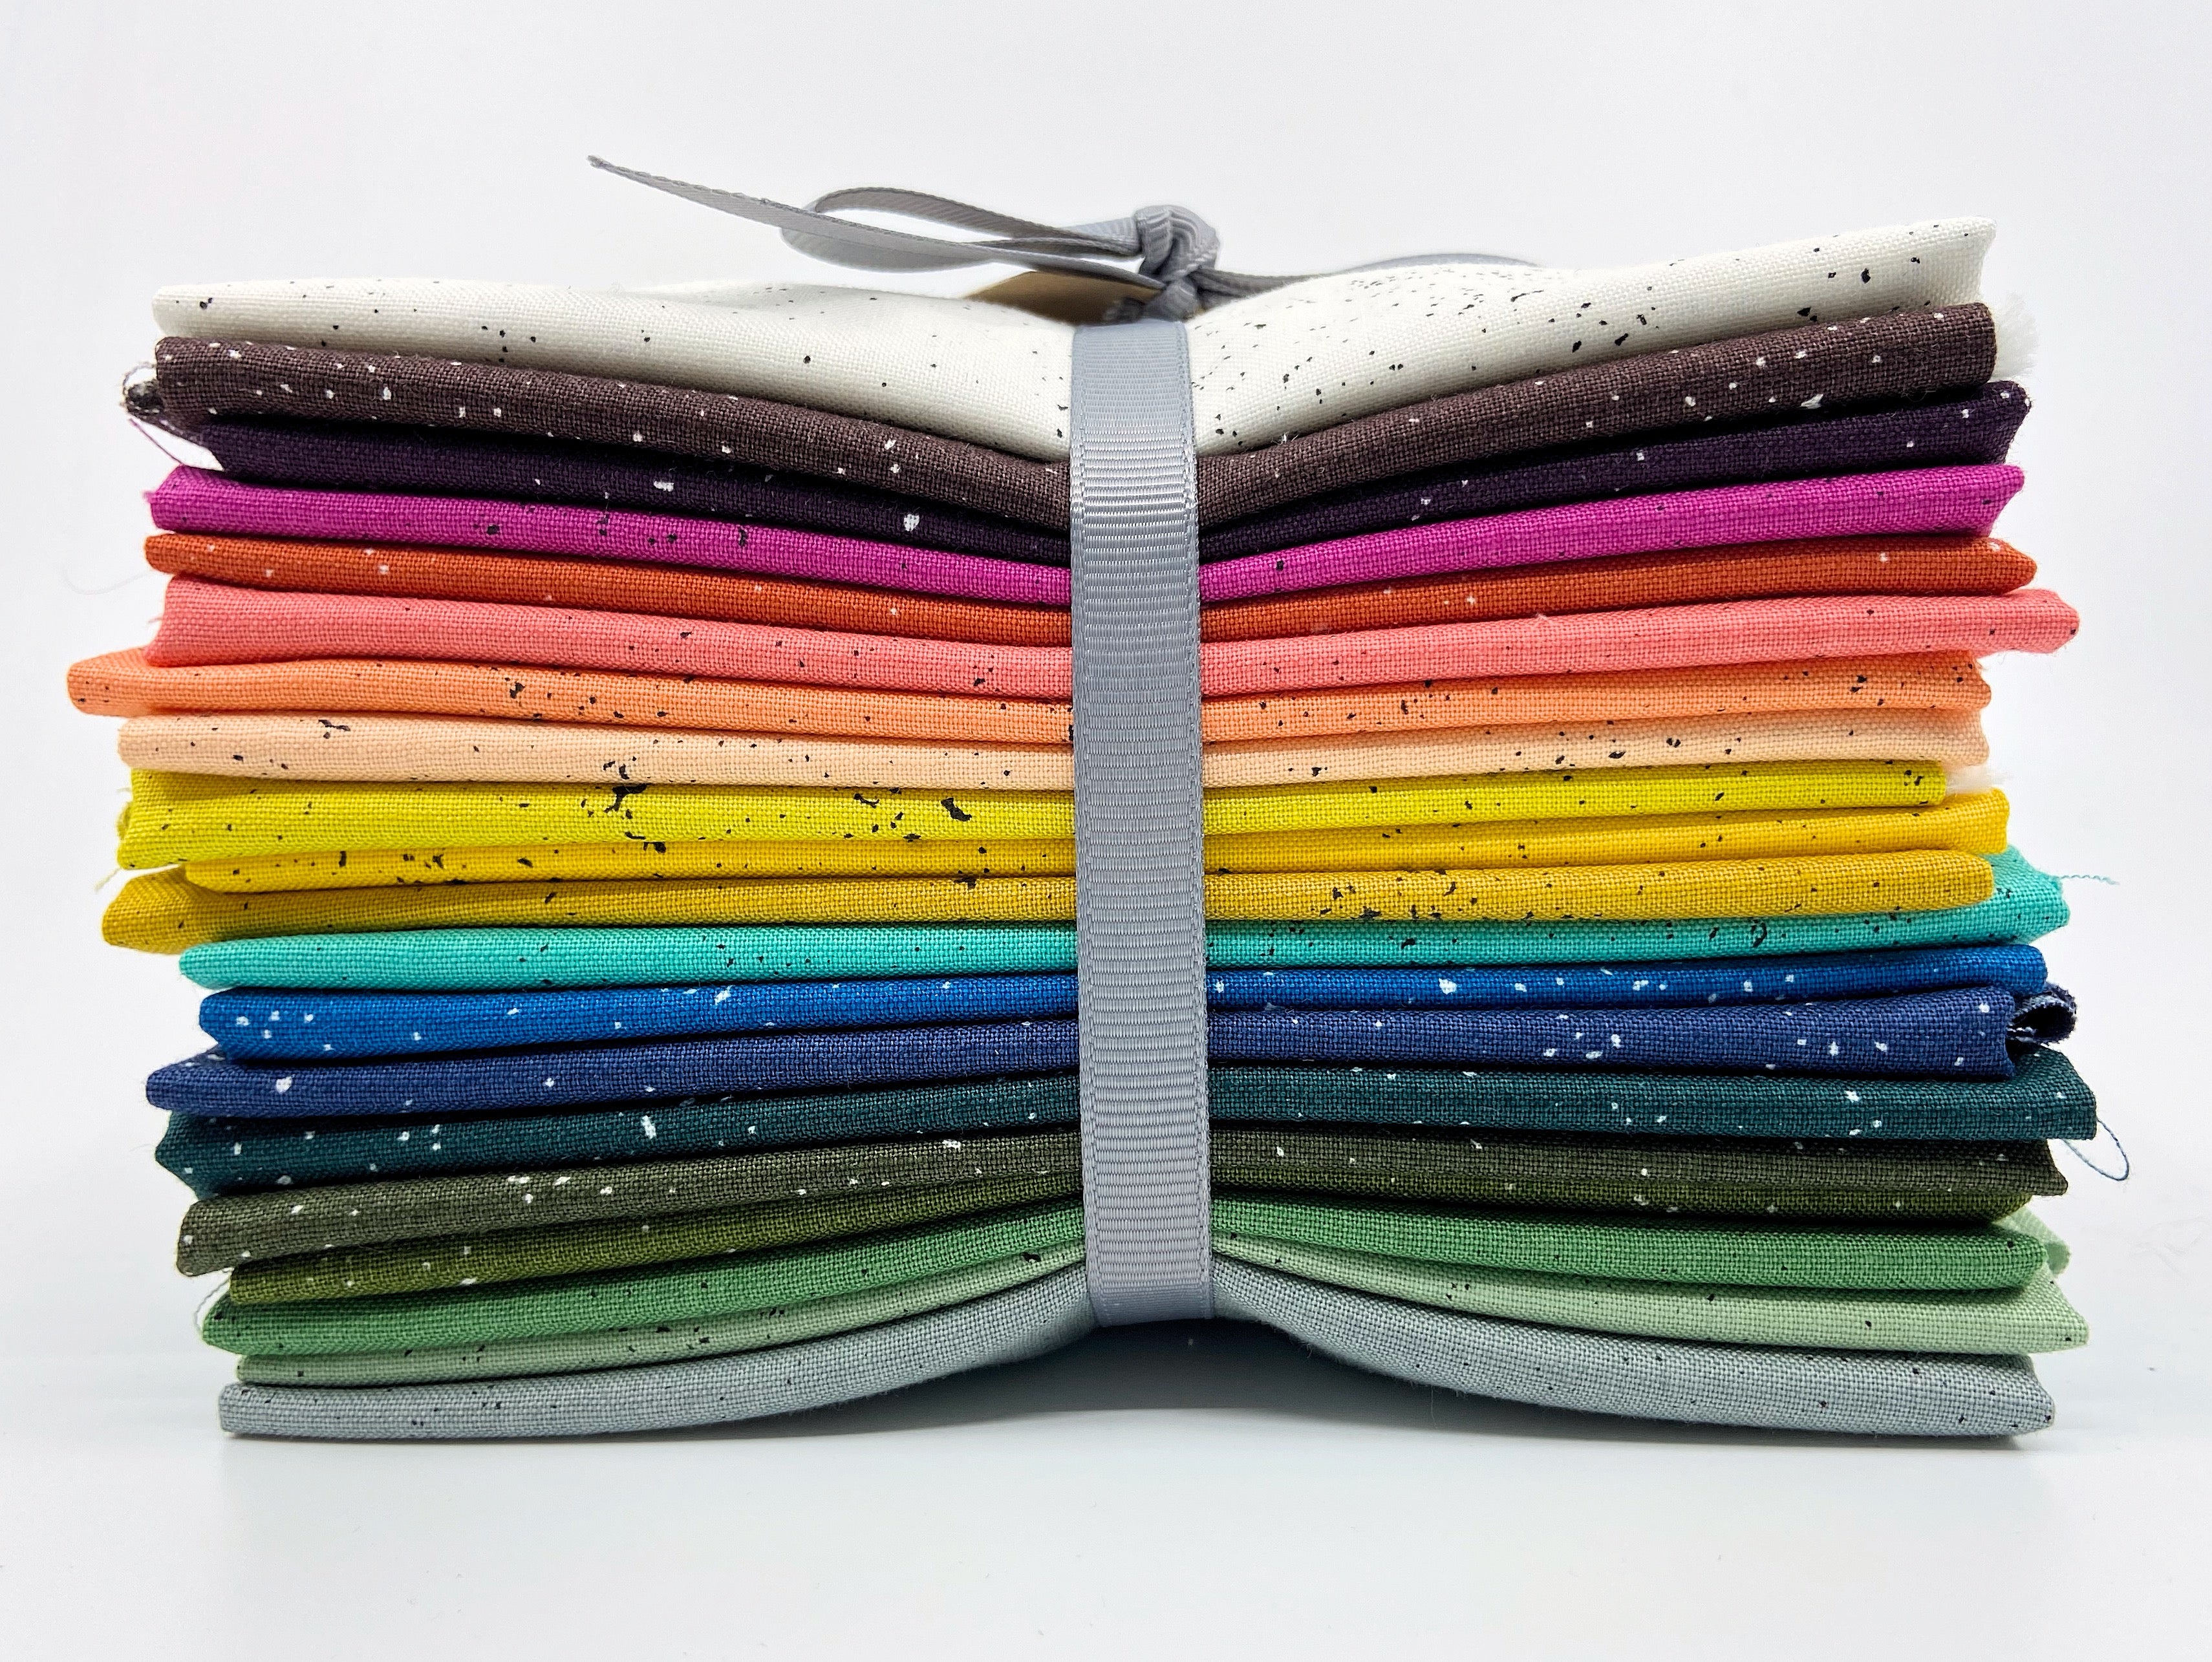
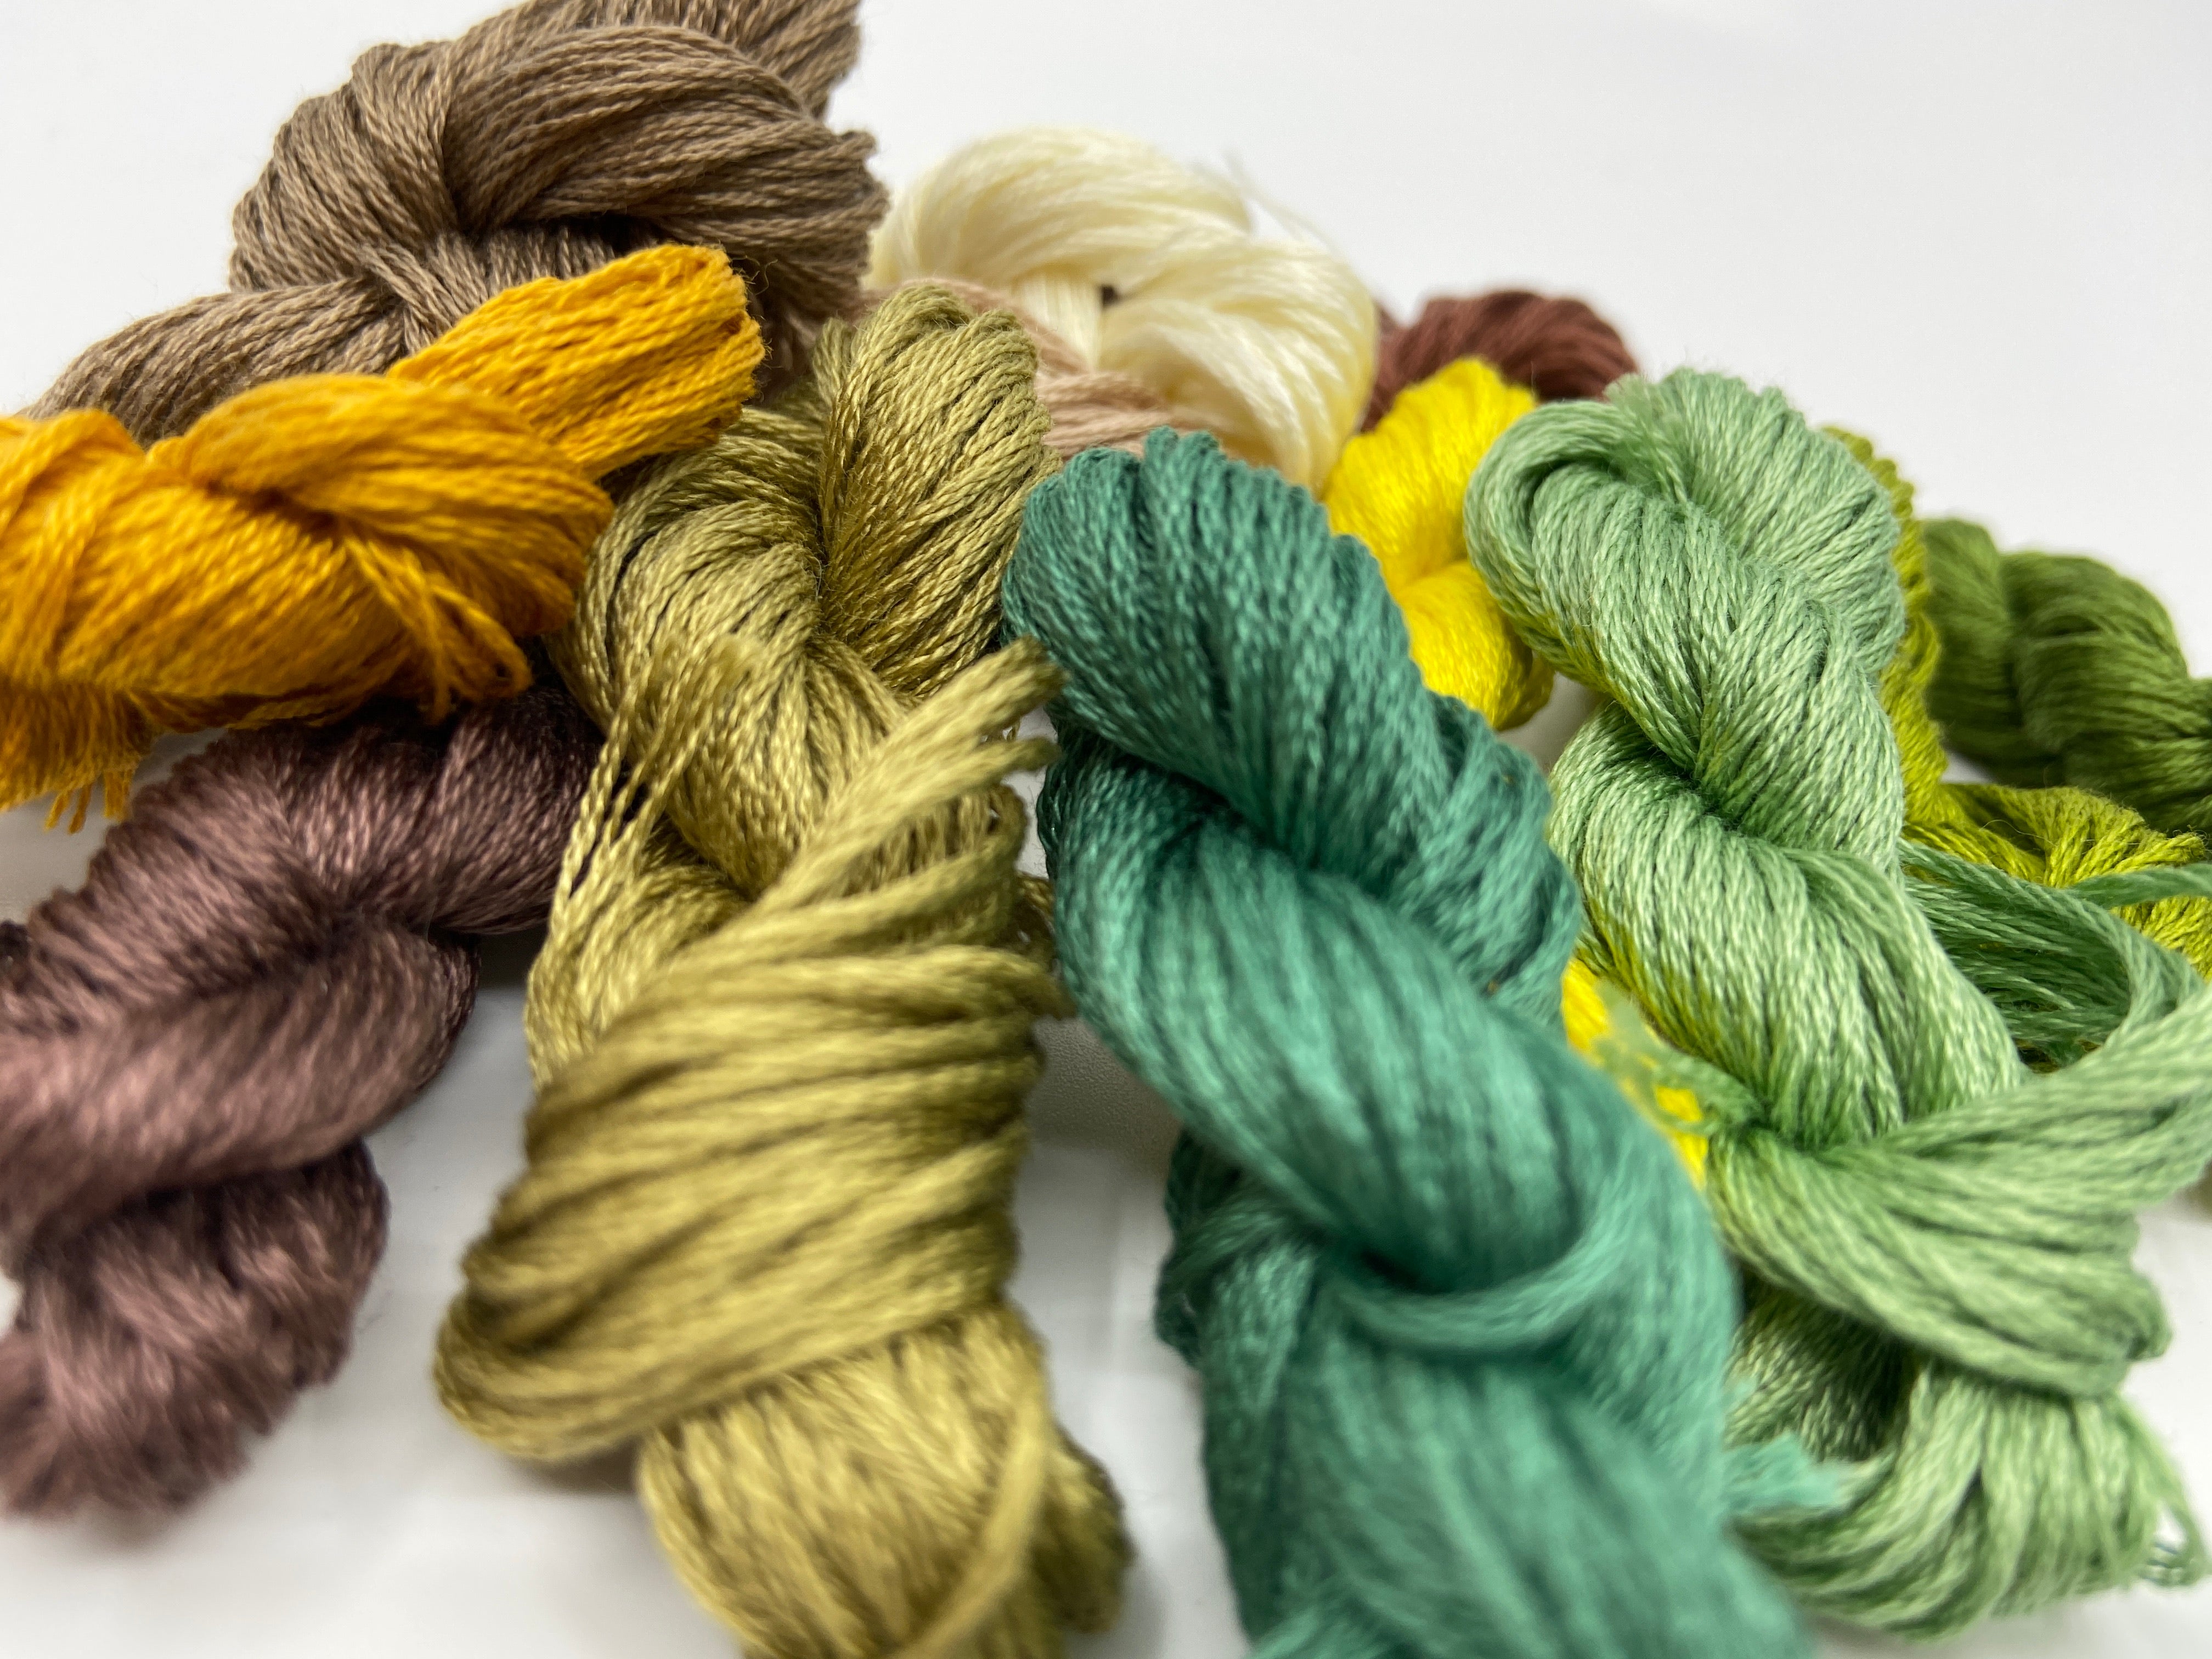
The finished quilt measures 52″ x 52″. The colors used in the front are: Yellow Gold, Copper, and Ginger. The main color on the back is Cocoa, and the binding is in Almond.

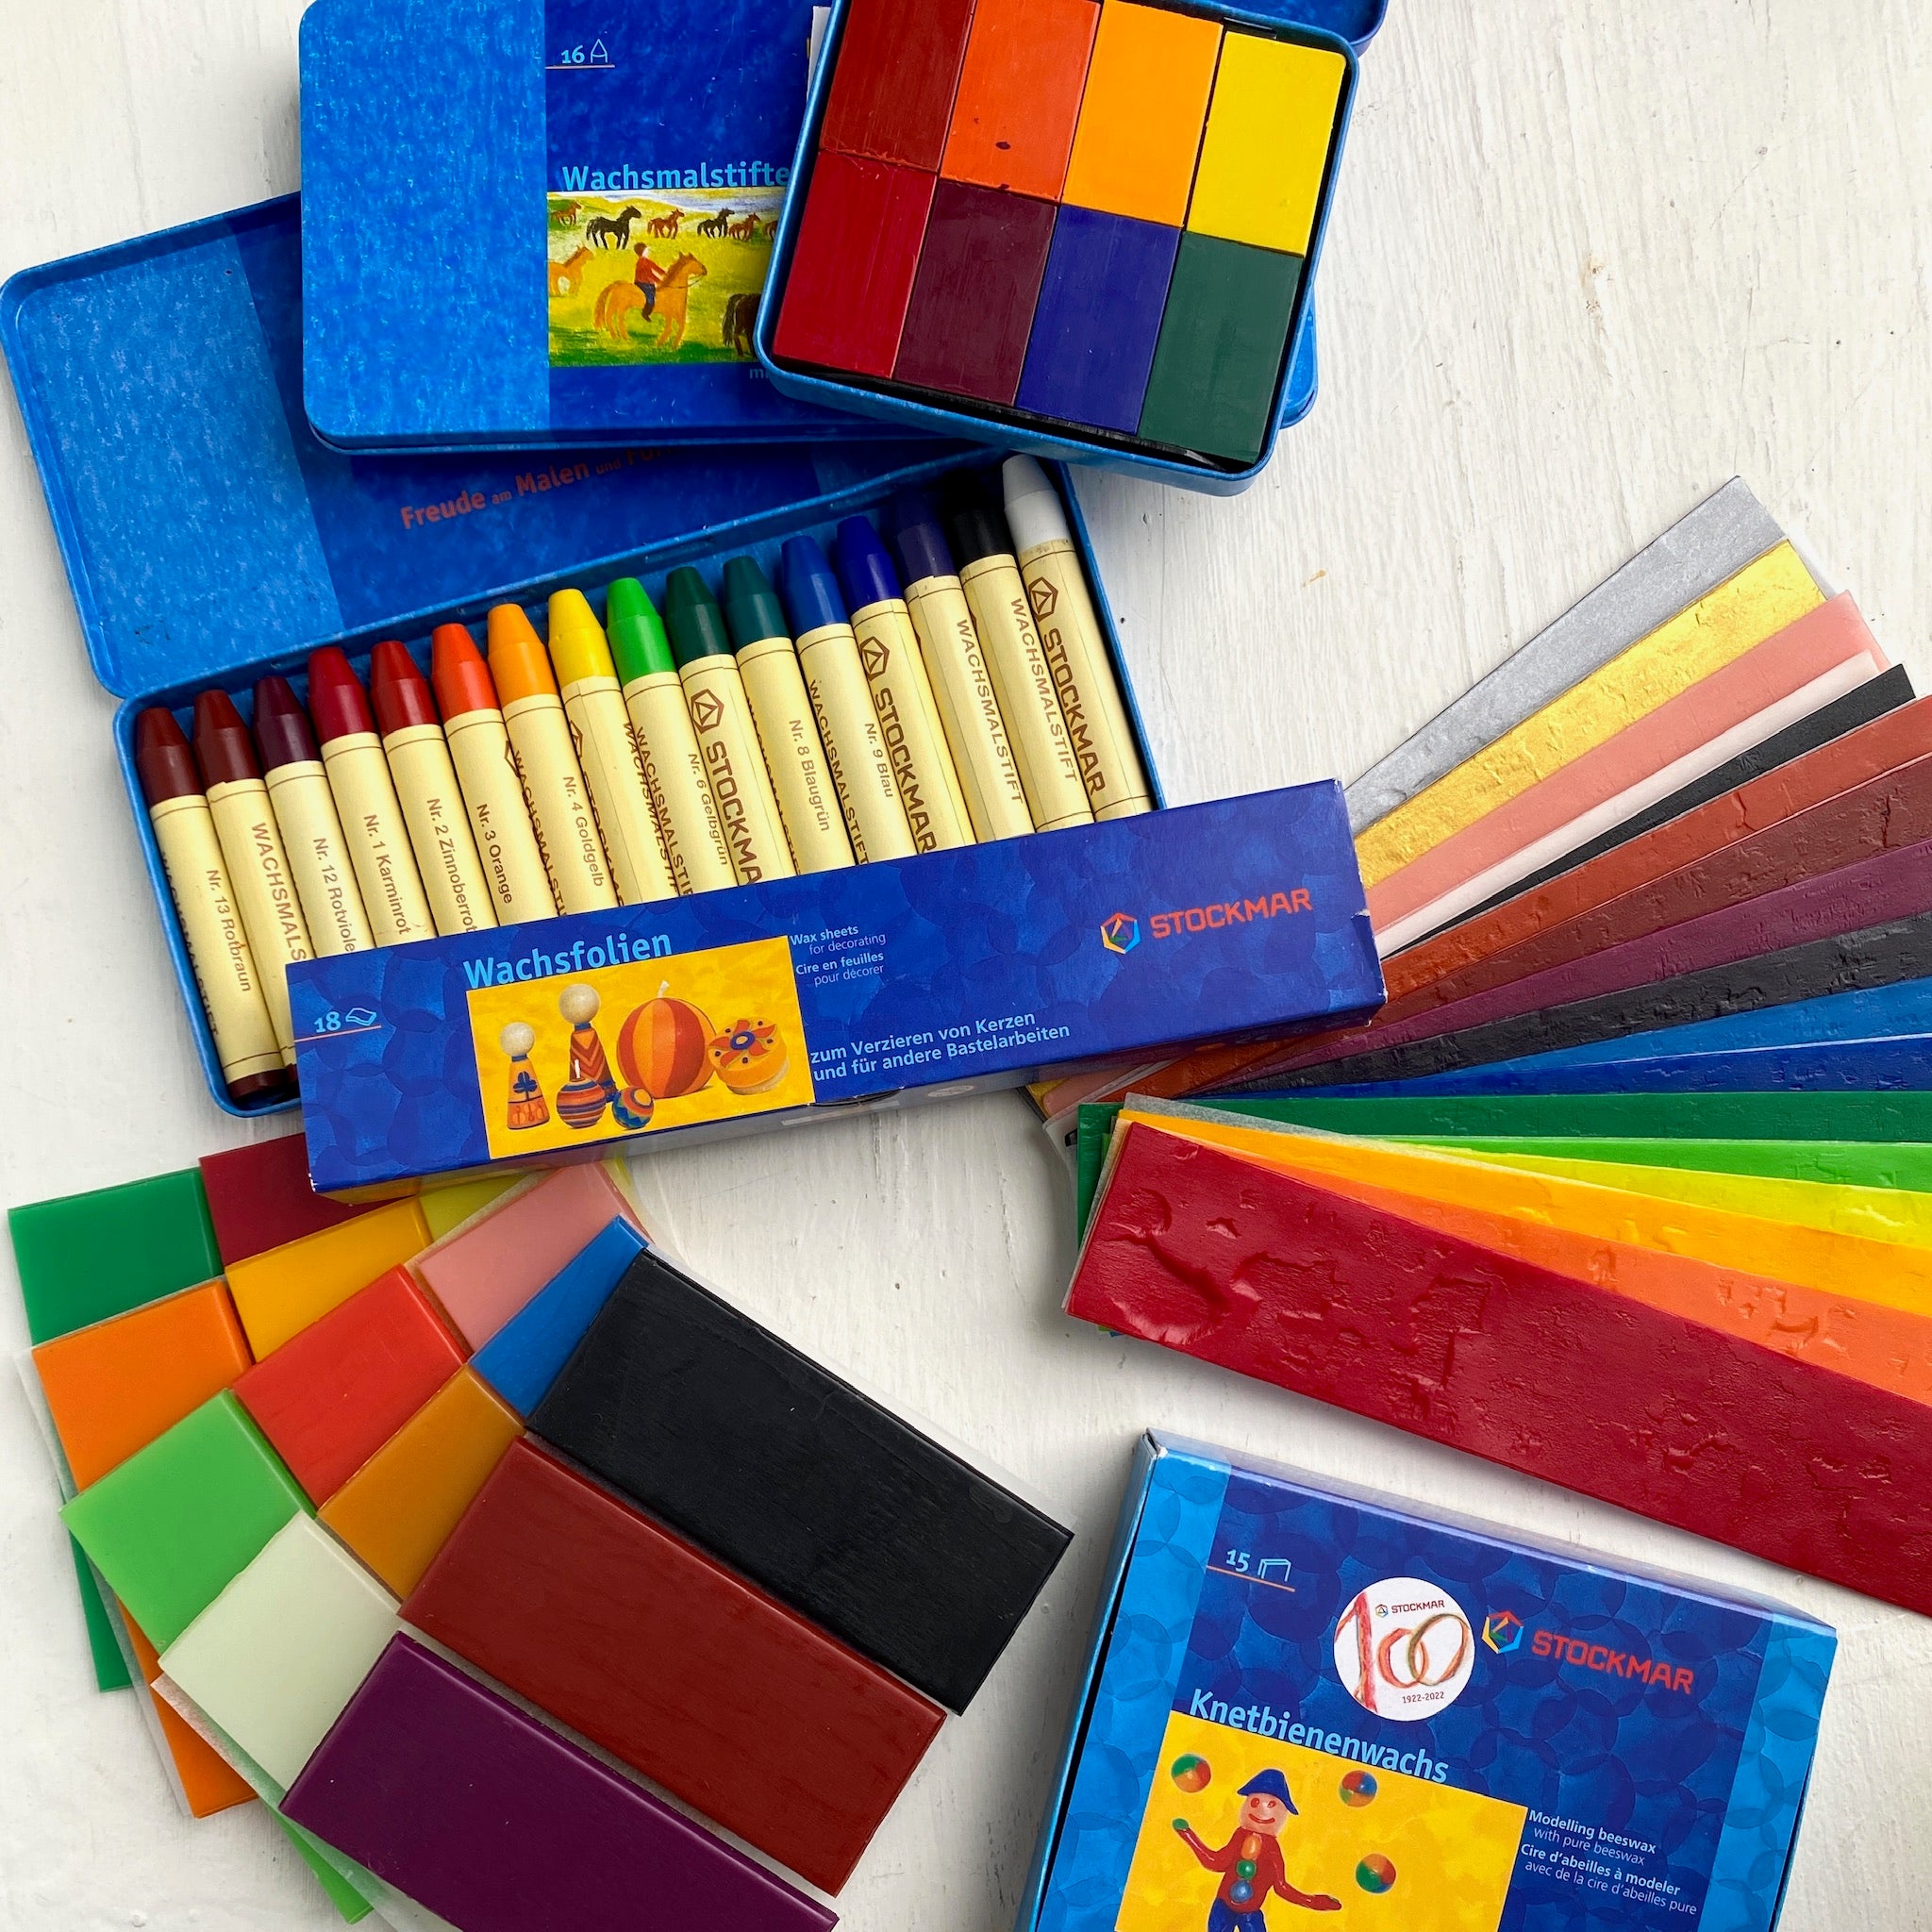
Things to know about working with silk dupioni:
Silk dupioni is a gorgeous fabric, offering a beautiful sheen and color variation. It can be a bit challenging to work with because it frays very easily. To help with fraying, use larger seam allowances (1/2″ rather than the standard 1/4″), interface the fabric with a lightweight fusible interfacing before you cut it, or zig-zag the seam allowances after you have sewn the seams. Each of these methods will help control the fraying.
The following pattern is written to include 1/2″ seams.

One more hint! The grain is very visible on this fabric. If you want to have the grain run the same way throughout all of the pieces, pay attention to how you put your squares together.
Materials:
1 yard each of three colors of Silk Dupioni for the smaller squares on the front and the back
2 1/3 yards Silk Dupioni for main color on back, or 2 1/2 yards for a solid back
½ yard Silk Dupioni for the binding
1 package throw size (60″ x 60″) Dream Wool batting
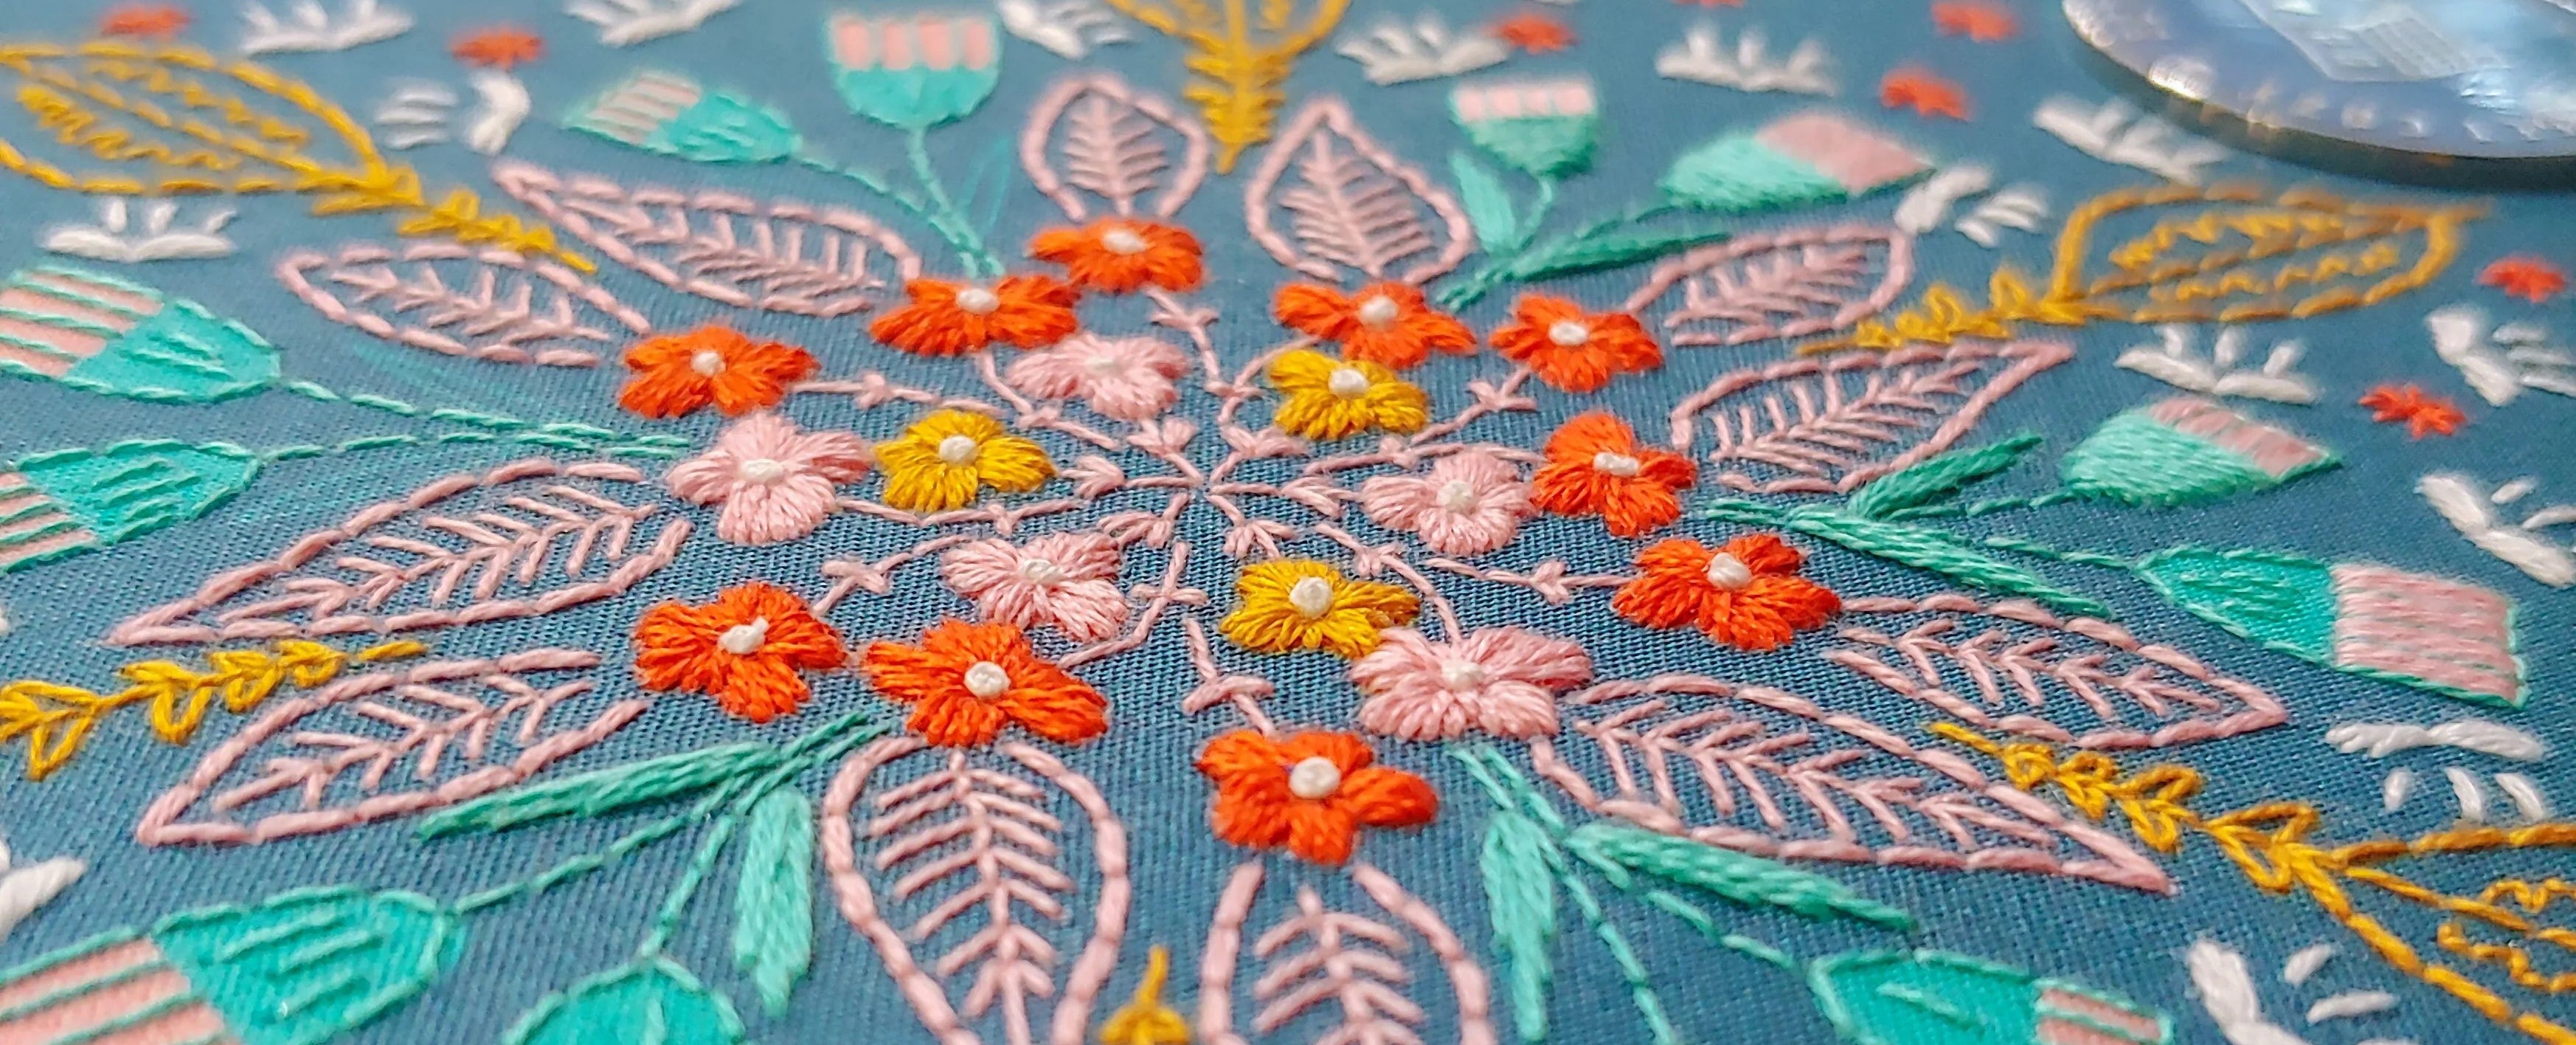
Embroidery floss or other embroidery thread to tie the quilt
(optional; see above) Enough lightweight fusible interfacing to interface all of the silk
Piece the Quilt Top
Using a rotary cutter and mat, cut each of the three colors into four 8 1/2” wide strips. Cut each of these strips into five 8 1/2” squares. This should provide 20 squares of each of the three colors.

Arrange the squares in order for the patchwork design.
|
A |
B |
C |
A |
C |
B |
A |
|
C |
A |
B |
C |
B |
A |
C |
|
B |
C |
A |
B |
A |
C |
B |
|
A |
B |
C |
A |
C |
B |
A |
|
B |
C |
A |
B |
A |
C |
B |
|
C |
A |
B |
C |
B |
A |
C |
|
A |
B |
C |
A |
C |
B |
A |
Working on one row of the pattern at a time, use a ½” seam allowance to sew the individual squares together into a seven-block strip. Then sew the strips together to form the full pattern. (If you are not interfacing the silk, and are zig-zagging the seam allowances, don’t forget to do this step for each seam allowance, making sure the seam allowances are all zig-zagged and pressed before the strips are sewed together.)

Piece the Quilt Back
Take your remaining nine 8 1/2″ squares and lay them out into a nine-patch pattern and piece them together. For the main color surrounding the nine patch, cut one 24″ length by the width of the fabric, and one 58″ length by the width of the fabric. Cut each of these lengths into two 18″ wide strips, making two 24″ x 18″ pieces and two 58″ x 18″ pieces. Sew the 24″ strips to opposite sides of the nine patch, and trim the edges so they are even. Then sew the 58″ long pieces to the longer sides so that the nine patch is surrounded by the strips as shown.

If you would like to make a solid back using your 2 1/2 yard (90″) piece of fabric, cut one 58″ length by the width of the fabric and one 30″ length by the width of the fabric. Trim the selvedges off of both pieces. Take the 30″ long piece, and cut in half so that you will have two pieces measuring 30″ x 21″. Sew these two pieces together to make one 59″x 21″ piece. Sew this piece to the other larger piece along the 58″ long edges. Note that the grain of the fabric should be running in the same direction along the entire back. And, don’t forget those 1/2″ seam allowances and zig-zagged seams!
Putting the Quilt Together
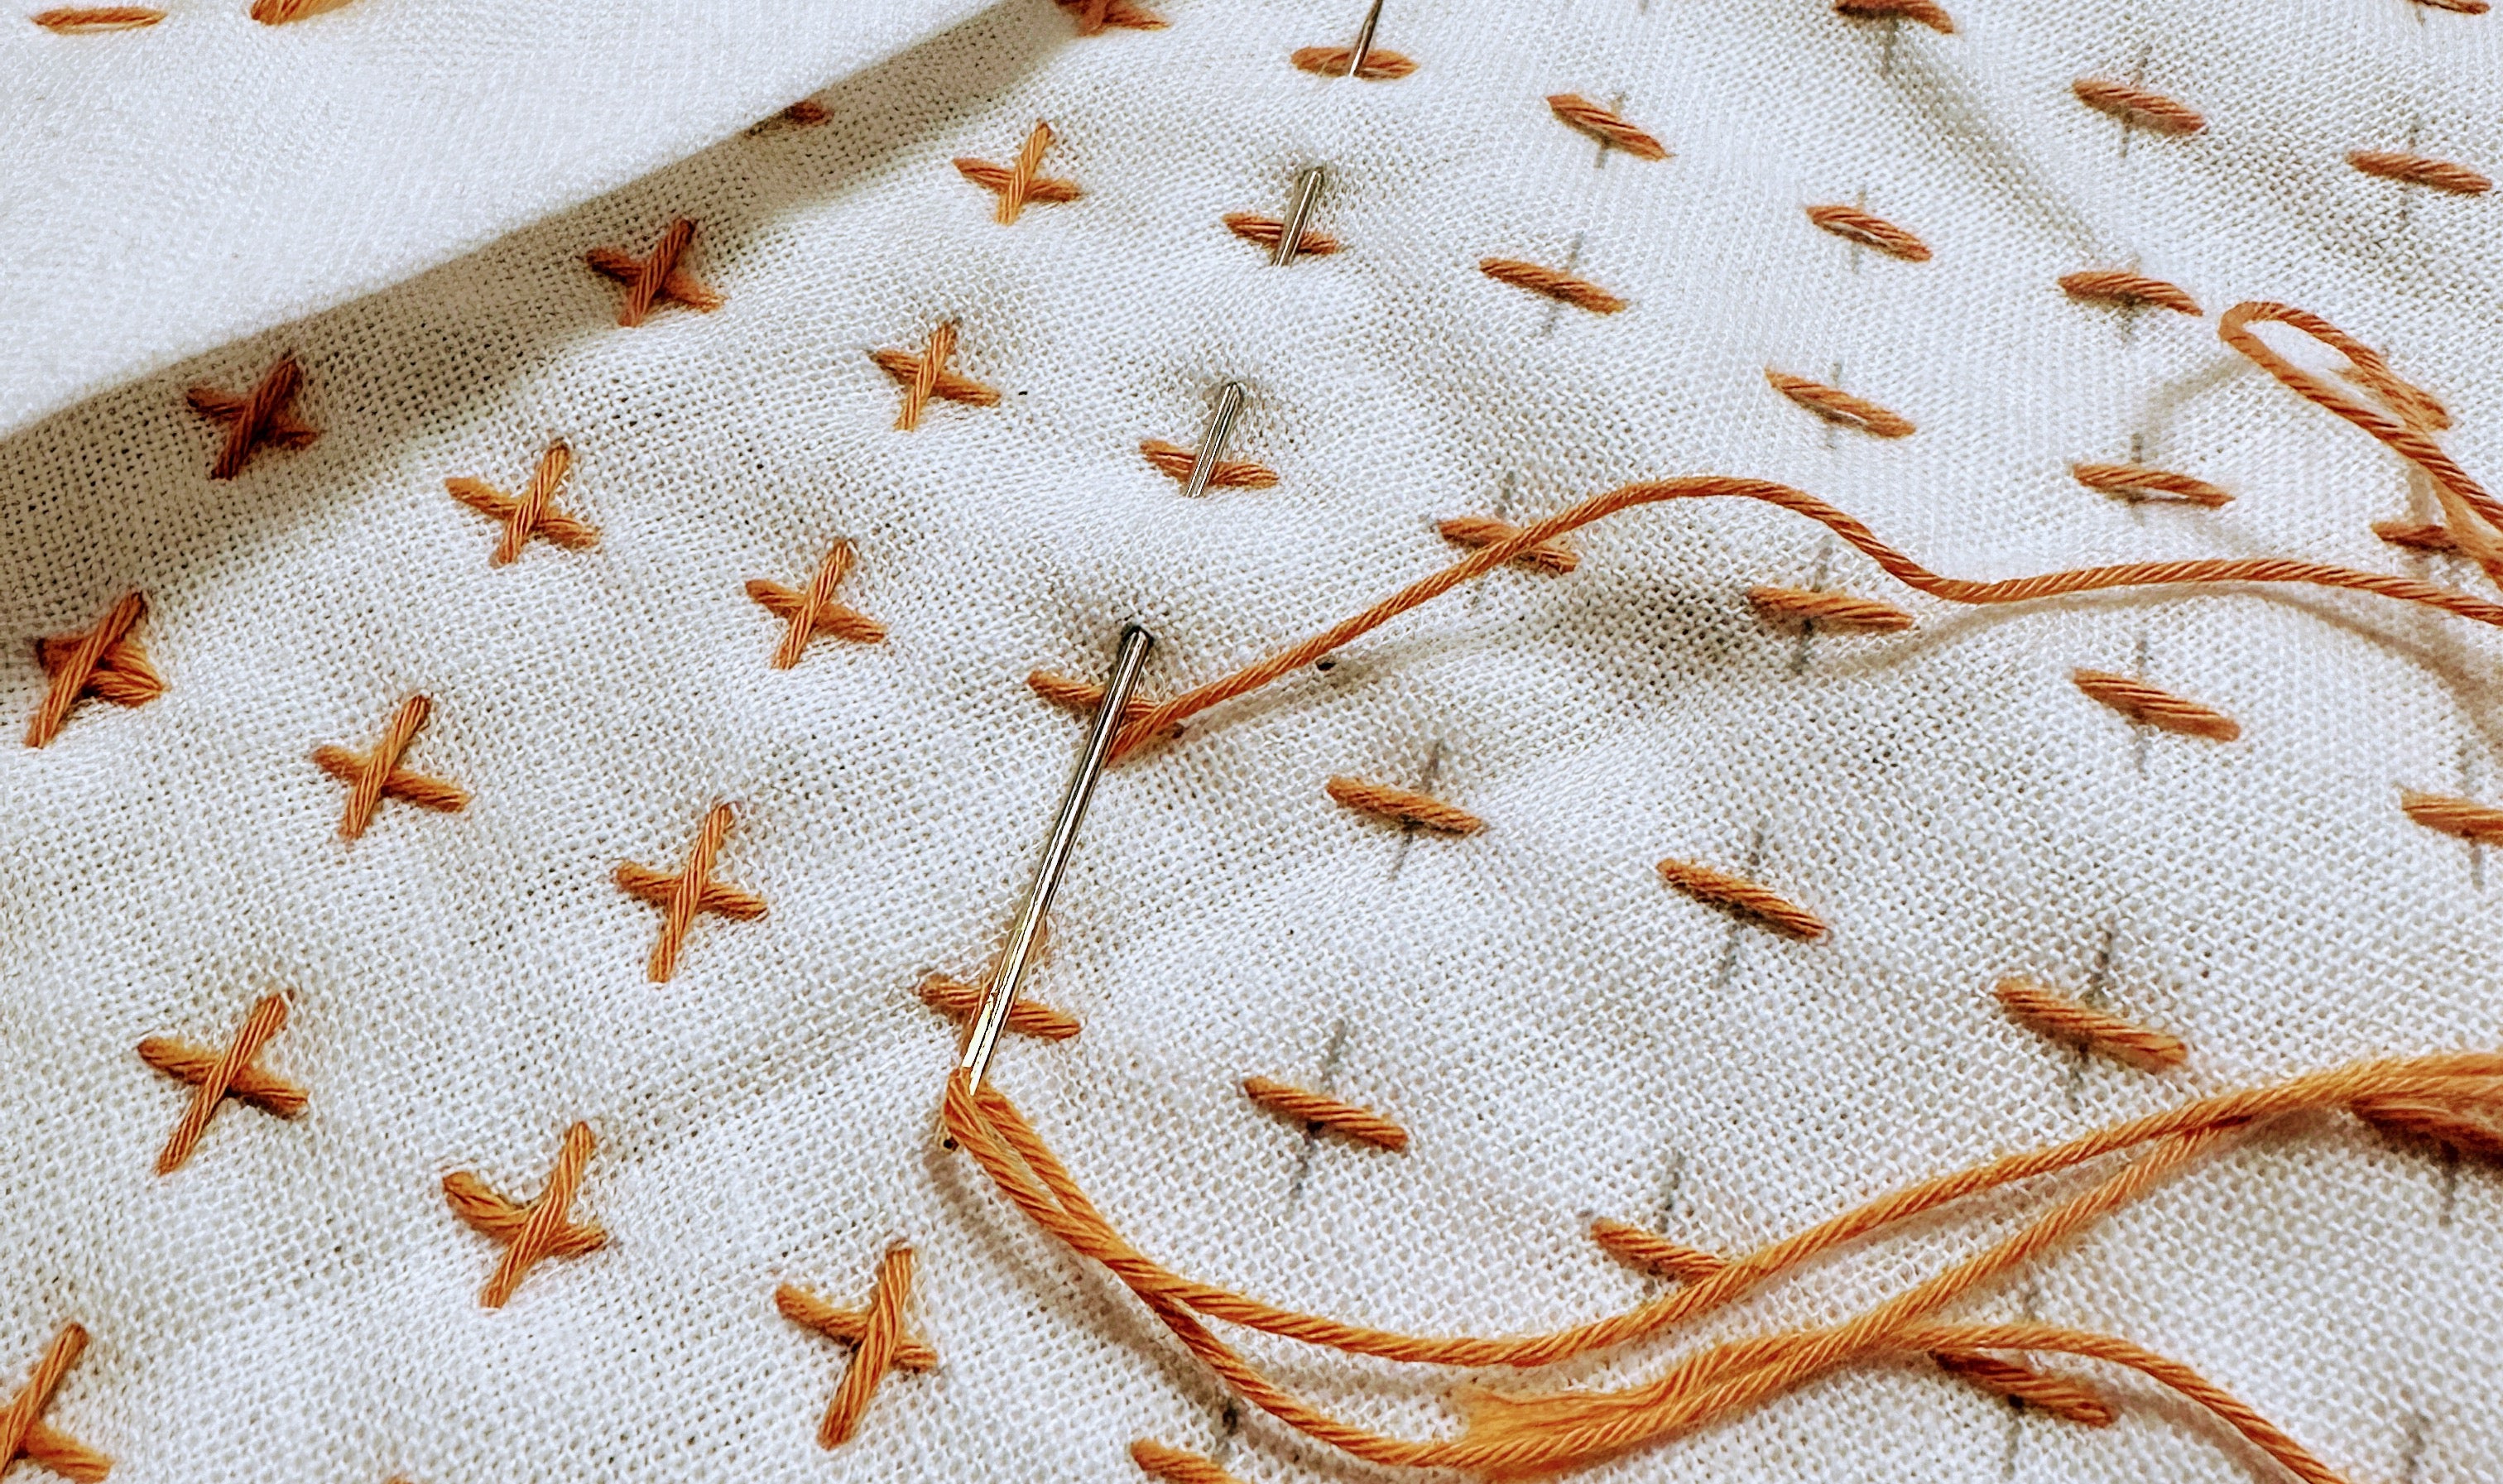
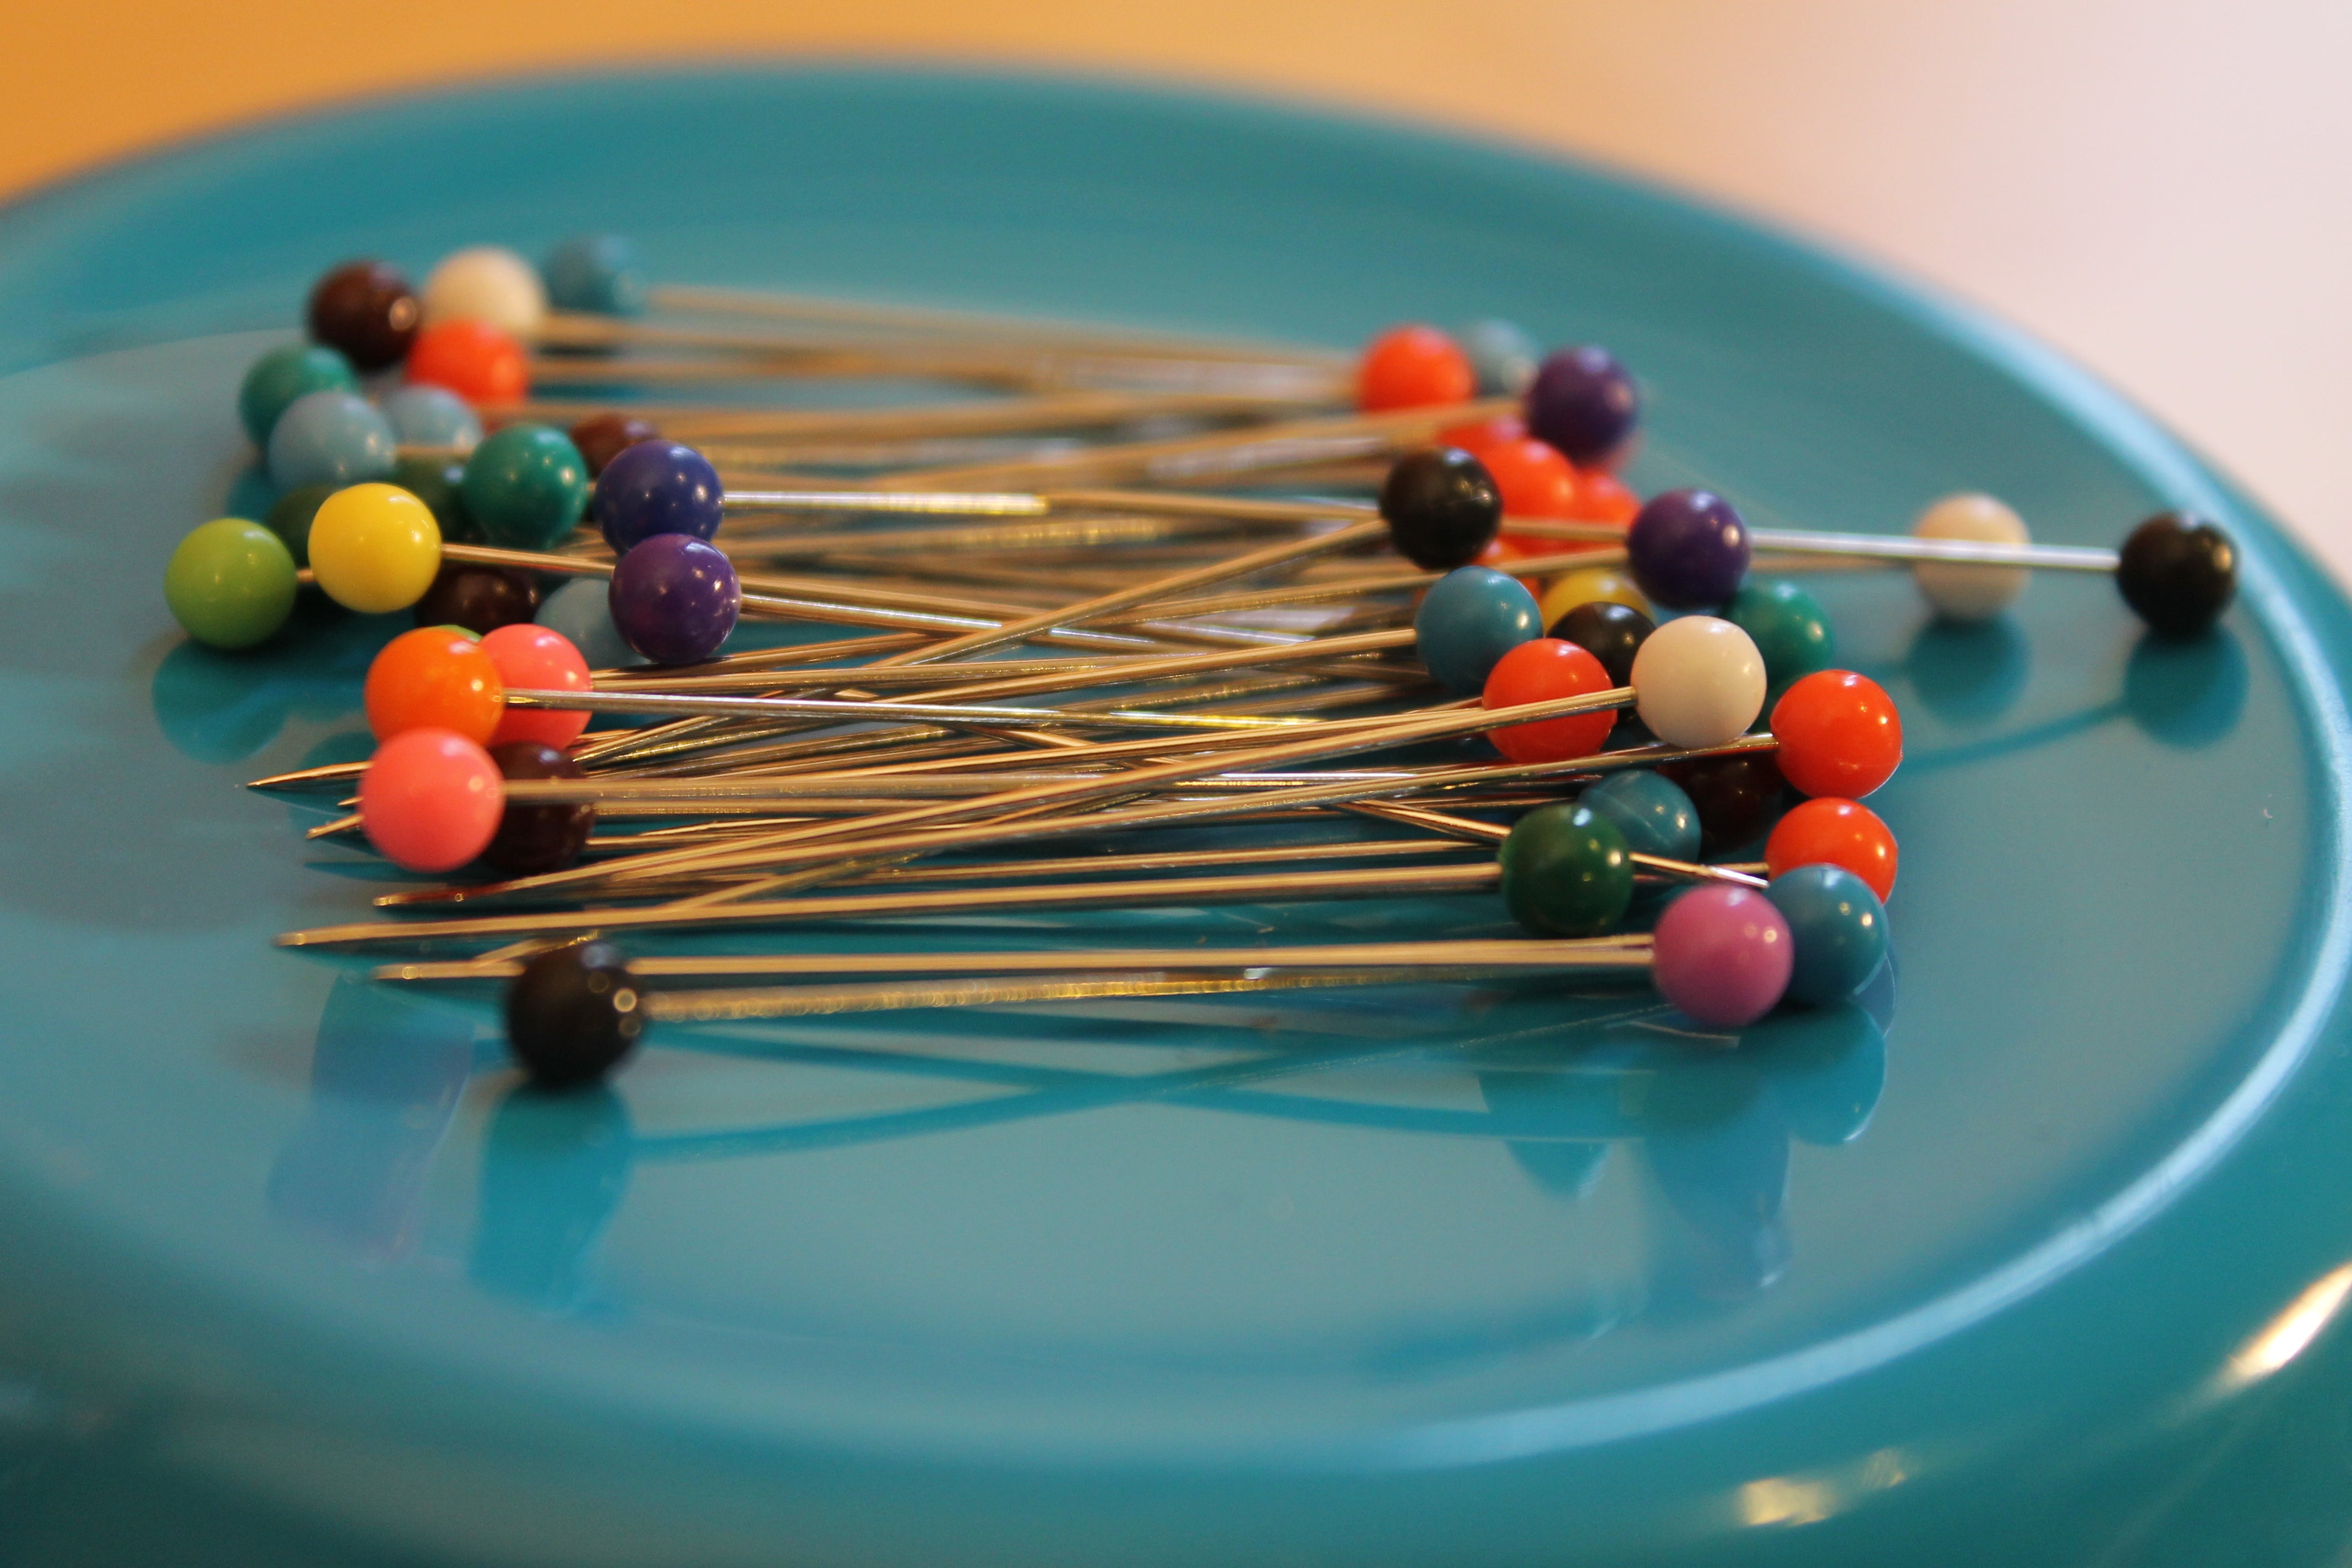
The quilt in this pattern was tied, and this was done in all the corners of the smaller squares. The relatively wide space between the ties and the wool batting are what gives this quilt its loft. You might at this point choose to tie in a different pattern, or to use hand or machine quilting. The choice is yours!
Spread your quilt back face down on your (clean!) floor, then spread the batting on top of that, followed by the quilt top facing up. Smooth out the quilt so that there are no wrinkles.

If you are going to tie the quilt, and you have made the back with a nine patch in the center, you will want to line up the patches, so that you can tie the quilt in the corner of the squares both on the front and the back. Start by finding the corners of the center block on both the front and the back of the quilt. Pin around this center block and tie the quilt on all four corners, checking on both sides that the ties are placed on the corners. Once the corners of center square are tied, place the quilt back on the floor, smooth out again, pin, and tie the corners of the surrounding blocks, checking on both sides to make sure the ties are lined up. After this round of ties, you won’t have to worry quite as much about lining up the ties. Smooth out the quilt again, and tie the quilt together in all of the remaining corners.

When all of the ties have been placed, pin the edges of the quilt together, and zig zag (less than 1/2″ wide!) around the outside edge of the quilt top. Trim off the remaining batting and backing.

Binding the Quilt
Cut 2 1/2″ strips of the binding fabric (along the grain, not on the bias), join the strips, and bind the quilt as usual, with the one addition of zig-zagging along the seam allowance after the binding strip is first applied to the quilt.

Enjoy your new quilt!