Simple Tote Bag with Handles and Boxed Bottom

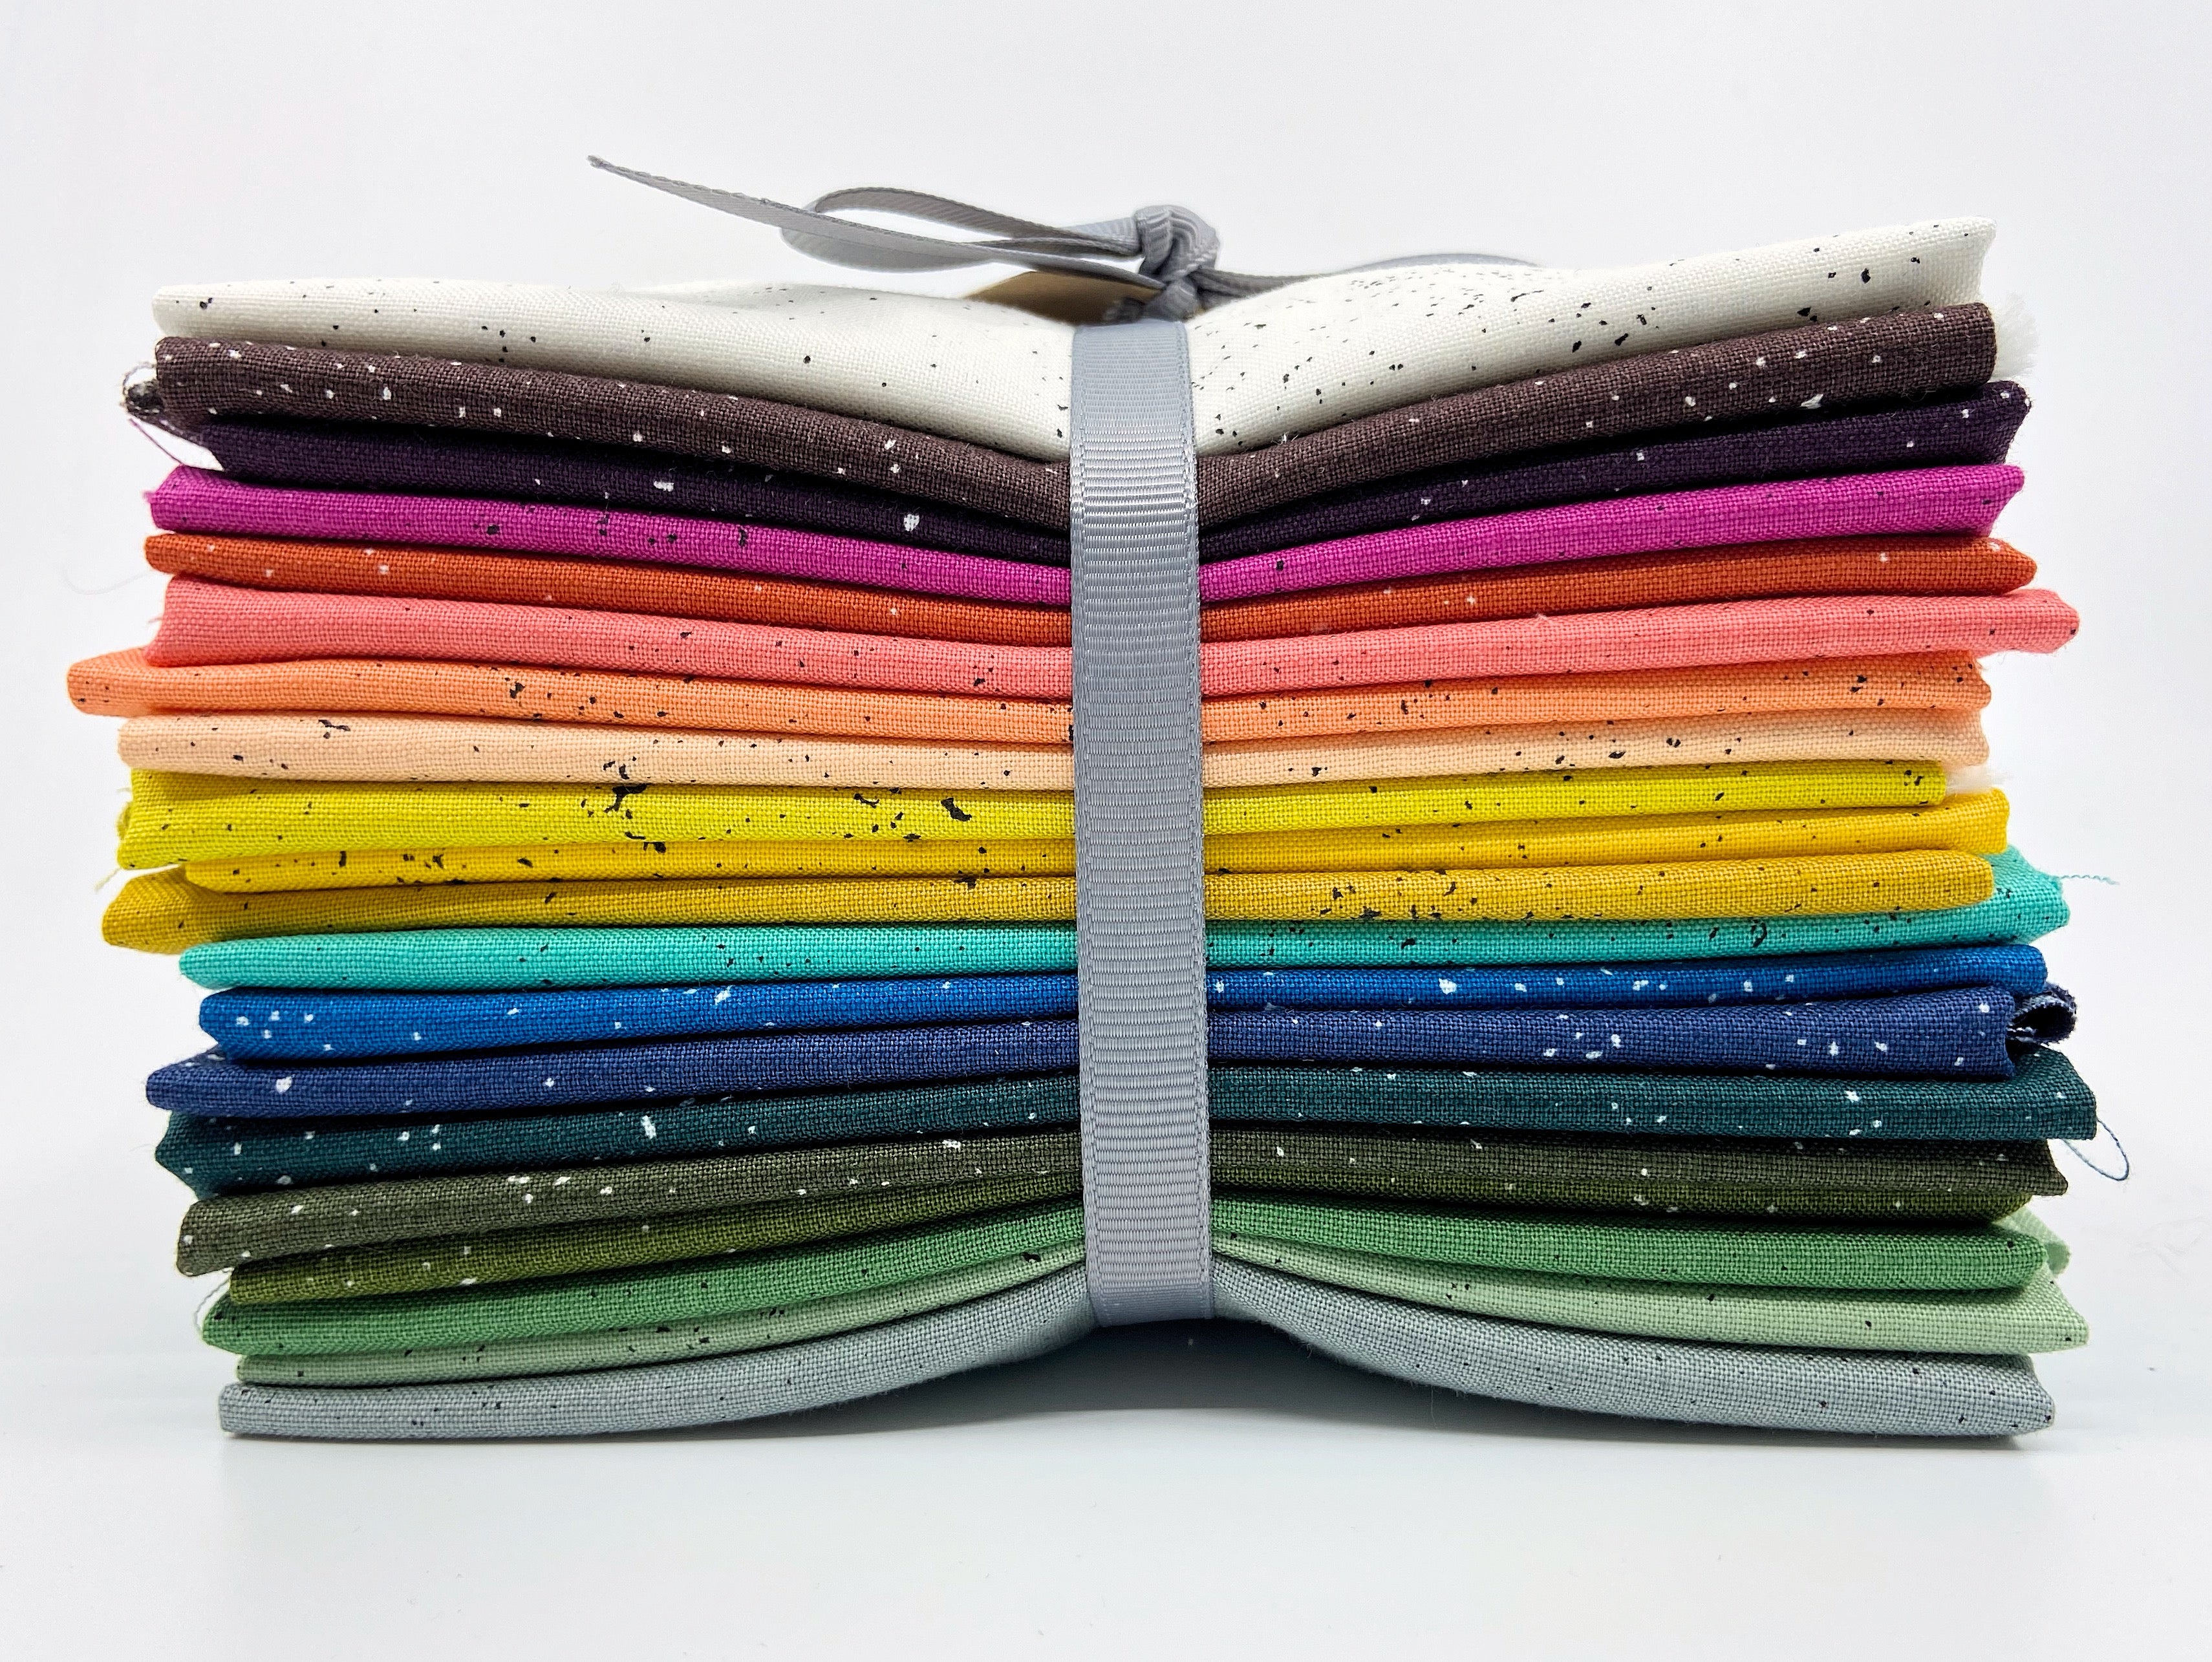
One of our favorite go-to gifts for friends and loved ones is a simple tote. It's also a wonderful project for ourselves to utilize a favorite fabric or two from our stash. The truth is everyone loves (and has use for!) a tote so we thought it would be fun to put together a simple tote tutorial. We can't wait to see what you make!


Gather Your Supplies

- Exterior fabric
- Interior lining fabric
- Webbing for handles (or make your own from fabric)
- (Optional) Interfacing
- Pellon's Fusible Fleece - to add strength and loft
- Pellon's Fusible Featherweight - to add light structure without loft
- Pellon's Fusible Shape-Flex (SF101) - to add a flexible cotton layer to your fabric that won't be too stiff or thick
- Pellon's Peltex 71 - a super stiff and rigid interfacing that will provide extreme structure to make a bag that will stand up and hold its shape on its own
The lengths needed for the fabrics and webbing will depend on the size of bag you are making. See the next section for fabric and webbing yardage requirements for your chosen bag size.
About Interfacing - Interfacing can add loft and support to your fabric, making your finished bag more durable and capable of holding its shape. If you want to make a tote from two quilting cottons, we would recommend interfacing at least the exterior fabric for a small bag, and possibly both layers for a larger sized bag. The small strawberry bag in the photos is made from the mid-weight linen cotton blend canvases. These fabrics are heavy enough to make a small tote, but they could be interfaced to make a heftier looking and feeling bag.
If you are choosing to interface one or both of the fabrics, you will need to get the same amount of interfacing as you do of that fabric. Interface the fabric before cutting, and then follow the rest of the instructions.
Fabric Requirements and Cutting and Measurement Guides for Our Three Bag Styles
The following bag sizes are provided here to make it easy for you to get started making your own totes. The directions feature the medium bag, but if you want to make one of the other sizes, just substitute the supplies, cuts, and measurements listed below for your chosen size.
After making a bag or two from one of our sizes, you might consider changing the handle length, the rectangle sizes, or the size of the boxed bottom sewing line to customize your project for your specific needs.
Small Bag
The small bag will fit a paperback book, your lunch, is a great size for a small child....
Supplies Needed - two project cuts (one for the exterior and one for the lining) or 3/8 yard of each fabric, and one yard of webbing - 30mm (1.25") wide webbing was used in the bag featured in the photo - you might consider using a 1" wide webbing
Cuts to Make - cut the fabric into rectangles 10" wide and 12" tall and the webbing into two 18" long pieces
Measurements to Make - the boxed corner sewing line 1.25" in from the corner of the seam and place the outside edge of the handles 1.75" from the outside seams
Medium Bag (all of these measurements are featured in this tutorial)
A great size for a sewing or knitting project, a pile of books, or as a purse
Supplies Needed - 1/2 yard of each fabric for the exterior and the lining, and 1 1/3 yard of webbing - 30mm (1.25") wide webbing was used in the bag featured in the photo
Cuts to Make - cut the fabric into rectangles 13" wide and 15" tall and the webbing into two 24" long pieces
Measurements to Make - the boxed corner sewing line 1 1/2" in from the corner of the seam and place the outside edge of the handles 2.5" from the outside seams
Large Bag
The large bag is a useful carry all size - pack for a day out, to the beach or an overnight - take to the farmer's market or grocery store
Supplies Needed - 1/2 yard of each fabric for the exterior and the lining, and 1 1/2 yard of webbing - 30mm (1.25") wide webbing was used in the bag featured in the photo
Cut to Make - Cut the fabric into rectangles 20" wide and 16" tall and the webbing into two 27" long pieces
Measurements to Make - the boxed corner sewing line 2" in from the corner of the seam and place the outside edge of the handles 4" from the outside seams
Directions
Cut the Fabric

Using a rotary cutter, or by drawing lines and cutting with scissors, cut two rectangles 13" wide and 15" tall from the exterior fabric and from the interior fabric.
In the photo above, you can see how all four fabrics can be cut at the same time for ease, and to be sure that they are all the same exact size. But, you may wish to cut printed fabric pieces one at a time in order to get just the right placement of a design in the fabric.
Pin the Fabrics Together

Place the two pieces of the exterior fabrics together with the right sides facing. ("Right sides facing" is a sewing term where right means the "exterior side" or the side of the fabric that will be facing out when the project is completed.) Make sure that if the fabric is directional, that the pattern is facing the same direction on both sides. Place pins a few inches apart along the sides and bottom.
Repeat with the two interior fabrics.
Stitch the Sides and Bottoms

In this step we used a 3/8" seam allowance. You can use a different seam allowance, but it is important to use the same seam allowance on both the exterior and lining fabric sets.
For the exterior pair of fabrics, start at the top of one side, sew down to the bottom corner, pivot, sew across the bottom, pivot, and then sew back to the top on the opposite side. This is done with one continuous seam that makes a kind of U (but with 90 degree bottom corners, not curved ones!)
For the lining pair of fabrics, start at the top of one side, sew down to the bottom corner, pivot, sew a few inches, then backstitch and cut your thread. Skip about three inches (a bit more if you are using very bulky fabric), back stitch to start another stitching line, and finish sewing along the bottom to the corner, pivot, sew up the side to the top. This is done in two separate seams that will make a capital L and a backwards capital L with a gap between them. (See the above photo.)
Refold and Pin Bottom Corners

In this step the bottom corners are refolded in the opposite direction to start making the boxed bottom.
Press the seams open (or alternatively to one side as shown at the end of this step.) Open up the bag and refold a bottom corner as show in the photo above so that the side seam is in the middle of one side and the bottom seam is in the middle of the other side. Feel with your fingers and adjust the layers until the seams line up together. Pin to keep the layers in place.
Repeat with the other bottom corner, and then with the two corners on the other piece.

This photo shows this step being done with the seams pressed to one side. Again, be sure to feel through the layers to be sure that the seams are lined up right over each other.
Mark the Stitching Lines

Using a clear ruler, measure 1 1/2" from the corner of the seam. This corner is where the stitching ends, not from where the seam allowances end.
The photo below with the side pressed seam allowances gives a clearer example of how the seam runs along parallel markings of the ruler, with the seam corner lining up at the 1 1/2" line.

Draw a line along the ruler with chalk or a different marking tool.
Please note that you don't have to use the 1 1/2" measurement. Use a larger measurement to get a fuller bottom of the bag, or a smaller measurement to get a less full bottom. BUT, the same measurement needs to be made on the all four corners (both corners of both sets).
Sew and Cut Off Excess Fabric

Sew along the marked lines on all four corners, being careful to backstitch at the beginning and the end of each seam.
Leaving about 3/8" of fabric after the seam, cut off the corner piece.
Pin the Handles In Place

Cut the webbing into two equal length parts to the desired handle length. In this example, the straps are each cut to 24".
Turn the exterior piece right side out. Hold the bag up and see where you would like the handles placed. In this example, the straps are placed 2 1/2" from the edge seams.

Pin the straps in place, The strap edges should line up with the top edge of the bag, with the strap length running down and back up to be pinned the same distance from the other side. Check to be sure the strap is not twisted.
Repeat with the other strap on the other side of the bag.
Pin the Lining in Place

Now it is time to join the exterior piece and the lining piece.
With the exterior piece still turned with the right side facing out, keep the exterior piece inside out. Place the exterior piece inside the lining piece so that their right sides are facing.

Lining up the top edges, line up the side seams of the two pieces and pin together. Then place a few more pins around the bag edge. Holding a handle end in place, remove the pin attaching it to the exterior, and re-pin it so that the pin goes through the lining, the webbing, and the exterior fabric.
Sew Around the Top of the Bag

Using a 5/8" seam allowance or greater, sew all of the way around the top edge of the bag that you just pinned.
Turn the Bag Right Side Out

Reach your fingers inside of the opening at the bottom of the lining and grab hold of the exterior part of the bag. Carefully pull the exterior through the opening until the handles and lining fabric have all come out.


Turn the lining back into the inside of the bag.
First use your fingers on the top edge to pull the lining to the inside and the exterior to the outside and make sure that the seam is all the way out on the very edge. Press with your iron to make the edge nice and crisp.
Topstitch Around the Top Edge

Top stitch around the outside of the bag about 3/8" from the top edge.
This stitching line is not absolutely necessary if you want to skip the step, but it will help keep the layers all in place when the bag gets washed, and it also provides reinforcement for the straps. (Because of the larger seam allowance you used a few steps ago when sewing the exterior and lining pieces together, the handles should end a bit lower than this topstitching line. If the bag will be used to hold very heavy things, you might even consider back stitching over each handle to reinforce it even more!)
Stitch the Opening in the Lining Closed

Fold the raw edges to the inside of the opening in the bottom of the lining by 3/8" or whatever your original seam allowances were, and press.

You can use a needle and thread and make an almost invisible seam using a ladder stitch to close the opening. A very reasonable shortcut is to topstitch over both layers as close to the edge as possible using your machine. This is shown in the picture above, and as the seam will be at the bottom of the inside of the bag, this shortcut seems very reasonable with very little impact on the overall look of the bag.
Now you get to play with different sizes! To make very different looking bags, you can change the rectangle size, the boxed corner measurement, and the strap length.


