


Throw Pillow Tutorial - Invisible Zipper and Boxed Corners

These pillows feature boxed corners, and an easy to install invisible zipper - featuring two coordinating fabrics, or the same fabric on both sides.
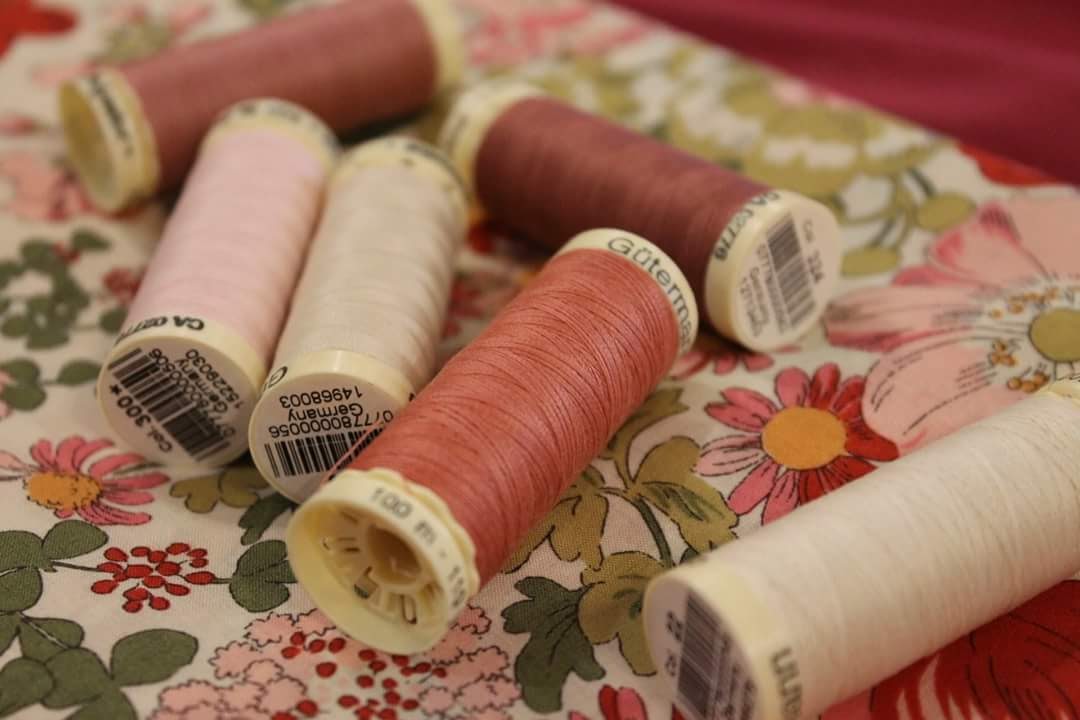
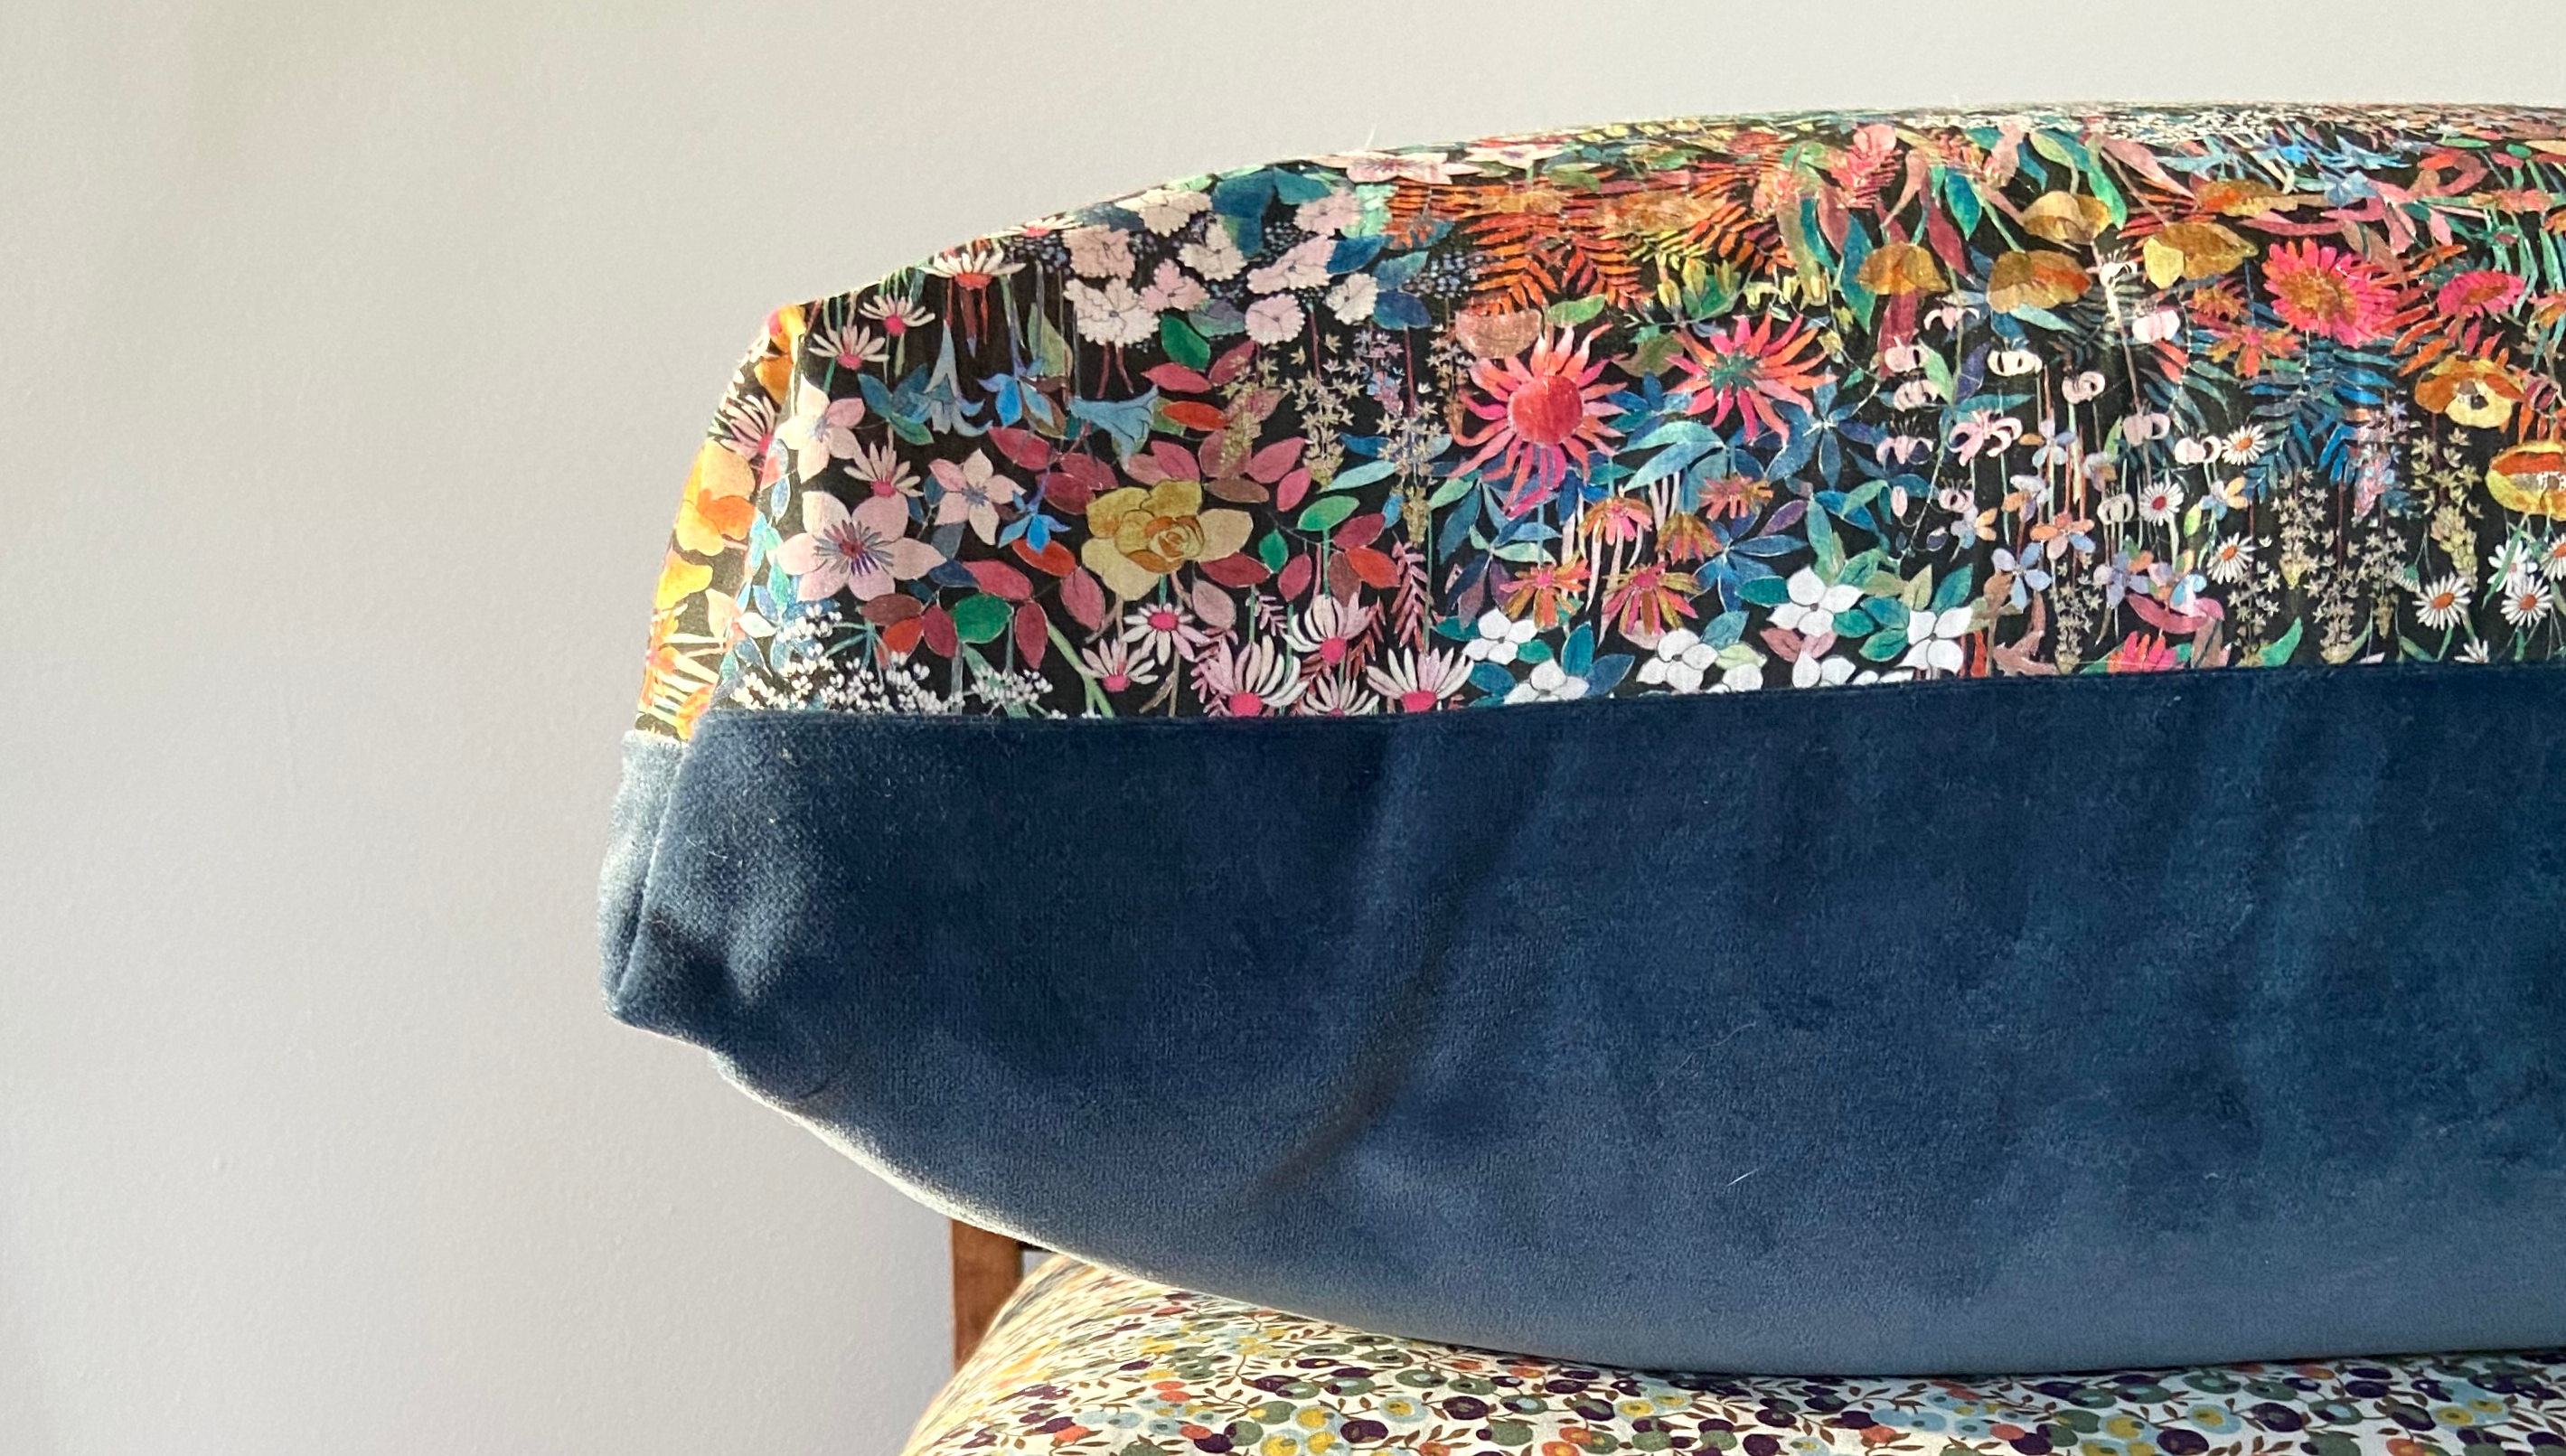
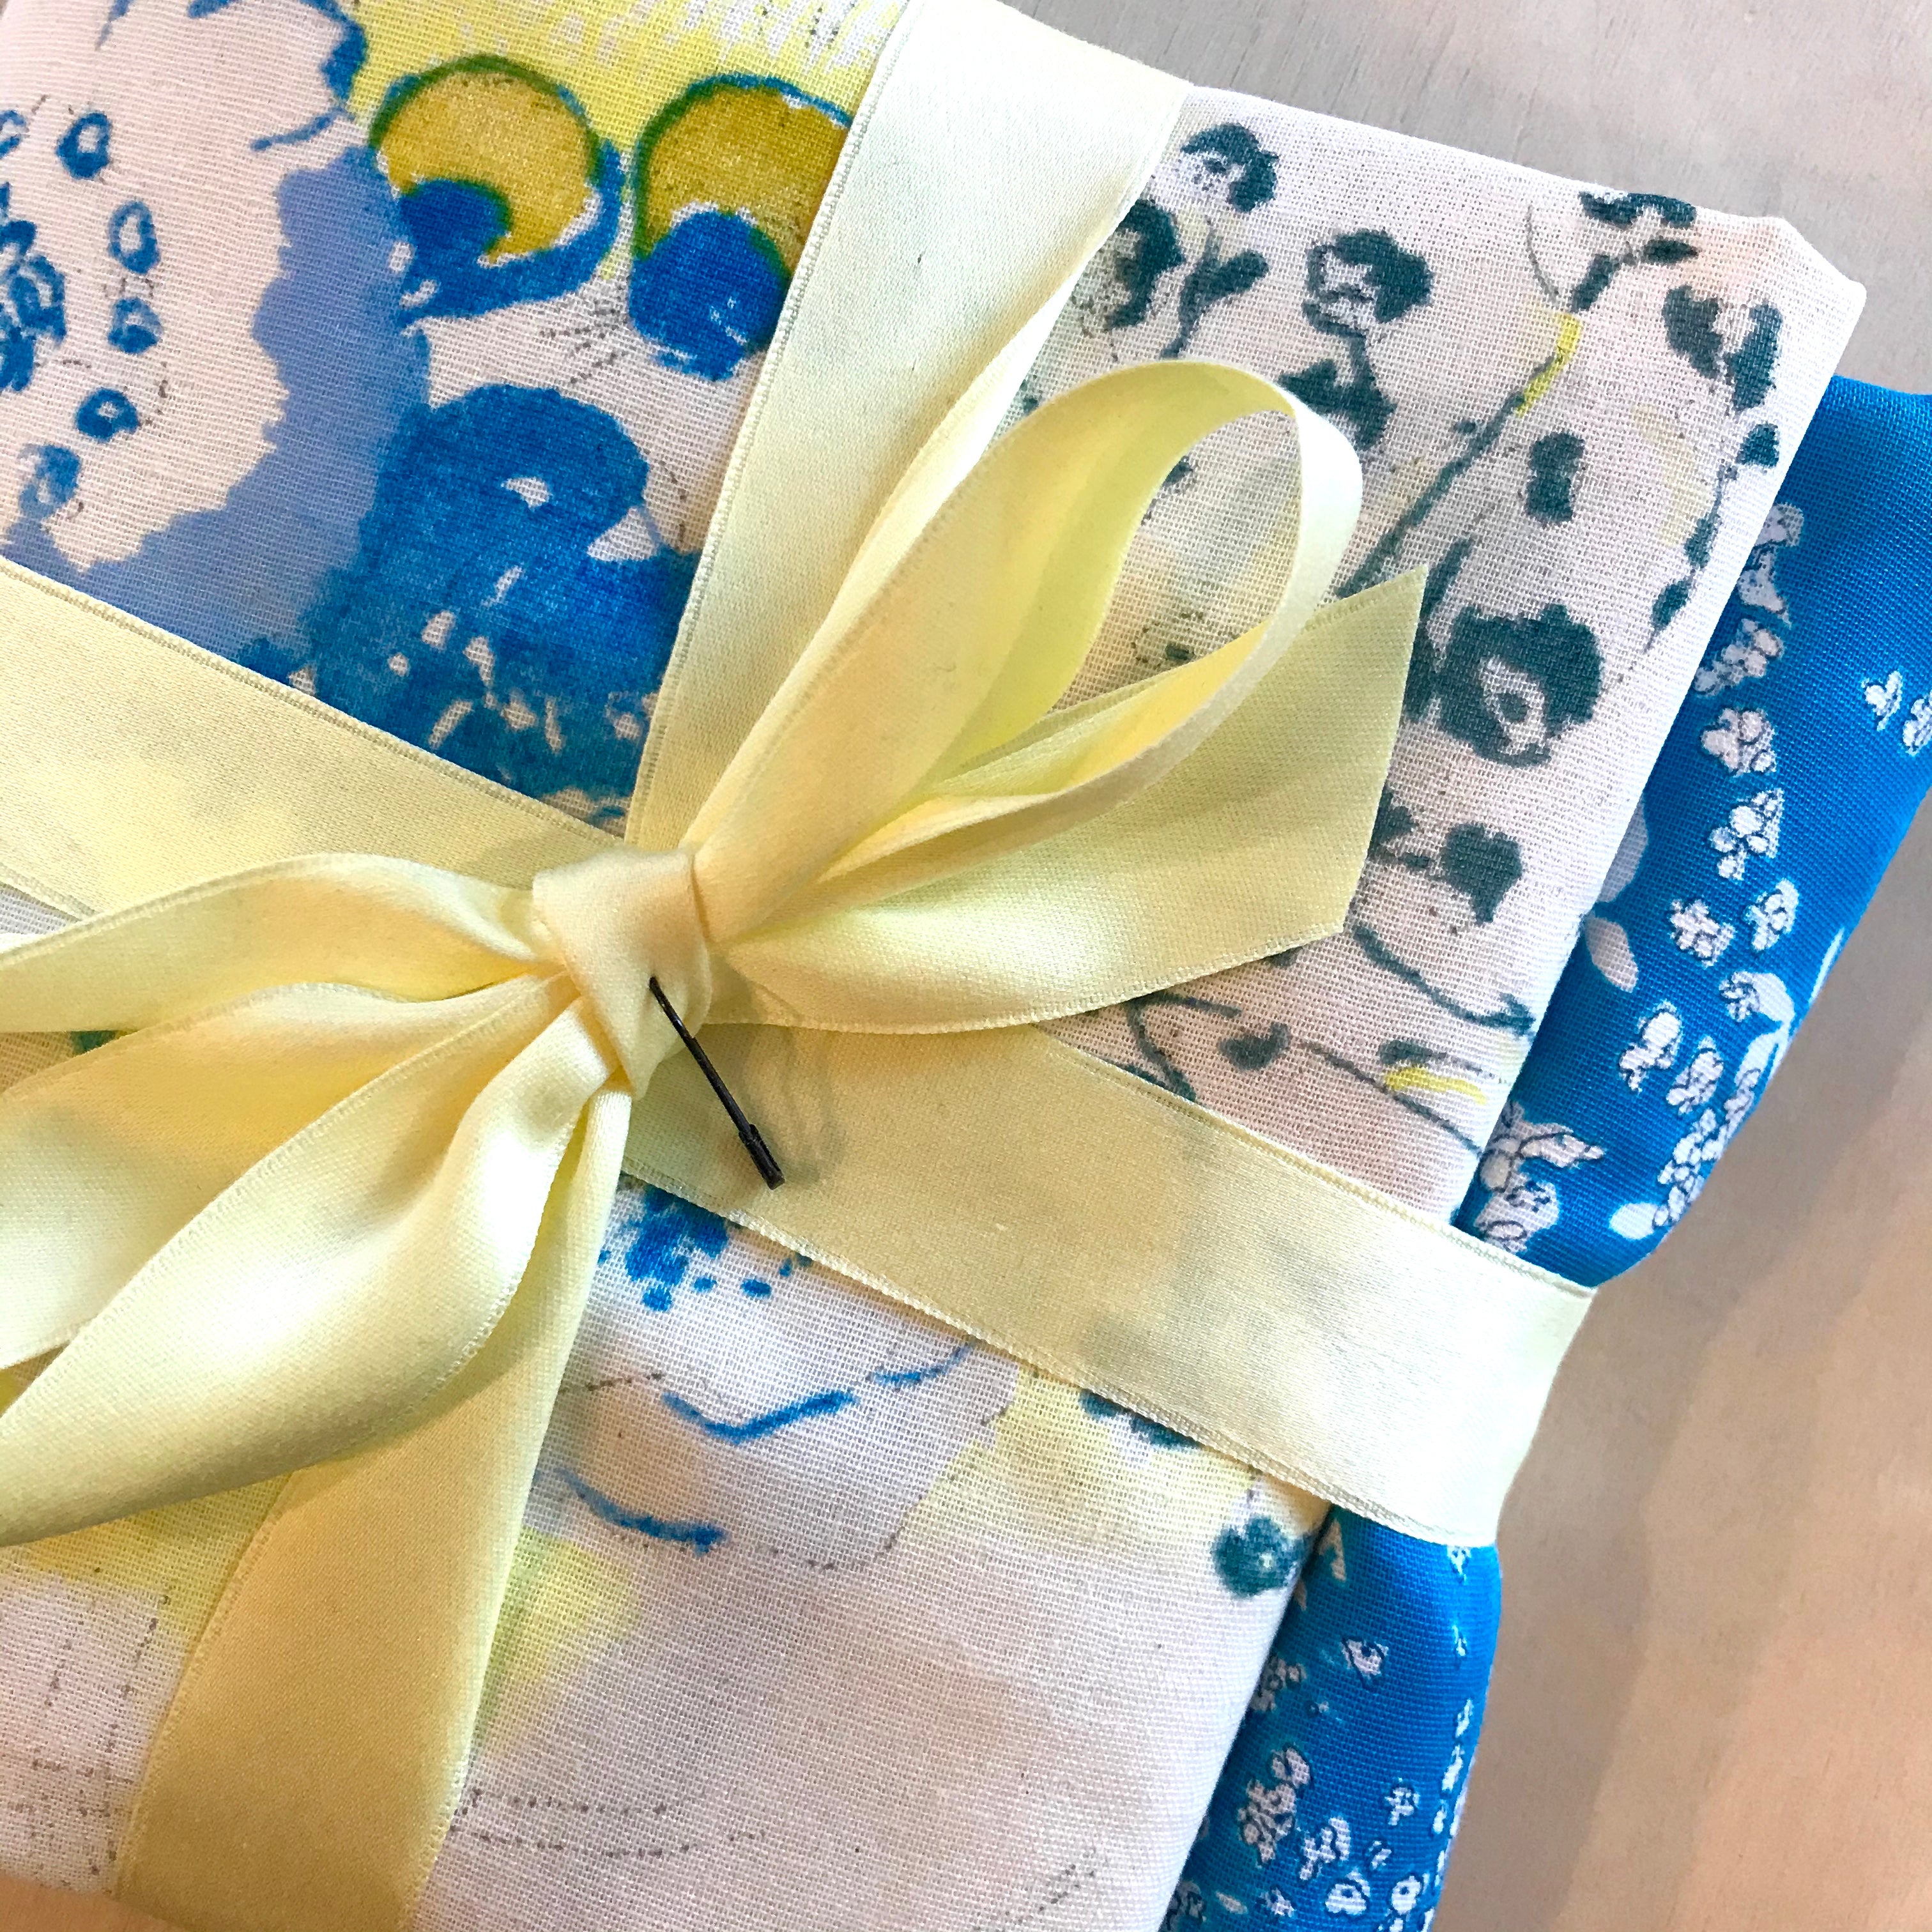
The sample pillows in these images feature Liberty Tana Lawn Project Cuts or Linen Cotton Blend Print Project Cuts paired with Eider Cotton Velvet Project Cuts. We love how the solids set off colors in the prints!
Try fussy cutting out patterns, or using your own pieced blocks for one or both sides, but do be aware of how they will work with the boxed corners as some fabric is taken away from the corners in that process.

Supplies
- Fabric for your pillow - our Project Cuts are ideal for this project!
- Coordinating 22" invisible zipper
- Coordinating thread
- Sissors or Rotary Cutter
- Marking pen or chalk
- Interfacing or flannel to back lightweight fabrics, optional
- Pillow inserts
Backing Lightweight Fabric
If you are working with lighter weight fabrics like Liberty Tana Lawn or quilting cotton you may want to back this fabric with flannel or interfacing to ensure the lighter weight fabric stands up well to use and also heavier pillow backings like linen, linen cotton blends, and velvet. We personally love using flannel. The brushed texture of the flannel "grabs" the lighter weight fabric without making it stiff.
Trim your flannel to match the size of your lightweight fabric.

Baste your lightweight fabric to your flannel backing, sewing 1/4" from the edge on all four sides. Make sure your lightweight fabric is right side out when you're doing step.

Proceed with the remaining directions, working with your lightweight fabric/flannel as if they are now one piece of fabric.

Install the Zipper

(In this pillow construction method, you install the zipper before cutting the pillow sides to size.)
The zipper will be installed on the bottom of the pillow. Trim along the bottom edge of both fabrics with your rotary cutter, or mark a straight line and cut with scissors.
If using velvet or corduroy, look for the nap in the fabric, and make sure that you can stroke down towards the bottom of the pillow and not up. With non directional prints or solids without nap, just choose a side for the bottom and trim it to be straight
Open the zipper and press each side flat with your iron. Invisible zippers curl in, and this curl can be pressed flat temporarily. You can skip this step, but doing this will make sewing the zipper on much easier!

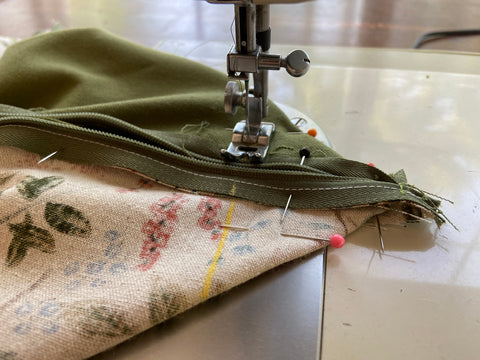
With the zipper open, place one side of the zipper face down along the right side of the bottom edge of one of the fabrics. Line the zipper tape up with the raw edge of the fabric, with the zipper teeth facing in towards the rest of the fabric. Double check that the right side of the zipper is facing towards the right side of the fabric.

Sew down along the line on the zipper where the patterning changes - see the photo for a better explanation of the stitching placement. (When sewing an invisible zipper into a garment you can stitch closer to the teeth than shown here, and you can try to do this with the pillows as well. We give an extra bit of room from the zipper teeth when working with the bulkier fabrics for the pillows.)

Place the other side of the zipper on the trimmed bottom edge of the other fabric piece. Again, line up the edge of the zipper tape edge with the raw edge of the fabric. Sew along the same line as with the other zipper end and fabric.
If you are concerned about the edges of one of your fabrics fraying, using a zig zag stitch to lock in the loose edges of the fabric to the edge of the zipper tape.

Get the Fabrics Ready to Cut
Pull the zipper closed so that the two fabrics meet up along the edge. This is a good time to make sure that everything looks good - that the zipper pull is on the right side, and that it moves freely back and forth and doesn't get stuck on any of the stitching.

With the right sides of the two fabrics facing each other, place the fabrics on your cutting mat, or flat on a table where you can draw and then cut straight lines.
Cut the two layers of fabric into a square according to the chart in the sizing section below. Cut both layers together at the same time, with the right sides facing, and pin the two layers together.

Cut right up to the zipper with your rotary cutter or fabric scissors, and then switch to craft scissors to cut through the zipper. Pin both layers together around the three newly trimmed sides.
*** VERY IMPORTANT*** Make sure that the zipper is opened a bit before cutting through the zipper, and that the pull is in the area being cut for the pillow! You don't want to trim the zipper pull off!

Sizing Chart for Cutting
The size you cut your fabric is based on your insert size. Insert sizing is determined by the length from one corner of the insert to the next. Pillow inserts are not as plump or filled out as you might like them to be, so when making the cover, you will want the finished inside area to be smaller than the size of the insert. Use this chart for the size to cut the squares.
For a 14" Insert - Cut 14" Squares
For a 16" Insert - Cut 16" Squares
For an 18" Insert - Cut 18" Squares
For a 20" Insert - Cut 19" Squares
For a 22" Insert - Cut 21" Squares
Sew Around Remaining Three Sides

***VERY IMPORTANT*** Open up the zipper half way before sewing up your sides or you won't be able to turn the the pillow right side out!
Starting at one end of the zipper, and using a 1/2" seam allowance, sew down one side, pivot with the needle down, sew the top side and pivot again. Sew the remaining side up to the zipper, getting as close as possible to the zipper, but no need to worry about getting right next to it.
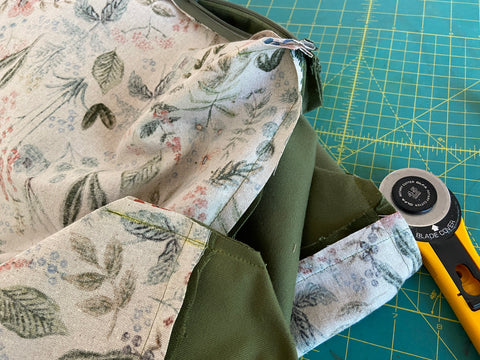
Box the Corners
Before turning the pillow right side out, the corners need to be "boxed" or squared off. The finished corner will look like this.

Open up one of the corners and refold in the opposite direction. Instead of the fabrics lying flat on each other, and the seams on the outside, refold so that the seams are lined up right down the middle of each side, and the seams are lined up right on top of each other. This is done by both sight, and by feel.
Lay a ruler across the seam and measure 1.75" from the sewn corner and draw a perpendicular line across the seam. (For insert sizes 20" and 22" measure 1.75" and for sizes 14", 16" and 18" measure 1.5") Mark this line with chalk or a marking pen. Place a pin in the corner to keep the sides lined up.

Repeat with the remaining three corners. On the corner with the closed zipper, line the center of the zipper up with the seam. On the corner with the open part of the zipper, line up the two edges of the zipper teeth along the seam. Mark all of the corners, and pin the layers together on each side to hold them in place.

Sew across each of the four marked lines 1.75" like with the first corner.
Back stitch at the beginning and end of each of the seams. You can sew right across the invisible zipper. On both of the corners that have the zipper in them - after sewing across the zipper, back stitch and sew back over it four or five times. This will help to really secure the seam at this place, as pressure when stuffing the cover with the pillow form can pull right at the zipper opening.
Leaving half an inch past the seam, clip the remaining fabric in the corners off. Use craft scissors when cutting through the zipper.


Turn the cover right side out through the zipper opening, push out the corners, and place over the insert.

Enjoy your new pillow!